跳转到主内容

IdeaPad Yoga 13 Charging Port Replacement

你所需要的

  1. IdeaPad Yoga 13 Charging Port Replacement, Charging Port: 步骤 1 中的图像 1,1
    • Remove all ten screws using the T4 Torx screwdriver.

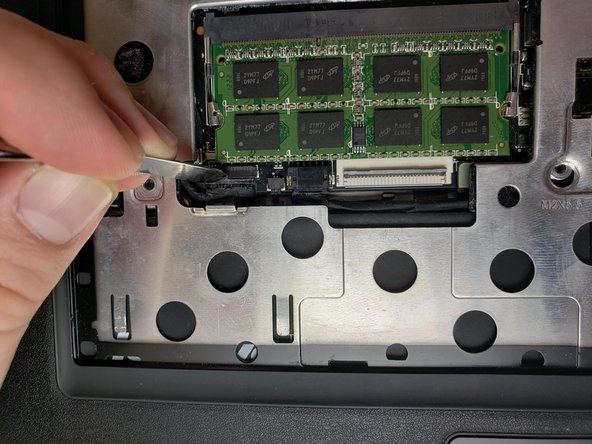
    • Remove the back cover from the device.

  2. IdeaPad Yoga 13 Charging Port Replacement: 步骤 2 中的图像 1,2 IdeaPad Yoga 13 Charging Port Replacement: 步骤 2 中的图像 2,2
    • Use the blue opening tool to further separate the keyboard bezel.

    • Carefully apply pressure to the keyboard. It should easily pop out.

  3. IdeaPad Yoga 13 Charging Port Replacement: 步骤 3 中的图像 1,1
    • To remove the keyboard bezel, unscrew and remove the five screws using the Phillips #0 screwdriver.

  4. IdeaPad Yoga 13 Charging Port Replacement: 步骤 4 中的图像 1,2 IdeaPad Yoga 13 Charging Port Replacement: 步骤 4 中的图像 2,2
    • Unplug the connections from the motherboard.

    • There is a different connection for the mouse and keyboard.

  5. IdeaPad Yoga 13 Charging Port Replacement: 步骤 5 中的图像 1,1
    • Remove the outer bezel to reveal the entire internal layout of the computer.

    • Motherboard and other internal components are now exposed.

  6. IdeaPad Yoga 13 Charging Port Replacement: 步骤 6 中的图像 1,3 IdeaPad Yoga 13 Charging Port Replacement: 步骤 6 中的图像 2,3 IdeaPad Yoga 13 Charging Port Replacement: 步骤 6 中的图像 3,3
    • Remove charging port by prying out the yellow port from the computer chassis.

    • Note the route of the cable for re-installation of the replacement.

结论

To reassemble your device, follow these instructions in reverse order.

2等其他人完成本指南。

团队

IUPUI, Team S1-G2, Harley Spring 2019 IUPUI, Team S1-G2, Harley Spring 2019 的会员

IUPUI-HARLEY-S19S1G2

3 名成员

创作了2篇指南

一条评论

do you have the schematic of the board?

Jorge Herrera - 回复

添加评论

浏览统计数据:

过去 24 小时: 0

过去 7 天: 3

过去 30 天: 19

总计 1,616