简介
Replacing a Huawei Nova screen.
你所需要的
-
-
If the LCD is not too badly damaged, switch the handset off.
-
Remove the two security screws at the bottom.
-
-
-
Using a pick or blade pry the back cover from the LCD frame.
-
Using the pick go along side the LCD and clip the back cover from the LCD frame.
-
-
-
BEWARE! Be carefull when opening the back cover as the Finger print reader flex is attached. Open the frame to the left.
-
Remove all the screws that holds the main board in place and those who keeps the plates in place.
-
-
-
-
Remove the plate covering the finger print flex connector to the left.
-
Then remove the plate covering the secondary board and the LCD connector to the left.
-
Plug all the flex connectors carefully out of the board along with the coaxial cable.
-
-
-
Remove the plate covering the from camera. BEWARE! The front cam connector may be attached to the plate, lift it up carefully, removing the connector and then remove the plate to the right.
-
Remove the plate covering the main camera connector and disconnect it.
-
Carefully! Pry from beneath the board gently upwards where indicated, then gently pull to the left/downwards in and upwards direction.
-
-
-
Remove all the screws.
-
BEWARE! The speaker unit may have some adhesive underneath. Pry the unit upwards and then pull it gently.
-
-
-
Beware! Apply generous amount of heat to the screen, be careful to not burn the plastic LCD frame!
-
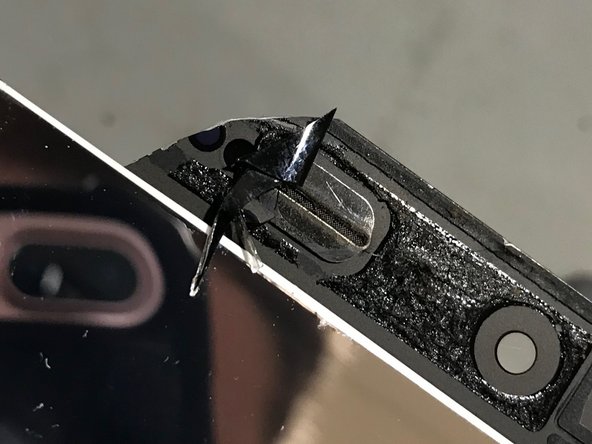
Beware! The glass shards are extremely sharp Using a blade or pick get underneath the side of the screen and pry it loose from the frame, use heat where you experience resistance.
-
Lift the screen upwards from the top.
-
-
-
Be careful, before removing the screen, underneath the secondary board there is a small flex gently pull it from underneath.
-
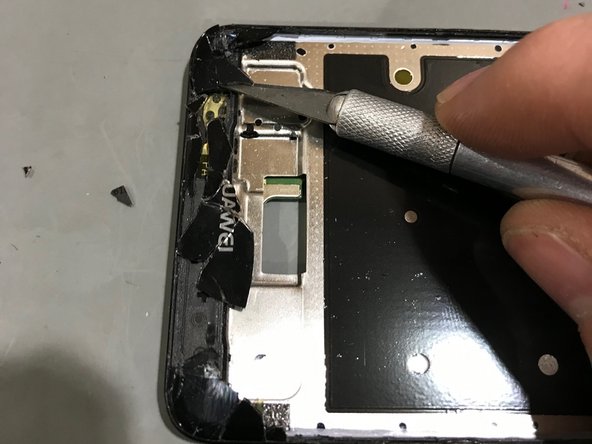
Clean the residing glass shards from the LCD frame. Be careful not to cut yourself as these pieces are very sharp.
-
Make sure the frame is cleaned of all glass and most of the adhesive.
-
-
-
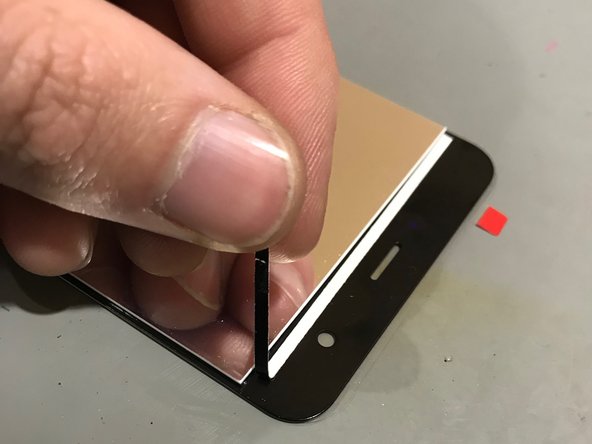
Prepare the LCD and apply adhesive.
-
Make sure to transfer the ear-speaker mesh to the new LCD if a new one is not included.
-
-
-
Reverse the disassembly steps to complete the handset.
-
Make sure to apply pressure to the new screen where the new adhesive was placed.
-
Place back the two bottom security screws.
-


To reassemble your device, follow these instructions in reverse order.
To reassemble your device, follow these instructions in reverse order.
另外一个人完成了本指南。

3条评论
Thanks bit I want to buy the screen
I need the screen please