此翻译由机器生成,尚未经过人工审核。 会说这种语言吗? 查看评论。
简介
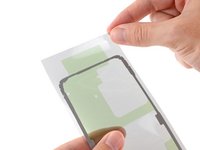
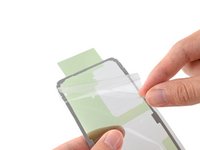
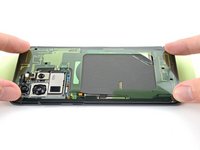
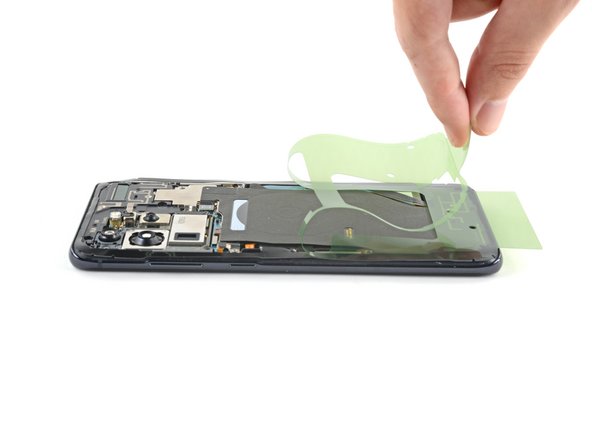
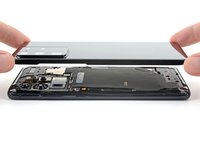
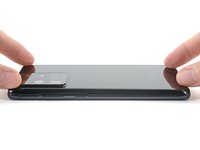
按照本指南的说明,通过先将胶条贴在中框上,来完成更换后盖胶条的操作。
要确定胶条的初始粘贴位置,请将透明侧胶条的轮廓与后盖和中框进行比对。如果你的胶条与底盖相匹配,请改用本指南进行操作。
先贴中框的胶条,其彩色衬垫上通常会有螺丝孔。
你所需要的
-
-
-
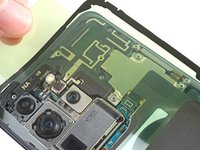
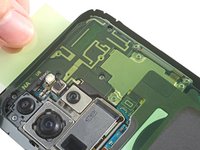
如果你要重复使用中框,请用镊子或手指清除上面的粘合剂残渣。如果粘合剂难以清除,可以加热并涂抹异丙醇(浓度 90% 或以上)。
-
在后盖上如有残留粘合剂,请重复上述步骤进行清理。
 询问修复机器人
-
-
-







22等其他人完成本指南。


3指南评论
Many thanks for the instructions.
Note:
Unfortunately, removing the old adhesive is a laborious process that requires a lot of effort. (Samsung Note 20 Ultra 5G with adhesive film that has already completely dissolved on its own!)
Absolutely necessary - in addition to patience: ISOPROPANOL (e.g. https://amzn.eu/d/7ZIPJCJ) - this dissolves all adhesives (be careful)!
Carefully scrape off the adhesive layers with a plastic spatula - plus cotton swabs plus cosmetic tissues (do not leave lint) then laboriously remove the adhesive residue.
ISOPROPANOL 99.9% does not damage electronics, i.e. can therefore be used for cleaning without hesitation.
The removal of old glue is indeed laborious and very time consuming. Because the back cover is made of glass, you cannot use too much pressure with a spudger to roll the old glue up. I tried heat but, again, with a glass cover, this is also risky, as the back cover paint is inclined to lift off with the glue. The only safe method I found was to trail a line of 99% IPA, let it soak for up to ten seconds and then using a flat ended spudger to roll the glue from the edges inwards. More IPA then from inwards to the edge to meet the glue in the middle. More IPA then roll the glue along until you have a ball you can remove. Manage your expectations because this will take a long time.
