简介
Use this guide to apply adhesive and seal the rear glass (or back panel) on your iPhone 14, 14 Plus, and all four of the iPhone 15 variants.
Replace your adhesive to maintain your iPhone's water and dust resistance after a repair or after the existing seal has worn out. Note that your iPhone's water resistance depends on how well you apply its adhesive.
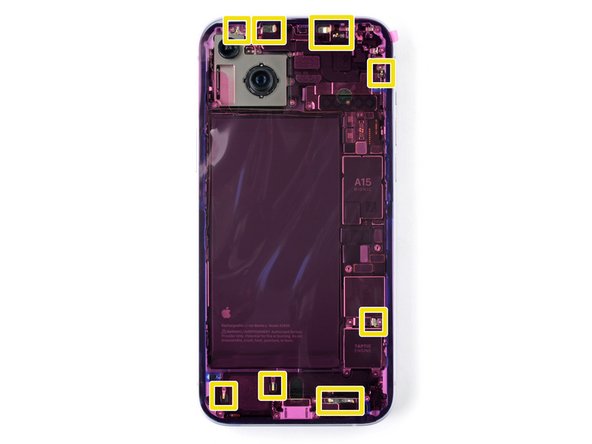
Note: If you're replacing the back glass adhesive on an iPhone 15 Pro or Pro Max, you won't see any of the internal components as pictured in this guide, but the procedure is the same.
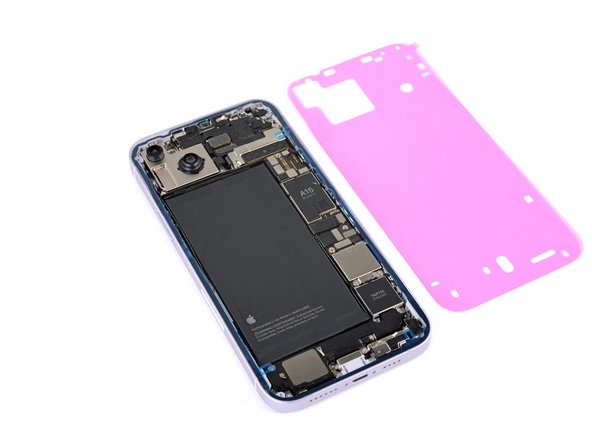
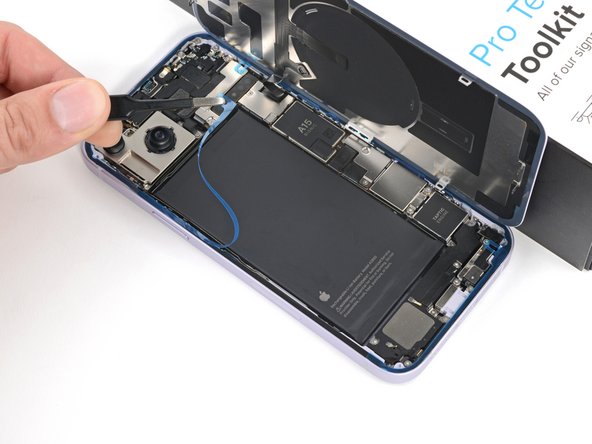
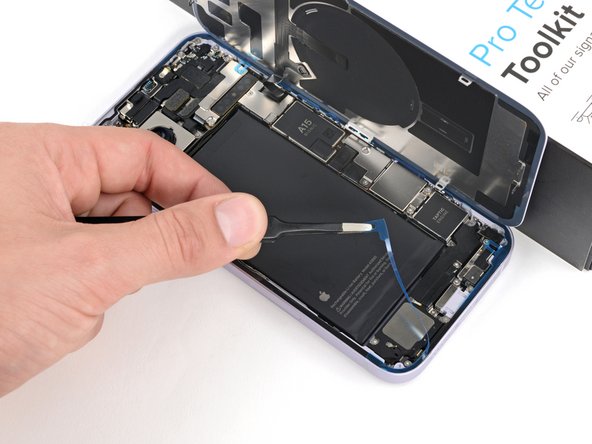
Before starting this guide, make sure you've completed your repair and have reassembled your iPhone up until the rear glass. Return to your repair guide and do so if you haven't already.
你所需要的
-
-
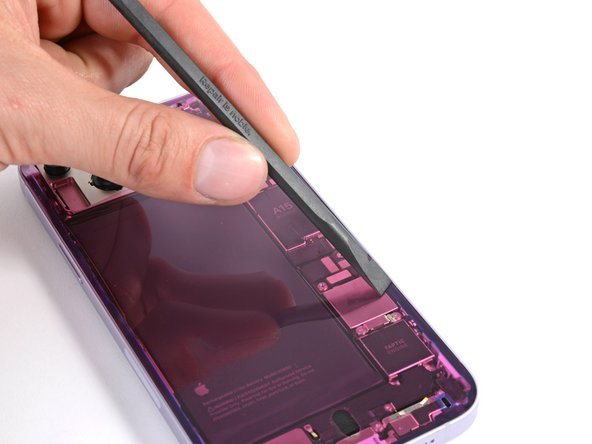
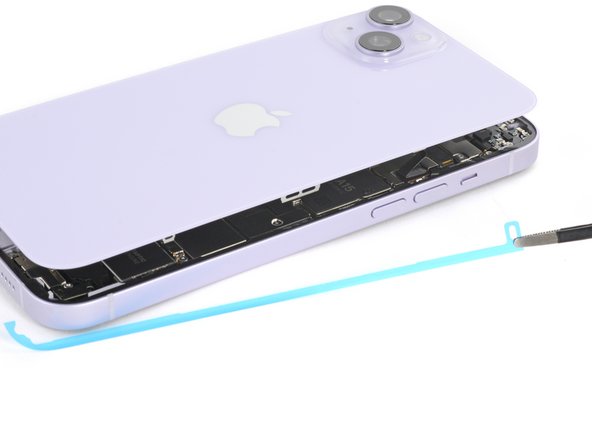
Use either end of a spudger to press and roll the adhesive off the frame.
-
Use blunt nose tweezers or your fingers to remove loose pieces of adhesive.
-
-
-
If you're reusing your back cover, apply a few drops of highly-concentrated isopropyl alcohol (over 90%) to a microfiber or lint-free cloth and wipe around the perimeter to prepare the surface for new adhesive.
-
-
-
Wrap a lint-free or microfiber cloth over the point of your spudger and apply a few drops of highly-concentrated isopropyl alcohol (over 90%) to the cloth.
-
Wipe in one direction along the perimeter of the frame to clean the adhesive residue.
-
-
-
Orient your replacement adhesive over the frame with the larger blue liner on the underside and its pull tab in the bottom right corner.
-
Use features such as the camera cutout and notches along the top and bottom edges to visualize how the adhesive will lay in the frame.
-
-
-
Use the blue liner pull tab to peel back and expose only the bottom edge of the adhesive.
-
-
-
Hold the blue liner out of the way and align the adhesive with the bottom edge of the iPhone.
-
Lay the bottom edge of the adhesive into its recess in the frame, making sure the iPhone's spring contacts are aligned with their cutouts in the liner.
-
-
-
-
Use the flat end of your spudger to press the adhesive into place around the perimeter of the frame.
-
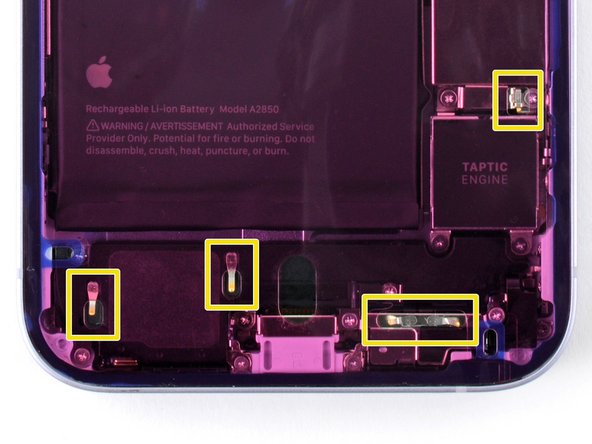
Be careful not to touch the spring contacts sticking through the pink liner.
-
-
-
Use the small pull tab in the top right corner to remove the pink adhesive liner.
-
-
-
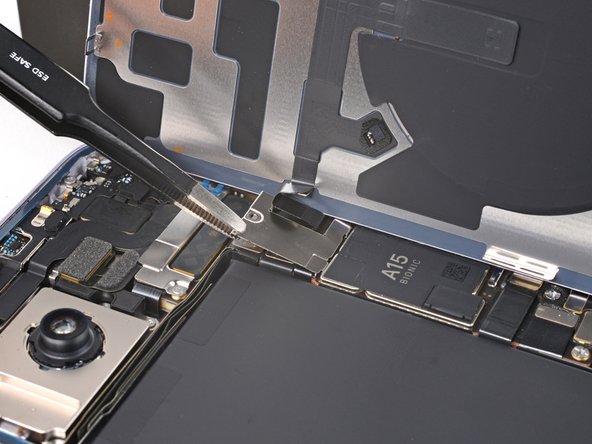
Use the flat end of your spudger or your finger to reconnect the battery.
-
Hook the battery connector cover onto its slot on the logic board.
-
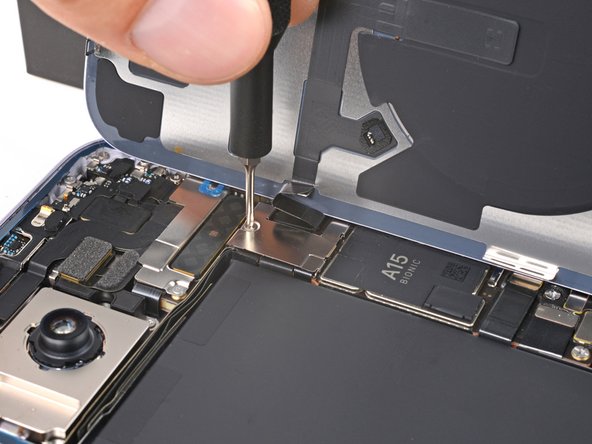
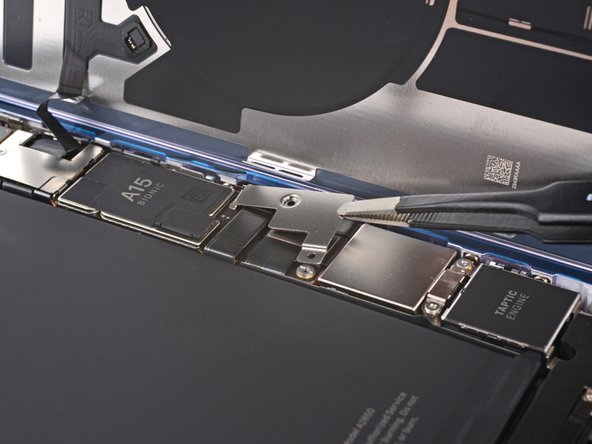
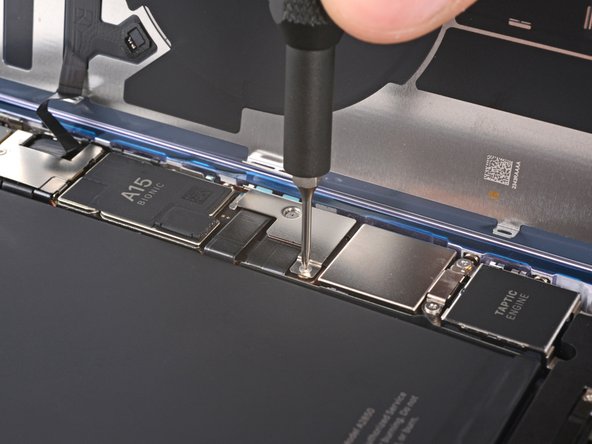
Use your tri-point Y000 driver to install the screws and secure the cover.
-
Power on your iPhone and test it to make sure everything works before sealing it up. Power it back down before finishing this repair.
-
-
-
Remove the liners from the top, left, and bottom edges of your iPhone. Wait to remove the liner along the right edge.
-
-
-
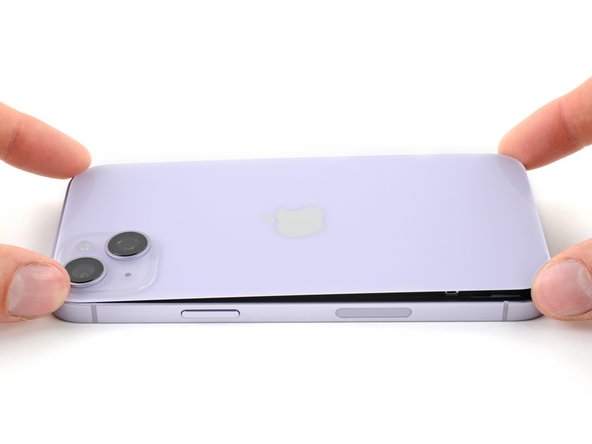
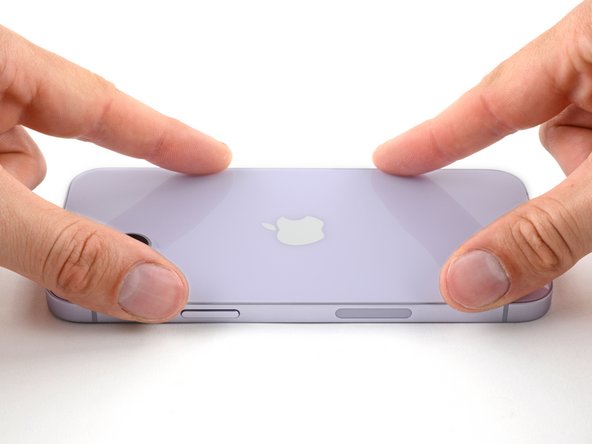
Hold the rear glass and align it over the frame.
-
Lay the top edge of the rear glass straight down onto the frame until the top clips engage.
-
Press around the perimeter of the rear glass to engage the remaining clips.
-
-
-
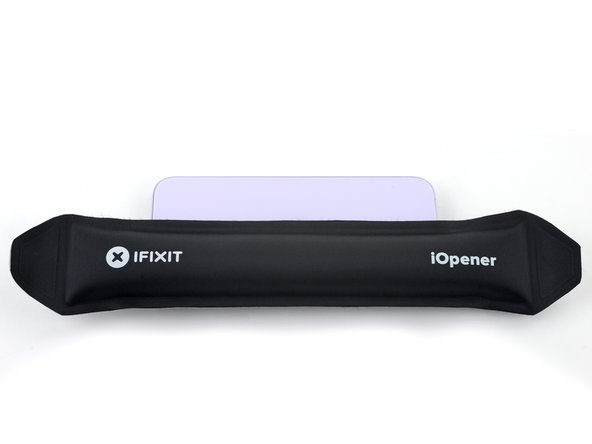
To help the adhesive bond, apply heat to the edges of the rear glass using an iOpener, hair dryer, or heat gun until it's hot to the touch.
-
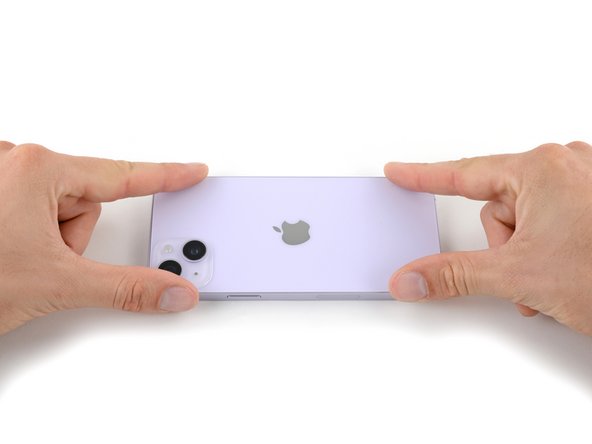
Firmly press around the perimeter of the rear glass.
-
If you have screen vise clamps, use them to strengthen the bond of your new adhesive. If not, keep reading for more ways to secure the rear glass.
-
-
-
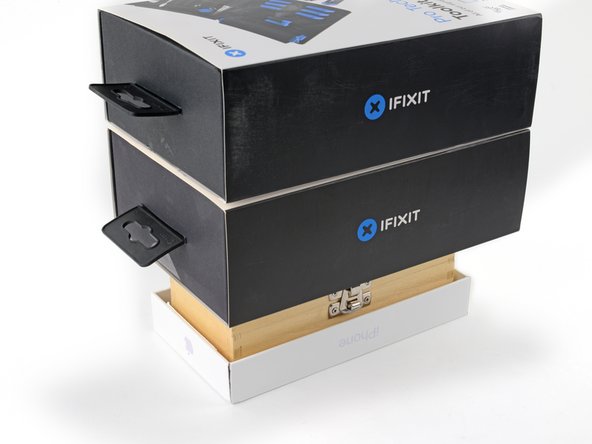
If you have the box your iPhone came in, take the lid and place it on a flat surface.
-
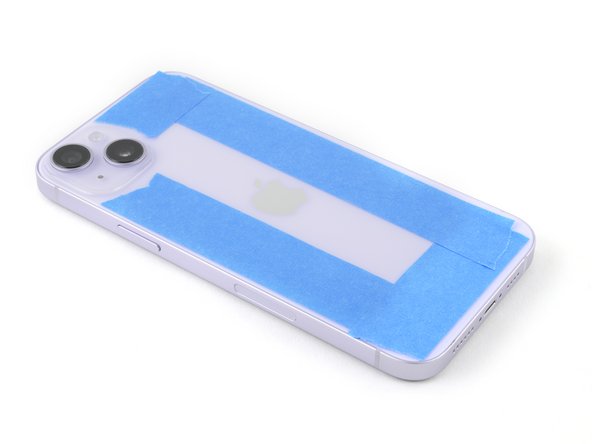
Place your iPhone screen-side-up in the lid of your box with the camera bump in its recess.
-
Find something close to the size of your iPhone, but taller than the sides of the box. Stack it on top of the iPhone, followed by a few heavy objects.
-
Leave the objects in place for at least thirty minutes. The lighter the objects, the longer they should be left. Ideally, leave them stacked overnight.
-
-
-
Use your P2 pentalobe driver to install the two screws into the bottom edge of your iPhone.
-


Congratulations, your new adhesive is good to go!
Congratulations, your new adhesive is good to go!
3等其他人完成本指南。

