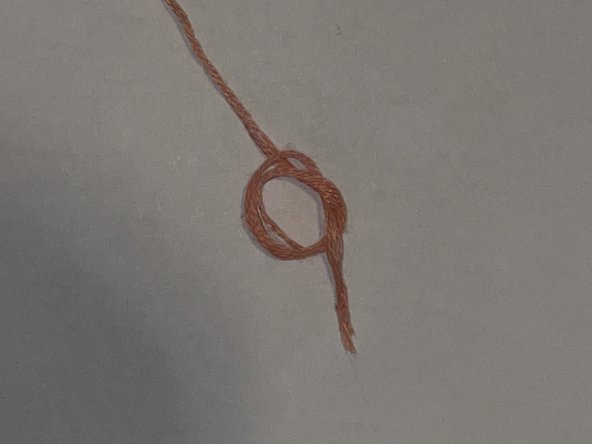
跳转到主内容

How to Repair a Loose Embroidery Stitch

你所需要的

  1. How to Repair a Loose Embroidery Stitch, How to Repair a Loose Embroidery Stitch: 步骤 1 中的图像 1,1
    • Gather all the necessary materials for your fix following these guidelines:

    • Pick the proper embroidery needle size. Lightweight fabrics can use a smaller needle, while heavyweight fabrics will need a larger needle.

    • Ensure that you pick a color of embroidery floss that matches the color of the thread you are trying to fix.

    • If using a lightweight fabric (e.g. cotton), use an embroidery hoop to stabilize the fabric.

  2. How to Repair a Loose Embroidery Stitch: 步骤 2 中的图像 1,3 How to Repair a Loose Embroidery Stitch: 步骤 2 中的图像 2,3 How to Repair a Loose Embroidery Stitch: 步骤 2 中的图像 3,3
    • Embroidery floss consists of six different strands.

    • Separate the strands and decide how many you will need to thread.

    • Pull the strand(s) through the eye of the needle and ensure that the needle is in the center of the strand(s).

    • You should have double the amount of floss once threaded than when separated.

  3. How to Repair a Loose Embroidery Stitch: 步骤 3 中的图像 1,3 How to Repair a Loose Embroidery Stitch: 步骤 3 中的图像 2,3 How to Repair a Loose Embroidery Stitch: 步骤 3 中的图像 3,3
    • To tie the floss, wrap the end around your pointer finger three times.

    • Slip the wrapped strands off your finger, and then pull the needle through the center.

    • Pinch your fingers where the longest part of the strand meets the wrapped portion and pull towards the end of the thread.

    • This should form a messy knot.

  4. How to Repair a Loose Embroidery Stitch: 步骤 4 中的图像 1,2 How to Repair a Loose Embroidery Stitch: 步骤 4 中的图像 2,2
    • Pull the needle and thread through the fabric as close to the loose thread as possible.

    • Push the needle and thread down through the other end of the loose thread.

    • Repeat these steps 3 to 4 times going over the thread until it becomes flush with the rest of the embroidery pattern.

    • Be aware of where your hands are located while using the needle.

  5. How to Repair a Loose Embroidery Stitch: 步骤 5 中的图像 1,1
    • To tie the anchor knot, push the needle and thread through an existing stitch or fabric hidden under the pattern. This should form a loop when you pull the needle.

    • Place your needle through that loop and pull to create an anchor knot.

    • Repeat this step 1-2 times to strengthen the knot.

  6. How to Repair a Loose Embroidery Stitch: 步骤 6 中的图像 1,1
    • When the knot is finished, the thread should be completely flush with the rest of the embroidery pattern.

  7. How to Repair a Loose Embroidery Stitch: 步骤 7 中的图像 1,1
    • To strengthen the embroidery you may use either fabric glue or a steamer. If you are using a lightweight fabric, make sure you use an embroidery hoop.

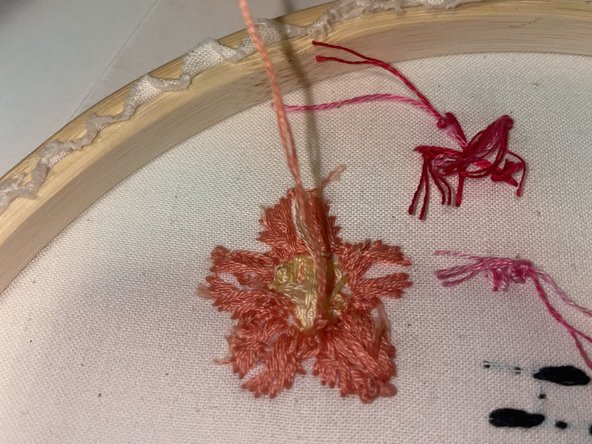
    • To use fabric glue, apply 1-2 drops everywhere that there is embroidery on the back of the fabric. Allow this to dry for at least 5 minutes.

    • If using a steamer, follow the instructions to turn it on for your particular model. Run the steamer over the back of the fabric two times. This will make the stitches taut.

    • Test the steamer first on the fabric in a hidden area before steaming to avoid staining or burning your work.

终点

Samantha Cook

于09/27/23注册

145 声望

撰写一个指南

团队

0条评论

添加评论

浏览统计数据:

过去 24 小时: 1

过去 7 天: 9

过去 30 天: 30

总计 138