简介
Discovering a hole in your shoe sole doesn't mean it's the end for your favourite pair. This simple guide will take you through the steps to fix it and be ready to go again!
➡️Before you get started, please check the safety disclaimer at the bottom of the page.
你所需要的
-
-
We will repair the hole in the outsole from the inside of the shoe by filling the grid structure with foam rubber pieces.
-
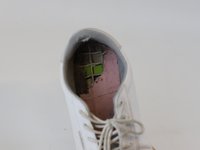
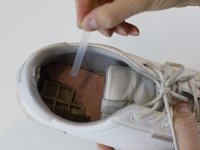
Remove the insole.
-
Note: In our case, the lasting board (pink) and the insole were glued together. Parts of the lasting board are ripped off now.
-
-
-
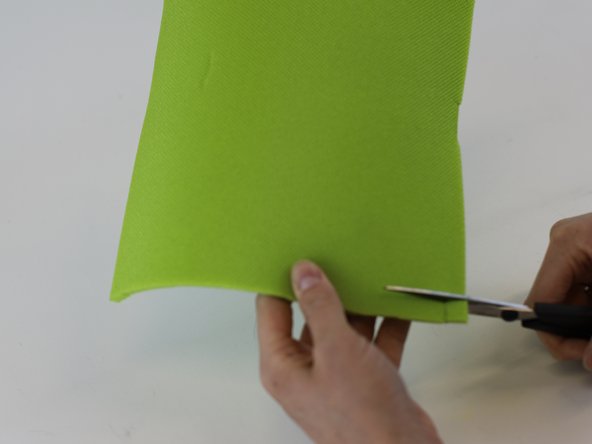
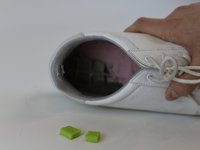
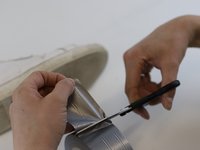
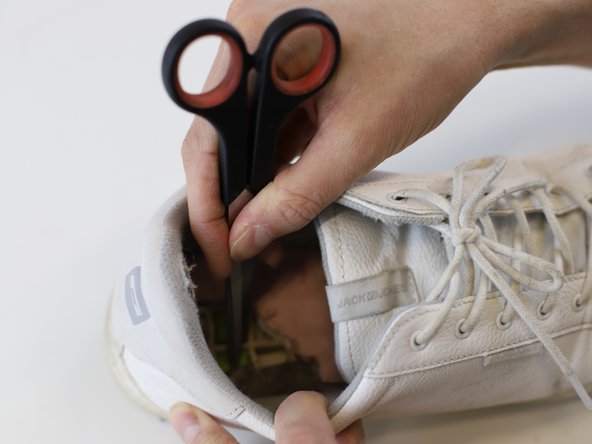
Use a scissor to remove the remaining parts of the lasting board around the outsole hole.
-
Estimate or measure the size of the single grids, which need to be filled.
-
-
-
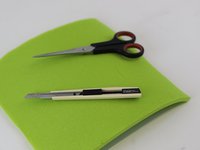
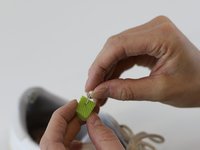
Prepare the piece of foam rubber, the scissors and the small utility knife.
-
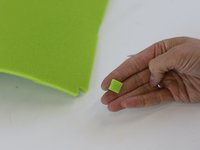
Cut out the rectangular filling piece.
-
-
-
-
If you have estimated the size of the filling pieces, try if they're fitting before adding the glue.
-
Either rework them slightly or take them off and continue with the next step.
-
-
-
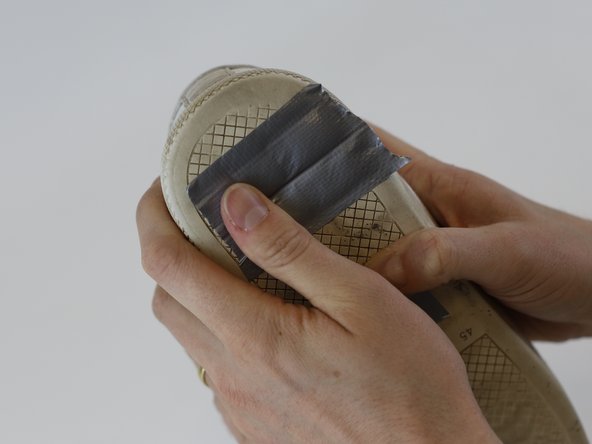
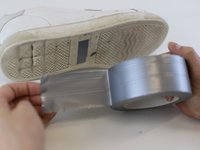
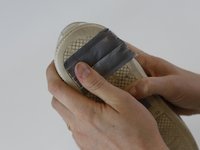
Cut a big enough part from the gaffa tape.
-
Cover the hole with the tape to avoid glue being squeezed out.
-
-
-
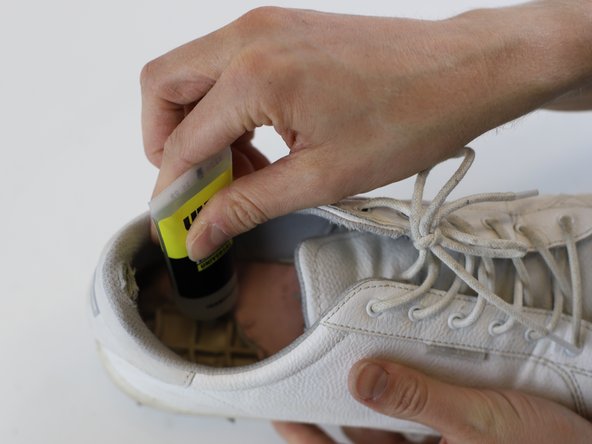
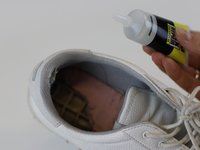
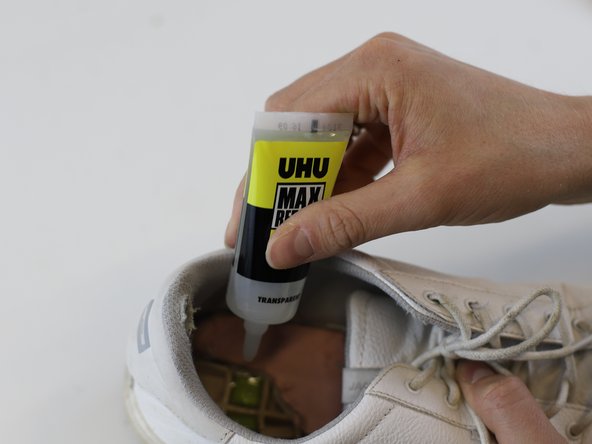
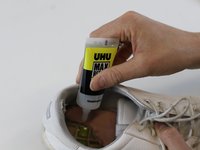
Use super glue for the grid hole and only apply it on the parts that need to be covered.
-
Use a small spatula to spread the glue evenly and let it dry.
-
Note: Follow the instructions of the glue used to know the exact drying time. In this example we left it a few minutes
-
-
-
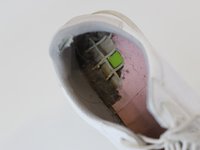
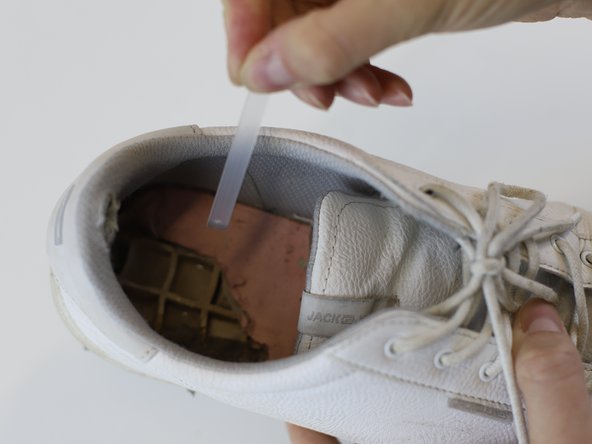
Use the pin to hold the filling piece and insert it into the pre-glued grid.
-
Fill any remaining small gaps with a squeeze of glue.
-
Press the filling piece with the scissor and hold for 30 seconds.
-
Note: Follow the instructions of the glue used to know the exact drying time. In this example we left the product to dry overnight.
-


In need of another repair? Don't worry! Check out our other guides to find quick solutions for your favourite clothing, footwear and equipment!
----------------------------------------
🚨🛠️🩹 IMPORTANT SAFETY NOTICE:
The repair guides provided on this site are intended to help you repair products on your own. While we have put a lot of care into them, all repair work carries some risk:
- Safety Precautions: When repairing your product, take all necessary precautions to ensure your safety. Use appropriate tools and follow the instructions carefully.
- Product Condition: Once your product has been repaired, it may not meet original compliance guidelines anymore and could potentially have issues.
- Liability: We are not responsible for any damage or injury that may occur during the repair process or as a result of using a repaired product. You, as the repairer, assume all risks and responsibilities associated with the repair.
By using these repair guides, you fully acknowledge and accept the potential risks and responsibilities involved.
另外一个人完成了本指南。

团队
