当前版本的文档还未经巡查,您可以查看最新的已查核版本。
-
-
Use a pry bar to remove the pre-existing damaged wood pieces.
-
Start with the riser first.
-
Be mindful of possible rusted screws/nails.
-
-
Use a pry bar to remove the pre-existing damaged wood pieces.
-
Remove the treads on the stairs.
-
Be mindful of possible rusted screws/nails.
-
-
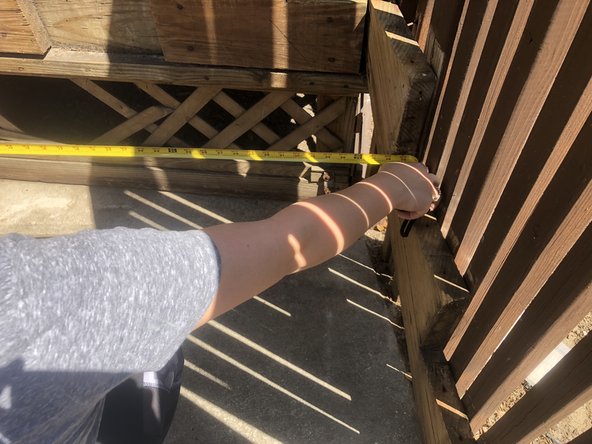
Use a measuring tape to measure the foundation where the new steps will be placed.
-
To ensure accurate measurements, make sure to repeat this step twice.
-
-
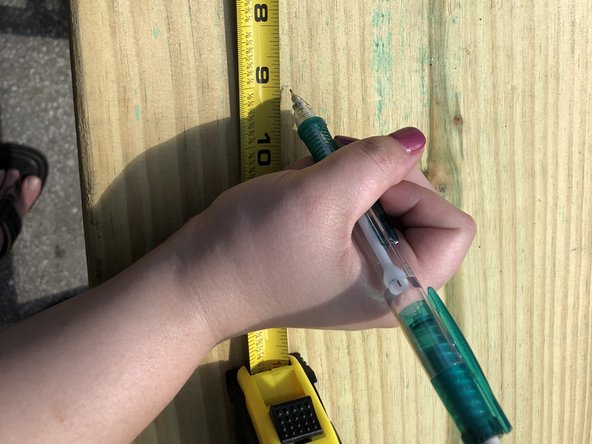
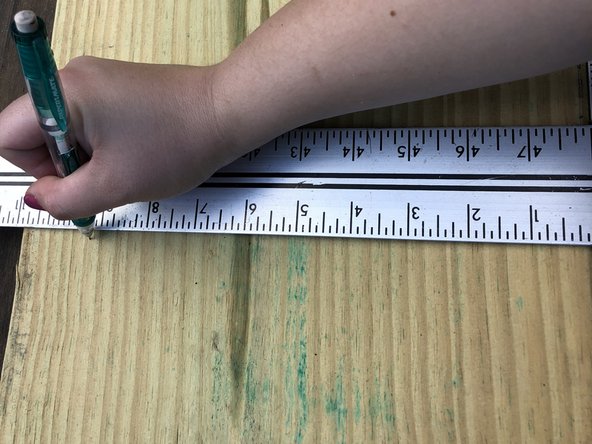
Mark your measurements on both ends of your new weather treated wood using a measuring tape and a pencil.
-
For the best results, use a ruler to connect your marks into a straight line.
-
-
-
-
Use a circular saw to cut across the straight line marked on the new piece of wood.
-
Make sure the wood is secure by holding the end resting on the table the entire time.
-
Safety glasses should be worn during this step.
-
-
-
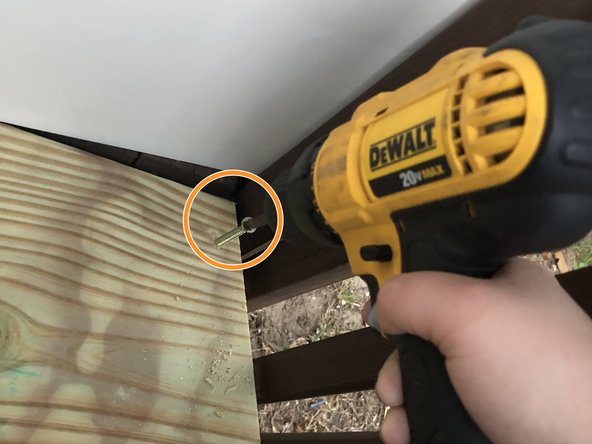
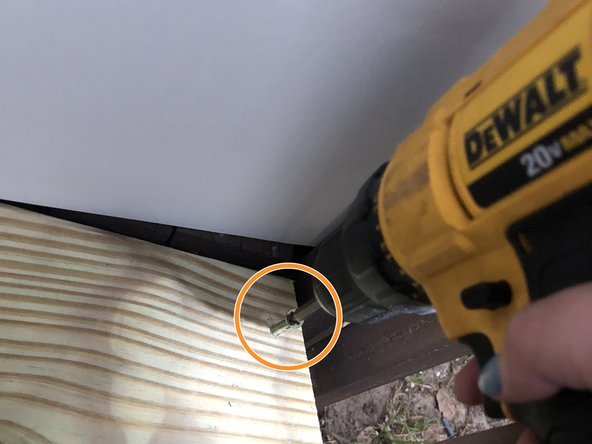
Secure your wood piece (riser) into place using a drill and galvanized screws.
-
Create two pilot holes with the correct drill bit.
-
Secure the wood (riser) into place by drilling 2" galvanized Phillips head screws into the pilot holes.
-
-
Make sure your wood piece (tread) fits into place and is level.
-
For the most accurate results, it is important to use a large level.
-
-
Secure your wood piece (tread) into place using a drill and galvanized screws.
-
Create three pilot holes with the correct drill bit.
-
Secure the wood (tread) into place by drilling 2" galvanized Phillips head screws into the pilot holes.
-
-
Repeat steps 8-10 for the remaining stairs.
-
For the best results, follow this guide thoroughly for each stair.
嵌入本指南
选择一个尺寸并复制下面的代码,将本指南作为一个小插件嵌入到你的网站/论坛中。
预览