简介
A DCPS is one of the most important tools for anyone who works on electronics or repairs iPhones. Direct Current Power Supplies help show what your device is doing by showing its real-time current consumption. However, if you are a beginning repairer or someone who just likes messing around with technology, the price of such supplies might be a little higher than you’d like. In this guide, I will show you how to create a small, reliable DCPS for very little. You might not even have to solder!
-
-
Find a DC-DC Converter (probably a buck converter). This is the heart of your DC Power Supply.
-
You DEFINITELY need one with a voltage and current reading, and adjustable voltage (at least for iPhone repairs). If you get one with a USB port, it can serve as a USB ammeter, but a little more work is required.
-
The one I used is from DROK, and cost $13.99 on Amazon.
-
-
在这个步骤中使用的工具:Tweezers$4.99
-
Really, any cable with power on one end and a battery connector on the other end will do. I got a cheap one off eBay that supported the 4 through the X, and had two alligator clips.
-
If you want to splurge a little on your power supply, get a cable like this, that includes the battery data cables. This will stop the phone from rebooting every few minutes while powered by DCPS. The cable also includes a probe so you don't have to boot up the phone with the power button or tweezers
-
If every penny you spend on this is a penny that you can't use to buy phones off eBay (believe me, I know) - and you have broken batteries - you can detach the control board from the battery cell and solder wires onto it. It will even have battery data!
-
-
-
-
Use the biggest wall wart you have lying around. I had a 12 volt, 2.5 amp one that used to power a router, so I used that.
-
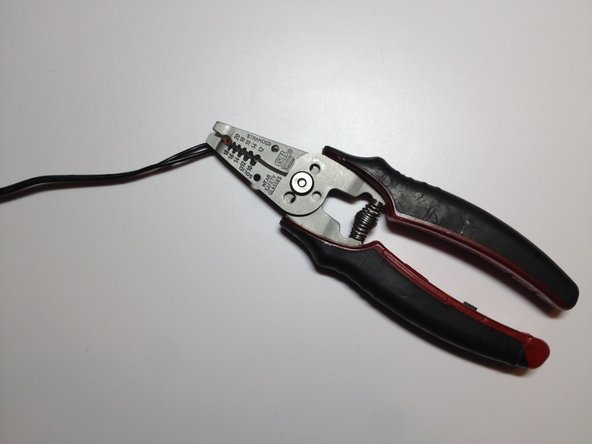
Take a pair of wire strippers, cut the plug off, and strip the two wires. Make sure you know which end is positive and which end is negative.
-
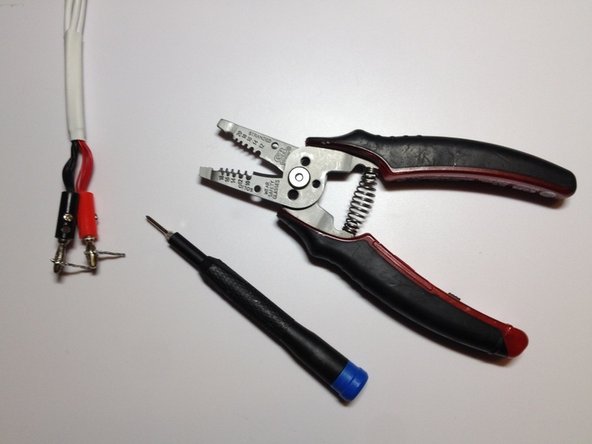
The stripped wire ends.
-
-
-
My cable came with banana plugs, so I soldered little 90-degree wires so that it would connect to the DC-DC converter. Make sure to insulate them!
-
If you don't want to (or are not allowed) to solder, unscrew the banana plugs and strip the small red wires going to the plugs.
-
For those of you going the ghetto route, solder two pieces of wire to the positive and negative terminals where the battery would connect to the control board.
-
-
-
Screw the cables into their sockets.
-
Do NOT mix up positive and negative!
-
Alternatively, you could use alligator clips to connect the cables. Don't forget to insulate them!
-
-
-
IT'S ALIVE!
-
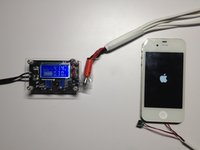
Now you have an excellent tool to repair iPhones with . . .
-
. . . And much more!
-


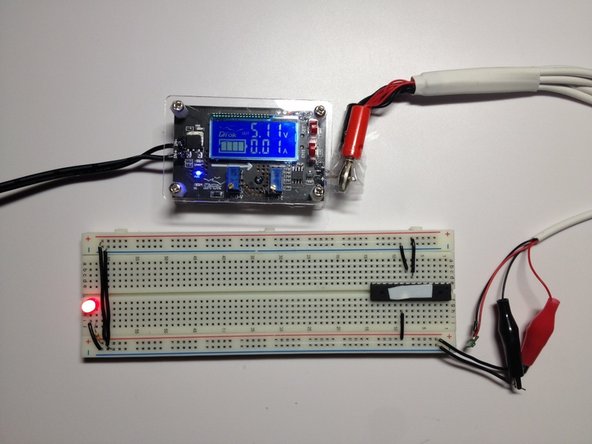


Have fun! Your new DCPS should give you a whole new window into the world of iPhone repair.
另外一个人完成了本指南。