简介
Как разобрать коннектор если провод повредился?!
你所需要的
-
-
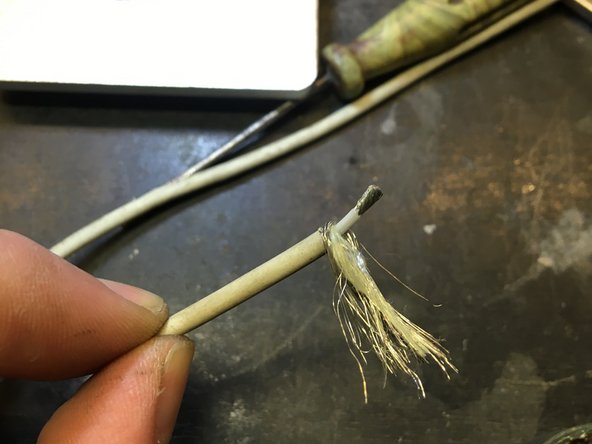
Что бы разобрать Т коннектор нужно срезать провод отступив 1 см от коннектора.
-
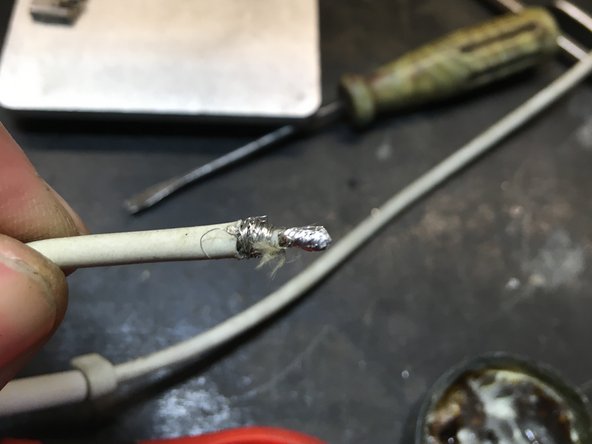
Выдернуть остатки провода
-
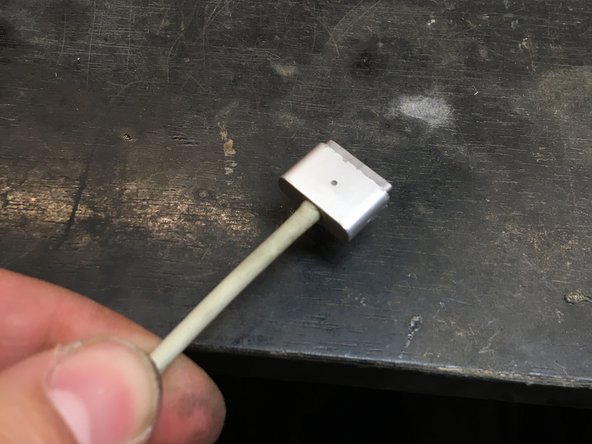
Взять железный стержень 4-5 мм в диаметре и выбить через отверстие провода внутреннюю часть разъема
-
Удобнее всего это сделать в маленьких тисках
-
-


7等其他人完成本指南。
5指南评论
Thank you very much for this guide, also with the pictures. This was really helpful.
I would like to say, that the time required was a lot more for me, about 3 hours in total.
My cable fell apart and the cable coating came off, so I have applied a heat shrink sleeving first over the part of the cable without the cable coating, then another sleeving above the whole cable.
The connector was glued inside, so it was difficult to get off the cap and later to get rid of the old cable, which was still stuck inside. After drilling into the metal crimped part, I could remove the remainders of the old cable.
Now I'm really happy, that the cable is renewed and that it works well.
Is there a way to change the magsafe adapter into a type C? i have a spare type C connector with the pins so what im asking is if it's possible to solder the inner part of 14.5V and outer part GND into a type C connector
Type C chargers have different voltages for their specific units so probably not a great idea to try ;)
livfe -
For me sadly this tutorial didn't work. My connector was also glue on the inside and circuit was covered with some sort of resin. I destroyed part of a circuit while removing remaining cable from the charging circuit. I later figured out that it would be better to salvage parts of charging cable that were still sticking out of magsafe 2 connector, connect them in wire and protect with heat-shrink tubbing. Maybe next time.
I still have to say thanks to the author of this tutorial, since I think repair is our hope out of grand consumerist culture.
I do hope my comment serves as a warning to fellow fixers when dealing with original apple chargers.