简介
Will your Hover-1 Ultra not power up, preventing you from riding it? If you face this problem, it can be fixed with a simple replacement of the power button on your device. You will need a Phillips #1 screwdriver to remove the screws and an adjustable crescent wrench to help remove the button
你所需要的
-
-
Orient the hoverboard so that the pads are facing down.
-
With the Phillips #1 screwdriver, remove all 18 of the screws on the underside of the hoverboard.
-
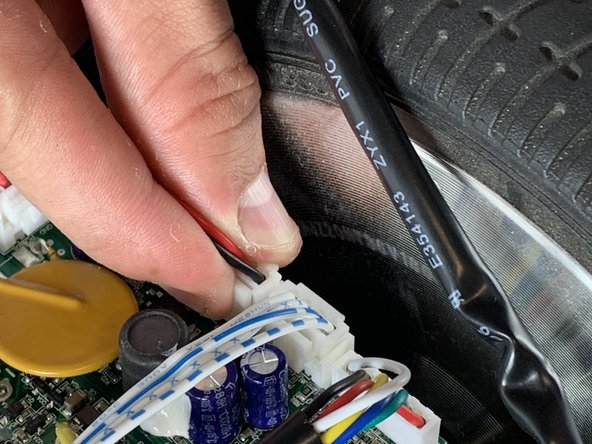
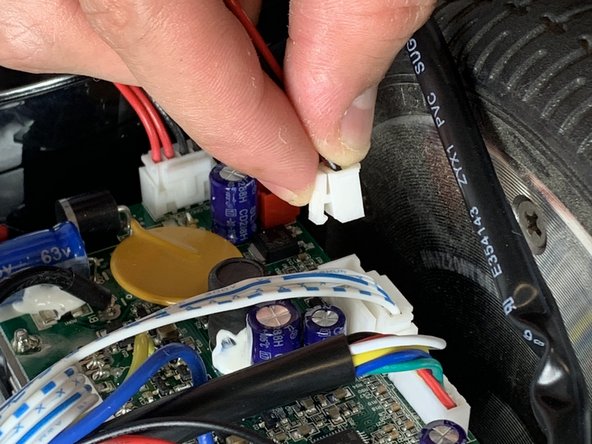
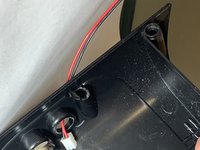
Carefully remove the shell, lifting directly up.
-
-


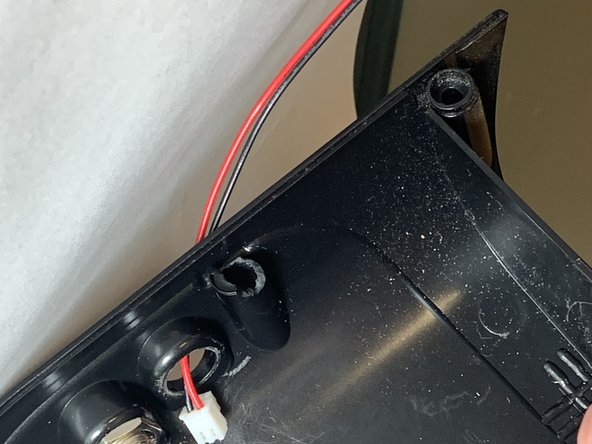

To reassemble your device, follow the instructions for step 1 in reverse order.
另外一个人完成了本指南。
团队

UC Davis, Team S7-G5, Lore Fall 2018 UC Davis, Team S7-G5, Lore Fall 2018 的会员
UCD-LORE-F18S7G5
3 名成员
创作了3篇指南