跳转到主内容

Hover-1 Ultra Charging Port Replacement

你所需要的

  1. Hover-1 Ultra Charging Port Replacement, Charging Port: 步骤 1 中的图像 1,3 Hover-1 Ultra Charging Port Replacement, Charging Port: 步骤 1 中的图像 2,3 Hover-1 Ultra Charging Port Replacement, Charging Port: 步骤 1 中的图像 3,3
    • Orient the hoverboard so that the pads are facing down.

    • With the Phillips #1 screwdriver, remove all 18 of the screws on the underside of the board.

    • Carefully remove the shell, lifting directly up.

  2. Hover-1 Ultra Charging Port Replacement: 步骤 2 中的图像 1,2 Hover-1 Ultra Charging Port Replacement: 步骤 2 中的图像 2,2
    • Using your hands or a crescent wrench, begin removing the charging port.

    • Turn the charging port counter-clockwise to release it from the shell.

  3. Hover-1 Ultra Charging Port Replacement: 步骤 3 中的图像 1,3 Hover-1 Ultra Charging Port Replacement: 步骤 3 中的图像 2,3 Hover-1 Ultra Charging Port Replacement: 步骤 3 中的图像 3,3
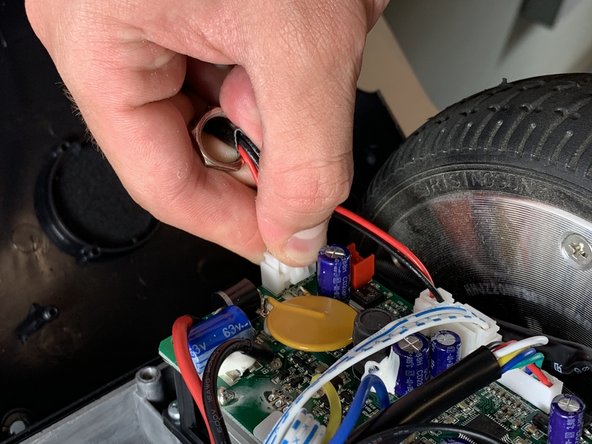
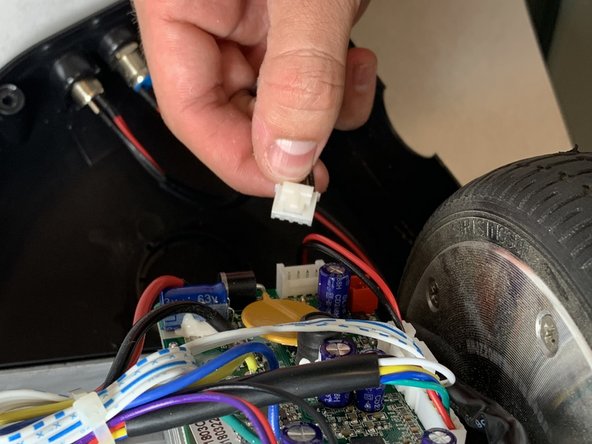
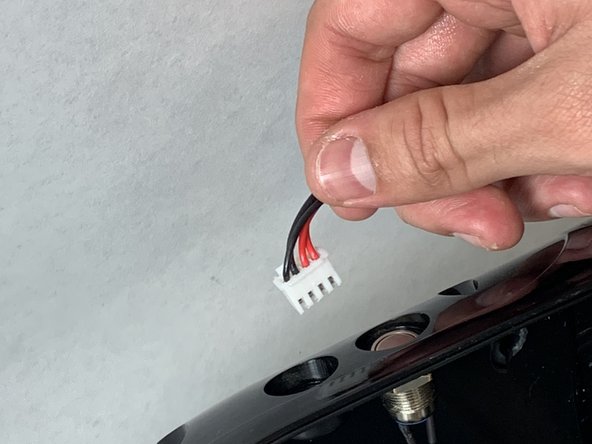
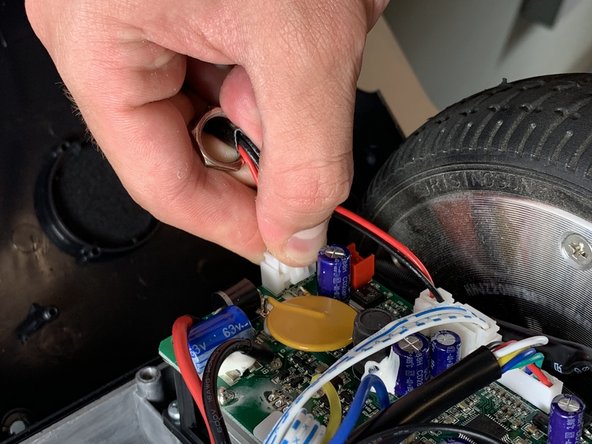
    • Unclip the insulated red and black wires attached to the port from the motherboard

  4. Hover-1 Ultra Charging Port Replacement: 步骤 4 中的图像 1,3 Hover-1 Ultra Charging Port Replacement: 步骤 4 中的图像 2,3 Hover-1 Ultra Charging Port Replacement: 步骤 4 中的图像 3,3
    • Remove the charging port through the assembly.

    • Place new charging port through the assembly.

    • Clip red and black insulated wires into the motherboard.

结论

To reassemble your device, follow the instructions for step 1 in reverse order.

3等其他人完成本指南。

Camron Clifton

于10/22/18注册

409 声望

创作了3篇指南

团队

UC Davis, Team S7-G5, Lore Fall 2018 UC Davis, Team S7-G5, Lore Fall 2018 的会员

UCD-LORE-F18S7G5

3 名成员

创作了3篇指南

0条评论

添加评论

浏览统计数据:

过去 24 小时: 0

过去 7 天: 0

过去 30 天: 5

总计 727