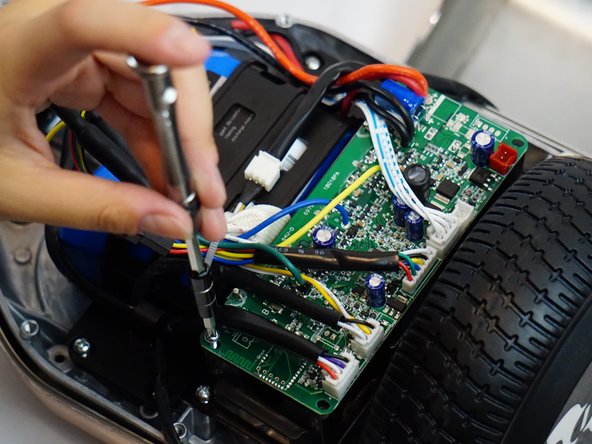
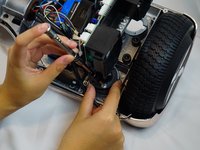
跳转到主内容

Hover-1 Matrix Pad Replacement

你所需要的

  1. Hover-1 Matrix Pad Replacement, Pad: 步骤 1 中的图像 1,2 Hover-1 Matrix Pad Replacement, Pad: 步骤 1 中的图像 2,2
    • Remove the screws on the back of the hoverboard using a Phillips #1 screwdriver.

    • Remove the back shell from the hoverboard.

  2. Hover-1 Matrix Pad Replacement: 步骤 2 中的图像 1,1
    • Remove the screws from the metal layer inside the hoverboard using a Phillips #1 screwdriver.

  3. Hover-1 Matrix Pad Replacement: 步骤 3 中的图像 1,1
    • Separate the upper shell of the hoverboard and the metal layer inside.

  4. Hover-1 Matrix Pad Replacement: 步骤 4 中的图像 1,2 Hover-1 Matrix Pad Replacement: 步骤 4 中的图像 2,2
    • Start by identifying the motherboard, which is the green pad shown in the picture.

    • Remove the screws on the corners of the motherboard with the Phillips #1 screwdriver and take it off.

    • There are cables attached to the motherboard so go ahead and unattach them.

  5. Hover-1 Matrix Pad Replacement: 步骤 5 中的图像 1,3 Hover-1 Matrix Pad Replacement: 步骤 5 中的图像 2,3 Hover-1 Matrix Pad Replacement: 步骤 5 中的图像 3,3
    • Use picture 1 as a guide and move the motherboard to the other side.

    • Identify the two black rubber buttons that are shown in the second picture.

    • Remove the two rubber buttons using the Phillips #1 screwdriver.

  6. Hover-1 Matrix Pad Replacement: 步骤 6 中的图像 1,1
    • Removing the rubber buttons in the previous step allows you to take the pad off.

    • Finally, take off the old pad and put on a new pad.

结论

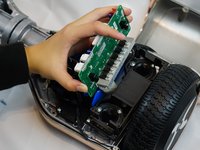
To reassemble your device, follow these instructions starting with step number 6 and finishing with step number 1.

另外一个人完成了本指南。

Jici Zhuang

于10/22/18注册

362 声望

创作了2篇指南

团队

UC Davis, Team S7-G2, Lore Fall 2018 UC Davis, Team S7-G2, Lore Fall 2018 的会员

UCD-LORE-F18S7G2

3 名成员

创作了4篇指南

0条评论

添加评论

浏览统计数据:

过去 24 小时: 0

过去 7 天: 0

过去 30 天: 7

总计 338