跳转到主内容
加入维修社区 - 创建账户

Hover-1 Liberty Battery Replacement

你所需要的

  1. Hover-1 Liberty Battery Replacement, Bottom Cover: 步骤 1 中的图像 1,2 Hover-1 Liberty Battery Replacement, Bottom Cover: 步骤 1 中的图像 2,2
    • Flip the hoverboard over so the labels are facing upwards.

    • Remove the twenty 18mm screws using a Phillips #2 screwdriver and twisting counterclockwise.

    询问修复机器人
  2. Hover-1 Liberty Battery Replacement: 步骤 2 中的图像 1,2 Hover-1 Liberty Battery Replacement: 步骤 2 中的图像 2,2
    • Remove the bottom cover by lifting it away from the hoverboard.

    • The cover on the side without the battery has two wires connecting the power button and charging port.

    询问修复机器人
  3. Hover-1 Liberty Battery Replacement: 步骤 3 中的图像 1,3 Hover-1 Liberty Battery Replacement: 步骤 3 中的图像 2,3 Hover-1 Liberty Battery Replacement: 步骤 3 中的图像 3,3
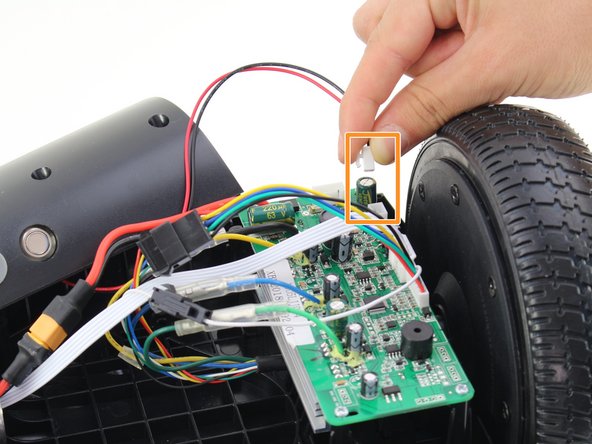
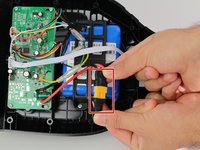
    • Remove one connector from the non-battery side circuit board.

    • Remove the next connector from the non-battery side circuit board.

    • To remove the connectors, pinch the plug and pull away from the circuit board.

  4. Hover-1 Liberty Battery Replacement, Battery: 步骤 4 中的图像 1,2 Hover-1 Liberty Battery Replacement, Battery: 步骤 4 中的图像 2,2
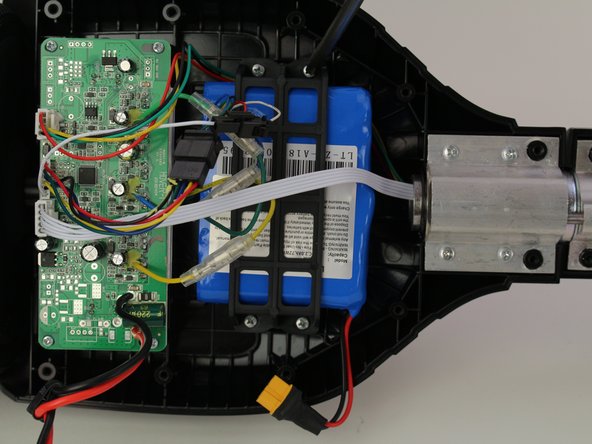
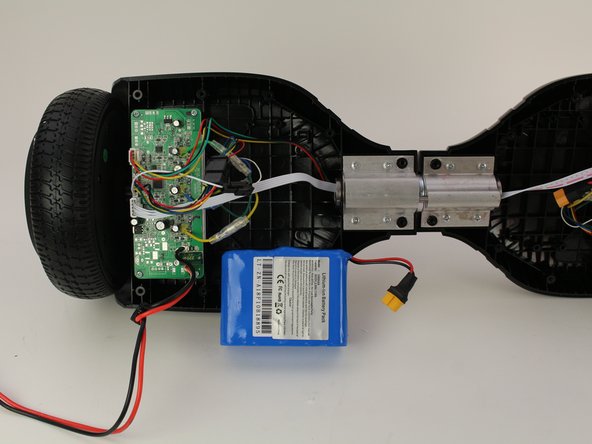
    • Disconnect the large red and black wire from the battery by pulling apart the connector.

    询问修复机器人
  5. Hover-1 Liberty Battery Replacement: 步骤 5 中的图像 1,2 Hover-1 Liberty Battery Replacement: 步骤 5 中的图像 2,2
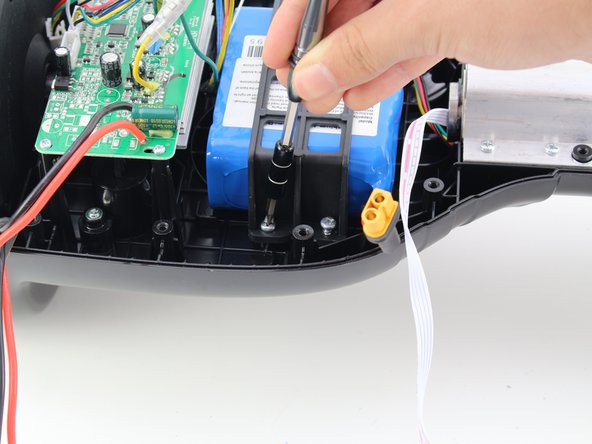
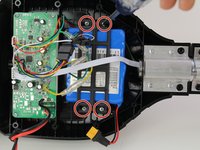
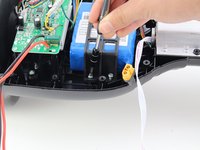
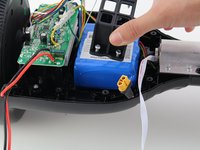
    • Remove the four 15mm Phillips #1 screws from the bracket holding the battery in place.

    询问修复机器人
  6. Hover-1 Liberty Battery Replacement: 步骤 6 中的图像 1,2 Hover-1 Liberty Battery Replacement: 步骤 6 中的图像 2,2
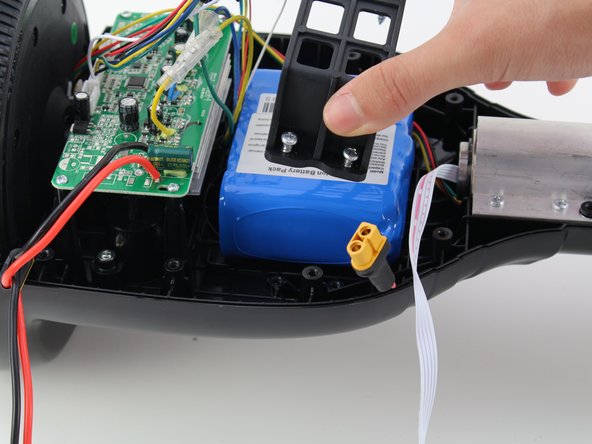
    • Remove the bracket by pulling it upwards, away from the hoverboard.

    • You will need to move some wires aside to remove the bracket successfully.

    询问修复机器人
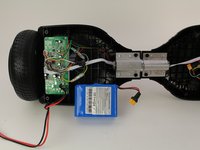
  7. Hover-1 Liberty Battery Replacement: 步骤 7 中的图像 1,3 Hover-1 Liberty Battery Replacement: 步骤 7 中的图像 2,3 Hover-1 Liberty Battery Replacement: 步骤 7 中的图像 3,3
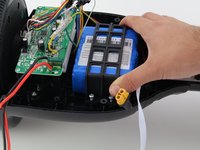
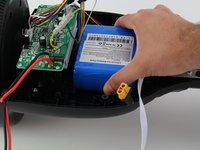
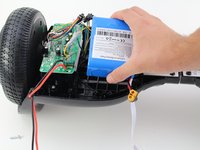
    • Remove the battery by grasping the battery and hoverboard firmly and pulling apart.

    • The battery is held in place by adhesive. So, some force is required to remove it.

    询问修复机器人
结论

To reassemble your device, follow these instructions in reverse order.

另外一个人完成了本指南。

Patrick Bacon

于10/08/18注册

438 声望

创作了2篇指南

团队

Cal Poly, Team S13-G2, White Fall 2018 Cal Poly, Team S13-G2, White Fall 2018 的会员

CPSU-WHITE-F18S13G2

3 名成员

创作了4篇指南

0指南评论

添加评论

浏览统计数据:

过去 24 小时: 1

过去 7 天: 16

过去 30 天: 83

总计 3,171