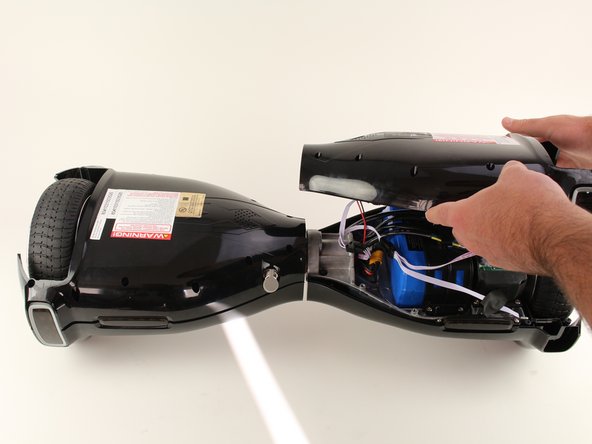
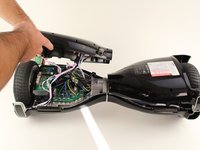
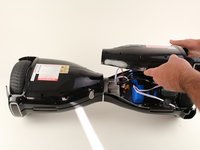
跳转到主内容

Hover-1 H1 Bottom Shell Replacement

仅作为前提条件
本指南仅提供前提条件!本指南是另一个程序的一部分,不能单独使用。

你所需要的

  1. Hover-1 H1 Bottom Shell Replacement, Bottom Shell: 步骤 1 中的图像 1,1
    • Remove the ten 9mm machine screws by using a long Phillips #2 screwdriver to rotate the screws counterclockwise.

    • Remove the twelve 9mm sheet metal screws by using a long Phillips #2 screwdriver to rotate the screws counterclockwise.

  2. Hover-1 H1 Bottom Shell Replacement: 步骤 2 中的图像 1,1
    • Puncture the two black stickers by using the tip of a screwdriver.

    • Remove the two 9mm machine screws by using a long Phillips #2 screwdriver to rotate the screws counterclockwise.

  3. Hover-1 H1 Bottom Shell Replacement: 步骤 3 中的图像 1,2 Hover-1 H1 Bottom Shell Replacement: 步骤 3 中的图像 2,2
    • Lift each side of the bottom shell by pulling up.

    • When lifting the shell, take care to not tear any cables from their connectors.

  4. Hover-1 H1 Bottom Shell Replacement: 步骤 4 中的图像 1,1
    • Unplug the battery by pulling gently on both sides of the orange connector.

结论

To reassemble your device, follow these instructions in reverse order.

Madeline David

于10/08/18注册

286 声望

创作了2篇指南

团队

Cal Poly, Team S17-G6, White Fall 2018 Cal Poly, Team S17-G6, White Fall 2018 的会员

CPSU-WHITE-F18S17G6

4 名成员

创作了9篇指南

0指南评论

添加评论

浏览统计数据:

过去 24 小时: 0

过去 7 天: 2

过去 30 天: 5

总计 91