跳转到主内容

当前版本的文档还未经巡查,您可以查看最新的已查核版本

你所需要的

  1. 这个步骤还没有翻译 帮忙翻译一下

    : 步骤 1 中的图像 1,2 : 步骤 1 中的图像 2,2
    • Identify that you have the Holmes HEH8031 heater. The model number is on the bottom of the unit.

  2. 这个步骤还没有翻译 帮忙翻译一下

    : 步骤 2 中的图像 1,1
    • Place the heater so the rear housing is facing you.

    • Remove the eight (8) 1 cm coarse-threaded screws around the perimeter.

    • Remove the two (2) 7 mm machine screws in the center.

  3. 这个步骤还没有翻译 帮忙翻译一下

    : 步骤 3 中的图像 1,3 : 步骤 3 中的图像 2,3 : 步骤 3 中的图像 3,3
    • Using your fingers, pry bottom corner of housing open from bottom to top.

    • Wiring remains connected at the top of the front and rear of the housing. Don't pull too hard or you will disconnect the wires.

    • Fan and rotor assembly are not connected to the housing. They will be loose.

  4. 这个步骤还没有翻译 帮忙翻译一下

    : 步骤 4 中的图像 1,2 : 步骤 4 中的图像 2,2
    • Turn the fan blade assembly over so blades are facing up.

    • Locate the four (4) metal tabs that connect the blade assembly to the rotor.

  5. 这个步骤还没有翻译 帮忙翻译一下

    : 步骤 5 中的图像 1,2 : 步骤 5 中的图像 2,2
    • Using the pointed metal spudger, bend each of the four (4) metal tabs toward the rotor shaft.

    • Bend tabs only far enough to clear the blade assembly so they can be easily bent back later to reattach the new blade assembly.

  6. 这个步骤还没有翻译 帮忙翻译一下

    : 步骤 6 中的图像 1,3 : 步骤 6 中的图像 2,3 : 步骤 6 中的图像 3,3
    • Lift the blade assembly off the rotor shaft.

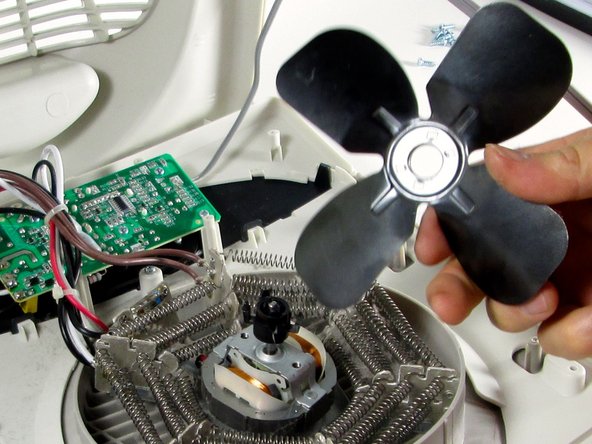
    • You may need to wiggle the blade assembly slightly to free it from the rotor.

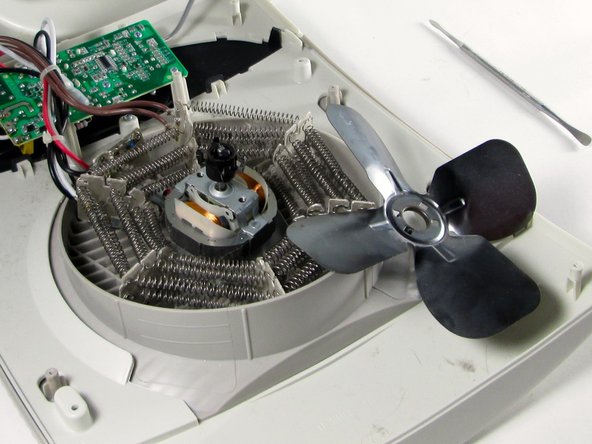
    • When reassembling the unit, you must replace the two (2) 7 mm machine screws that connect the rotor assembly to the housing before replacing the coarse-threaded screws. Aligning the 1 cm machine screws may take some finesse.

终点

团队

iFixit, Team 1-1, Gismondi Spring 2016 iFixit, Team 1-1, Gismondi Spring 2016 的会员

FIX-GISMONDI-S16S1G1

2 名成员

创作了2篇指南

0条评论

添加评论

浏览统计数据:

过去 24 小时: 0

过去 7 天: 2

过去 30 天: 6

总计 674