简介
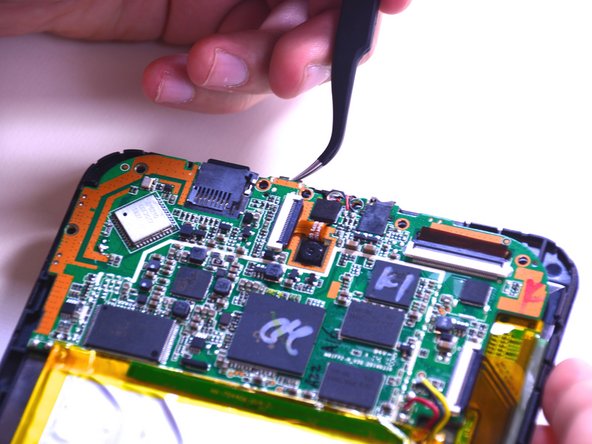
After extended use, the charging port may be worn down. If the device will not power on after charging, the charging port may be defective.
你所需要的
-
-
Remove the back cover of the device using a combination of both plastic opening tools.
-
Use your plastic opening tool pry open a corner of the device, then continue down the side of the device with the tool to completely open the device.
-
-


To reassemble your device, follow these instructions in reverse order.
To reassemble your device, follow these instructions in reverse order.
2等其他人完成本指南。
团队

USF Tampa, Team 1-2, Leahy Winter 2015 USF Tampa, Team 1-2, Leahy Winter 2015 的会员
USFT-LEAHY-W15S1G2
3 名成员
创作了10篇指南