简介
If you need to replace the motherboard of your Heyday Wireless Speaker 8125, follow this step-by-step guide.
The motherboard acts as the brains of a device and helps the rest of the device communicate and work together. If the motherboard fails, even if the battery is working and all of the other components are fine, the device won't work.
Before beginning this repair, make sure that your speaker is off and disconnected from the charger.
你所需要的
-
-
Orient the speaker so that it is sitting upright.
-
Use your nondominant hand to hold the speaker in place while you firmly push the plastic spudger into the seam between the device wall and the grille.
-
Push down with the plastic spudger and lift the grill until you feel it separate from the speaker.
-
Gently remove it from the top of the device.
-
-
-
Use tweezers to remove the four black rubber screw covers.
-
Use a Phillips screwdriver to remove four 8.9 mm screws underneath the screw covers.
-
Once all four screws are out, gently pull the black cover out using your hands or use a spudger to pry it out.
-
-
-
-
Use a Phillips screwdriver to remove four 6.6 mm screws from the motherboard.
-
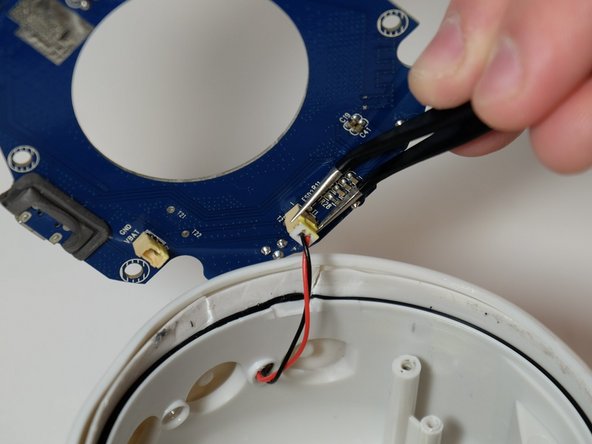
Lift the motherboard out of the speaker gently.
-
To reassemble your device, follow these instructions in reverse order.
To reassemble your device, follow these instructions in reverse order.


