跳转到主内容

Head Cleaning V4/V5

你所需要的

  1. Head Cleaning V4/V5, Setting the printer: 步骤 1 中的图像 1,2 Head Cleaning V4/V5, Setting the printer: 步骤 1 中的图像 2,2
    • With the printer powered on, enter the menu screen and select the "Config. Rápida" (Quick Setup) option.

    • In the quick settings, select the "Retreat Table" option.

  2. Head Cleaning V4/V5, Repositioning the table: 步骤 2 中的图像 1,3 Head Cleaning V4/V5, Repositioning the table: 步骤 2 中的图像 2,3 Head Cleaning V4/V5, Repositioning the table: 步骤 2 中的图像 3,3
    • When the table is in the position shown in the photo, press the Reset button on the left side of the machine, as shown.

    • Select the "Pré-aquecer PLA" (Preheat PLA) option from the quick settings menu.

  3. Head Cleaning V4/V5, Repositioning the head: 步骤 3 中的图像 1,2 Head Cleaning V4/V5, Repositioning the head: 步骤 3 中的图像 2,2
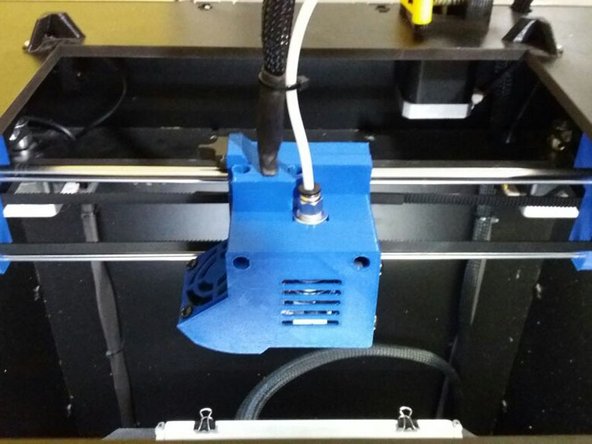
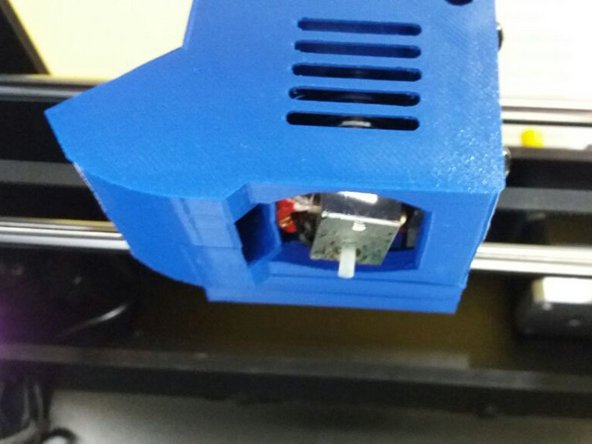
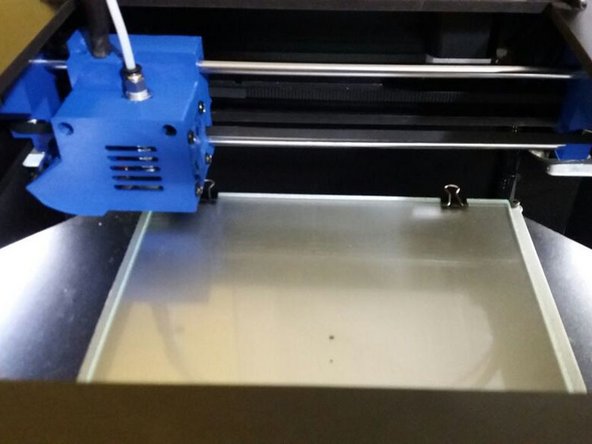
    • With the table in place, manually push the head to the center of the machine for easier handling.

  4. Head Cleaning V4/V5, Removing the nozzle: 步骤 4 中的图像 1,3 Head Cleaning V4/V5, Removing the nozzle: 步骤 4 中的图像 2,3 Head Cleaning V4/V5, Removing the nozzle: 步骤 4 中的图像 3,3
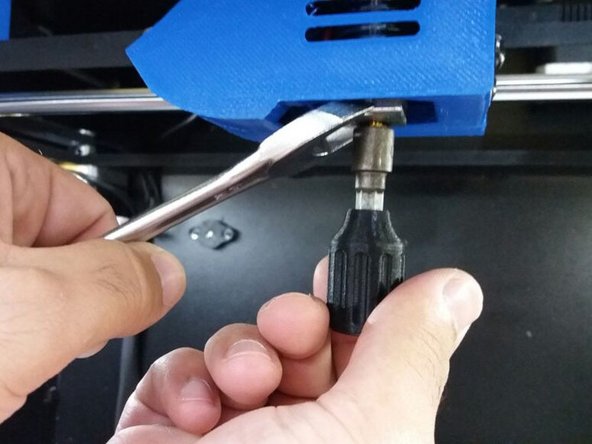
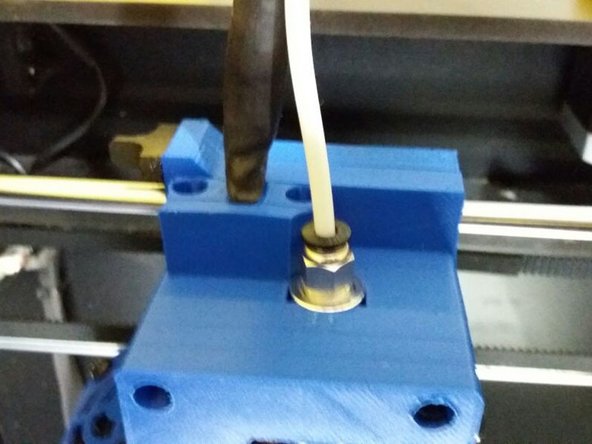
    • Position the 20mm Fork Spanner, as shown in the figure, locking the inside of the head in order to prevent the nozzle from spinning.

    • With the 7mm Fork Wrench, remove the nozzle from the head.

  5. Head Cleaning V4/V5, Removing the top PTFE: 步骤 5 中的图像 1,2 Head Cleaning V4/V5, Removing the top PTFE: 步骤 5 中的图像 2,2
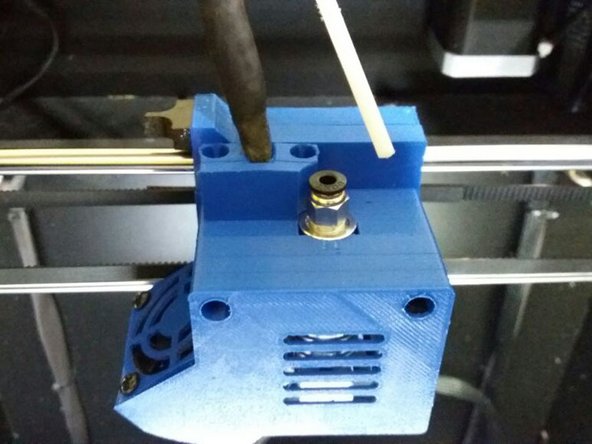
    • With your hands, pull the PTFE tube from the head, pressing the black part of the piece where the tube is fitted.

  6. Head Cleaning V4/V5, Removing the inner PTFE: 步骤 6 中的图像 1,3 Head Cleaning V4/V5, Removing the inner PTFE: 步骤 6 中的图像 2,3 Head Cleaning V4/V5, Removing the inner PTFE: 步骤 6 中的图像 3,3
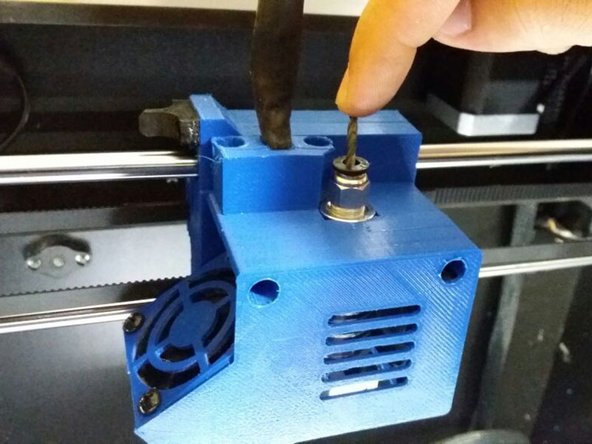
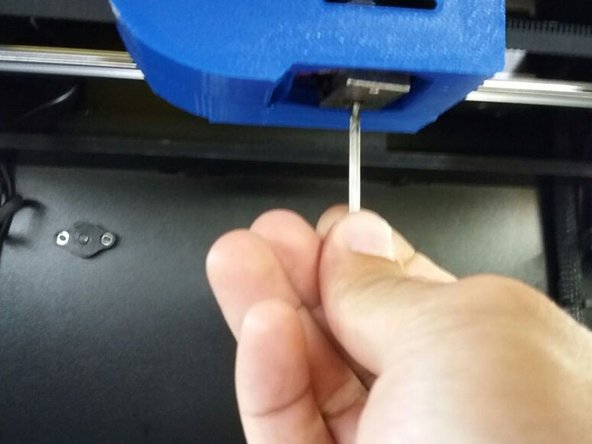
    • Positioning the bit in the indicated hole, push it down until the inner PTFE comes out from under the head (where the nozzle hole is).

  7. Head Cleaning V4/V5, Replacement and Cleaning: 步骤 7 中的图像 1,3 Head Cleaning V4/V5, Replacement and Cleaning: 步骤 7 中的图像 2,3 Head Cleaning V4/V5, Replacement and Cleaning: 步骤 7 中的图像 3,3
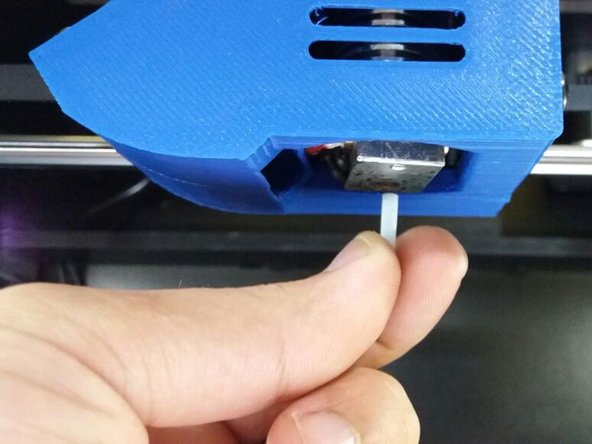
    • Finish removing the internal PTFE and replace it with a new one or clean it.

    • With the drill, clean the nozzle hole as shown in the picture.

    • Put the new inner PTFE in place as shown.

  8. Head Cleaning V4/V5, Reassembling the head: 步骤 8 中的图像 1,3 Head Cleaning V4/V5, Reassembling the head: 步骤 8 中的图像 2,3 Head Cleaning V4/V5, Reassembling the head: 步骤 8 中的图像 3,3
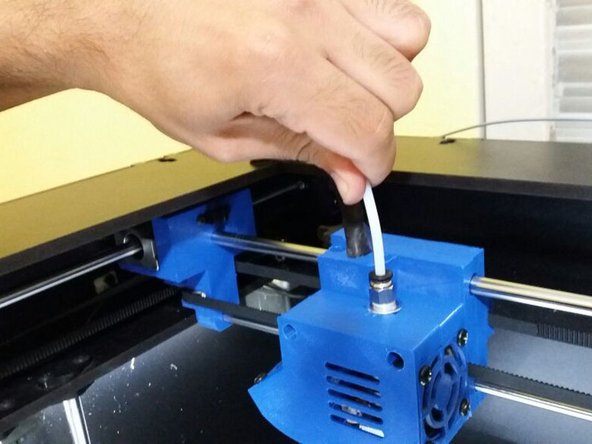
    • Replace the nozzle at the bottom of the head and the PTFE at the top, pushing it all the way down with your hands.

  9. Head Cleaning V4/V5, Returning the table to the initial position: 步骤 9 中的图像 1,2 Head Cleaning V4/V5, Returning the table to the initial position: 步骤 9 中的图像 2,2
    • Reposition the table, in the option "Home XYZ" of the menu, in the section of quick setup and wait for it to be in the position indicated by the figure

结论

You are ready to continue your prints!

另外一个人完成了本指南。

由衷感谢以下译者:

pt en

100%

这些译者帮助我们修补全世界! 您也想加入吗?
开始翻译 ›

0条评论

添加评论

浏览统计数据:

过去 24 小时: 2

过去 7 天: 6

过去 30 天: 7

总计 237