跳转到主内容
加入维修社区 - 创建账户

此翻译由机器生成,尚未经过人工审核。 会说这种语言吗? 查看评论。

Hasbro furby 2012 直流电机更换

浏览量: 1.9万

浏览统计数据:

过去24小时
4
过去 7 天:
78
过去 30 天:
339
总计
18,843
评论: 15

2 comments on steps, 13 guide comments.

Go to guide comments
已完成: 10

10 人已将本指南标记为“已完成”。你会是下一个完成的人吗?

收藏: 2

2 人已收藏(并订阅)本指南。你会是下一个吗?

所需时间: 25 - 30 分钟
难度: 中等
Hasbro furby 2012 直流电机更换

更换直流电机需要你拆下后盖和光传感器电路板。这项更换中最困难的部分是拆卸将毛皮固定在后盖上的卡扣。

你所需要的

工具

    1. Hasbro furby 2012 直流电机更换, 外壳: 步骤 1 中的图像 1,3 Hasbro furby 2012 直流电机更换, 外壳: 步骤 1 中的图像 2,3 Hasbro furby 2012 直流电机更换, 外壳: 步骤 1 中的图像 3,3
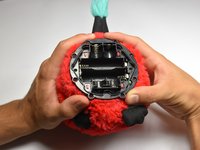
      • 使用一字螺丝刀拧下 Furby 底部的两颗 10 mm 螺丝。

      询问修复机器人
      添加评论

    2. Hasbro furby 2012 直流电机更换: 步骤 2 中的图像 1,3 Hasbro furby 2012 直流电机更换: 步骤 2 中的图像 2,3 Hasbro furby 2012 直流电机更换: 步骤 2 中的图像 3,3
      • 使用 Phillips #0 螺丝刀拧下 8 颗 10 mm 螺丝。

      • 拧下所有螺丝后,拆下底座环。

      • 将底座环从 Furby 上提起时请小心。底座环边缘锋利,用于将其固定到位。

      询问修复机器人
      添加评论

    3. Hasbro furby 2012 直流电机更换: 步骤 3 中的图像 1,2 Hasbro furby 2012 直流电机更换: 步骤 3 中的图像 2,2
      • 将白色排线从底座上的卡扣处解开。

      询问修复机器人

      添加评论

    4. Hasbro furby 2012 直流电机更换: 步骤 4 中的图像 1,3 Hasbro furby 2012 直流电机更换: 步骤 4 中的图像 2,3 Hasbro furby 2012 直流电机更换: 步骤 4 中的图像 3,3
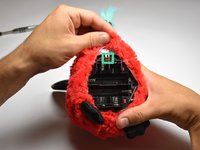
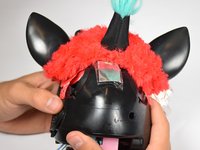
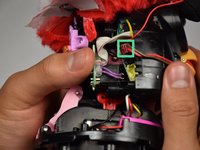
      • 将 Furby 的皮毛向下卷起。

      • 断开此时露出的红线。

      询问修复机器人

      添加评论

    5. Hasbro furby 2012 直流电机更换: 步骤 5 中的图像 1,3 Hasbro furby 2012 直流电机更换: 步骤 5 中的图像 2,3 Hasbro furby 2012 直流电机更换: 步骤 5 中的图像 3,3
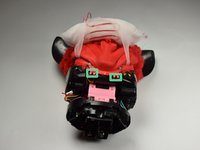
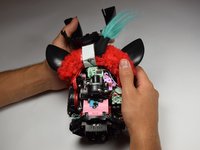
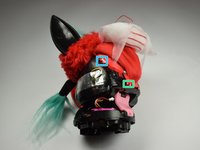
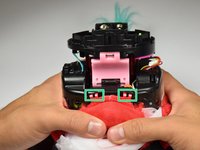
      • 首先找到中间的两个卡扣。

      • 找到 Furby 两侧剩余的两个卡扣,它们位于相对位置。

      • 将 Furby 倒置,使尾部背对着你。

      询问修复机器人

      添加评论

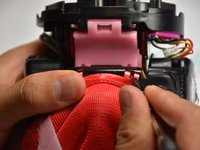
    6. Hasbro furby 2012 直流电机更换, 拆卸卡扣: 步骤 6 中的图像 1,3 Hasbro furby 2012 直流电机更换, 拆卸卡扣: 步骤 6 中的图像 2,3 Hasbro furby 2012 直流电机更换, 拆卸卡扣: 步骤 6 中的图像 3,3
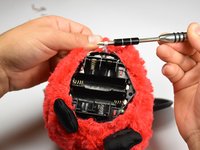
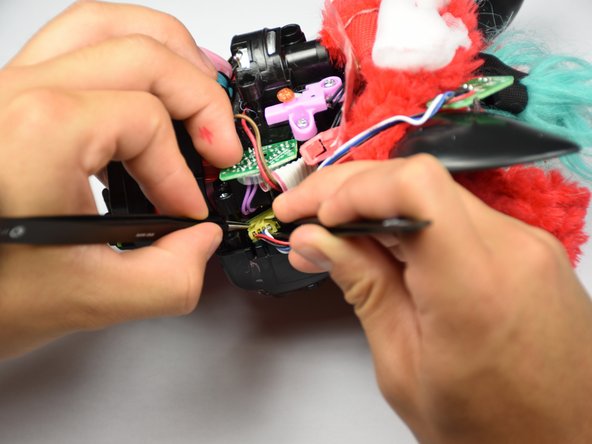
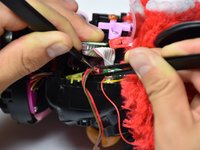
      • 将金属开启工具直接插入卡扣开口处。

      • 向上按压卡扣。同时,用另一只手将塑料接缝从 Furby 的机身上拉开。

      • 重复上一个步骤,拆卸其余的三个卡扣。

      询问修复机器人
      添加评论

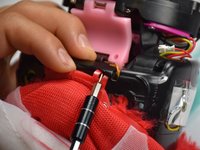
    7. Hasbro furby 2012 直流电机更换: 步骤 7 中的图像 1,3 Hasbro furby 2012 直流电机更换: 步骤 7 中的图像 2,3 Hasbro furby 2012 直流电机更换: 步骤 7 中的图像 3,3
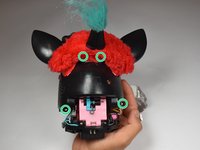
      • 找到两颗 10 mm 螺丝,用 Phillips #0 螺丝刀将它们拧下。

      • 向上掀起毛皮盖板,直至露出 Furby 的脸部。

      询问修复机器人
      添加评论

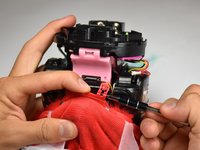
    8. Hasbro furby 2012 直流电机更换: 步骤 8 中的图像 1,3 Hasbro furby 2012 直流电机更换: 步骤 8 中的图像 2,3 Hasbro furby 2012 直流电机更换: 步骤 8 中的图像 3,3
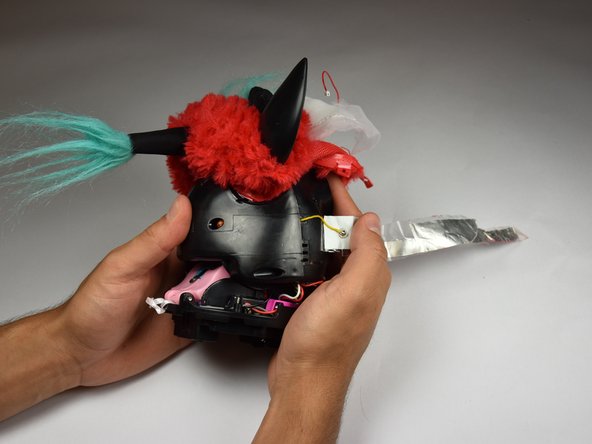
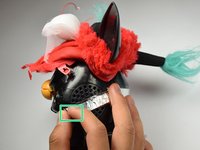
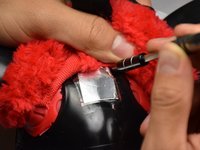
      • 将 Furby 侧放,使喙部朝向左侧,并找到铝箔胶带的边缘。

      • 轻轻掀起胶带并向后剥离,直到胶带即将取下。

      • 不要拉扯位于胶带另一端的黄色电线。

      询问修复机器人
      添加评论

    9. Hasbro furby 2012 直流电机更换: 步骤 9 中的图像 1,2 Hasbro furby 2012 直流电机更换: 步骤 9 中的图像 2,2
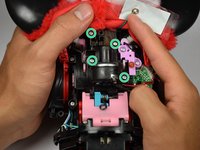
      • 找到 4 颗 10 mm 螺丝。机身两侧各两颗,另外两颗位于后盖上方,胶带周围。

      • 用 Phillips 螺丝刀拧下这些 10 mm 螺丝。

      询问修复机器人

      添加评论

    10. Hasbro furby 2012 直流电机更换: 步骤 10 中的图像 1,1
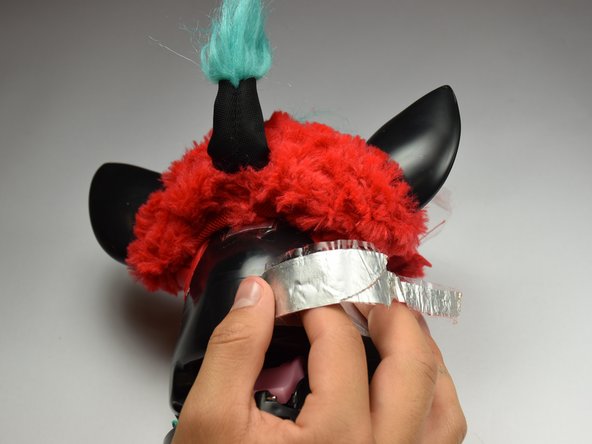
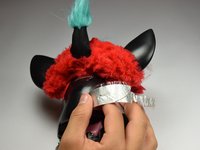
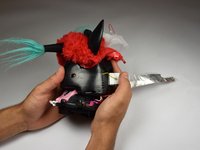
      • 抓住胶带的底边,轻轻地向上揭起。

      • 将胶带揭起,直到其几乎与黑色外壳分离。

      询问修复机器人

      添加评论

    11. Hasbro furby 2012 直流电机更换: 步骤 11 中的图像 1,2 Hasbro furby 2012 直流电机更换: 步骤 11 中的图像 2,2
      • 将 Furby 正面朝下放置,底座朝向远离你的方向。

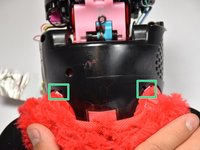
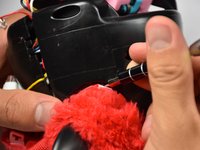
      • 找到耳朵下方的卡扣。

      • 重复步骤 6 中使用的方法。使用金属撬棒作为杠杆向上按压卡扣,同时向后拉动卡扣。

      询问修复机器人

      添加评论

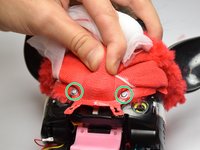
    12. Hasbro furby 2012 直流电机更换: 步骤 12 中的图像 1,2 Hasbro furby 2012 直流电机更换: 步骤 12 中的图像 2,2
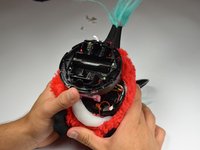
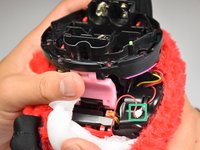
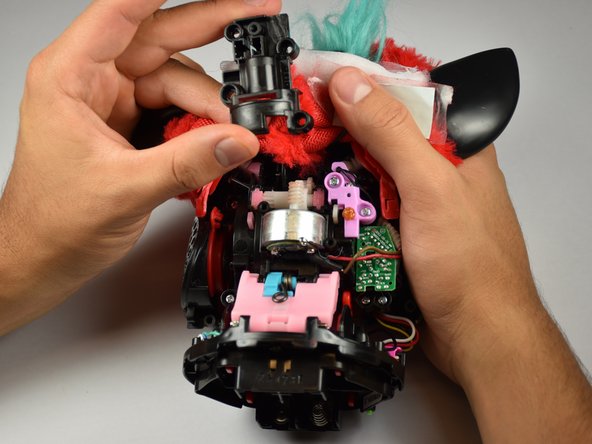
      • 将松动的塑料后盖从 Furby 的机身上拉开并取下。

      询问修复机器人
      添加评论

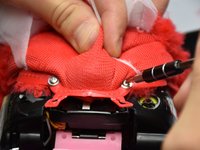
    1. Hasbro furby 2012 直流电机更换, 光线传感器: 步骤 13 中的图像 1,3 Hasbro furby 2012 直流电机更换, 光线传感器: 步骤 13 中的图像 2,3 Hasbro furby 2012 直流电机更换, 光线传感器: 步骤 13 中的图像 3,3
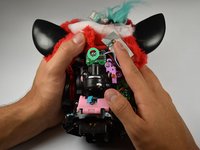
      • 拧下固定电路板的 10 mm Phillips #0 螺丝。

      • 轻轻将电路板提起取出。

      询问修复机器人
      添加评论

    2. Hasbro furby 2012 直流电机更换: 步骤 14 中的图像 1,2 Hasbro furby 2012 直流电机更换: 步骤 14 中的图像 2,2
      在这个步骤中使用的工具:
      Tweezers
      $4.99
      • 将 Furby 放置好,使其尾巴指向左侧,面部指向右侧。

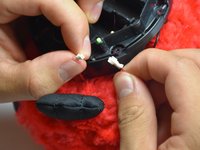
      • 使用 尖头镊子 撑开插孔,再用钝头镊子夹住连接器并将其拔出。

      • 插入新的光线传感器连接器。

      添加评论

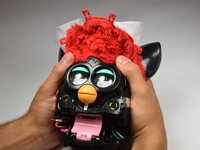
    1. Hasbro furby 2012 直流电机更换, 直流电机: 步骤 15 中的图像 1,2 Hasbro furby 2012 直流电机更换, 直流电机: 步骤 15 中的图像 2,2
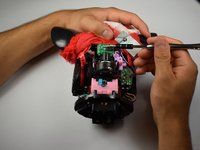
      • 拧下固定电机外壳的四颗螺丝。

      • 拆下电机外壳。

      • 直流电机及其周围有润滑油,操作时请小心。

      询问修复机器人
      添加评论

    2. Hasbro furby 2012 直流电机更换: 步骤 16 中的图像 1,3 Hasbro furby 2012 直流电机更换: 步骤 16 中的图像 2,3 Hasbro furby 2012 直流电机更换: 步骤 16 中的图像 3,3
      在这个步骤中使用的工具:
      Tweezers
      $4.99
      • 将 Furby 的喙部朝右放置。

      • 找到红色的 DC 电机连接器。

      • 使用钝尖镊子 镊子轻轻拔下连接器。

      添加评论

结论

要重新组装设备,请按相反顺序执行这些说明。

取消:我没有完成这个指南。

10等其他人完成本指南。

作者

与

Jordan Castillo

于10/06/16注册

1,078 声望

创作了5篇指南

团队

Cal Poly, Team 15-5, Livingston Fall 2016 Cal Poly, Team 15-5, Livingston Fall 2016 的会员

CPSU-LIVINGSTON-F16S15G5

4 名成员

创作了72篇指南

13指南评论

How do you connect the new motor after that? and does this work for Furby Booms too?

Dom Barr - 回复 分享

Donde puedo comprar el motor? Se supone que si necesito cambiarlo es porque tengo que comprar primero uno. Gracias

jaimeama - 回复 分享

Hi. Where can I buy a replacement motor please?

rebeccataylor1972 - 回复 分享

Generic replacement motors are on Ebay. The one I got was RF-300CA

I could not find the exact motor.

Specs: 1.5-6 volt.

24.2mm x 12.4mm (24x12).

10 or 12mm long shaft x 2mm diameter.

.99 cents free shipping. Two weeks from China.

https://www.ebay.com/itm/RF-300CA-DC-1-5V-6V-815...

You will need to de-solder the little half-moon shaped control board off the bottom of the old motor. Crazy glue it to the bottom of the new motor. Then solder the the red wires together and black wires together. Then solder them to the board. The old motor had spikes sticking out the bottom to connect the control board. The generic replacement motors have wires instead. I searched the entire internet. I could not find the exact motor.

https://www.youtube.com/watch?v=6WWecJ_I... It’s in Spanish, but you’ll get the idea.

To get the ears off. Firmly twist and pull them…HARD.

Good luck.

kewrock - 回复 分享

And how do I disconnect the coil from the motor? Just pulling hard?

Ronkly - 回复 分享

添加评论

浏览统计数据:

过去 24 小时: 4

过去 7 天: 78

过去 30 天: 339

总计 18,843