跳转到主内容

Hamilton Beach 25460Z Thermal Switch Replacement

你所需要的

  1. Hamilton Beach 25460Z Thermal Switch Replacement, Plug Wiring: 步骤 1 中的图像 1,2 Hamilton Beach 25460Z Thermal Switch Replacement, Plug Wiring: 步骤 1 中的图像 2,2
    • Unplug your device before proceeding with disassembly.

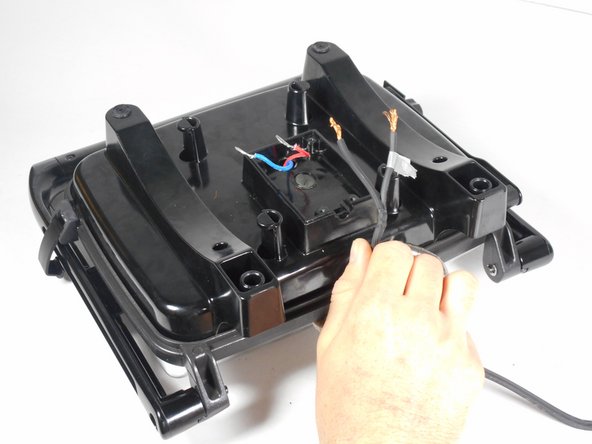
    • Remove the four 14mm screws from the bottom of the Panini Press using the T10 Screwdriver.

  2. Hamilton Beach 25460Z Thermal Switch Replacement: 步骤 2 中的图像 1,1
    • Lift up the plastic cover to expose the plug wiring.

    • Mark the plug wire connected to the red wire with a piece of tape. This will be used as a reference for reassembly.

  3. Hamilton Beach 25460Z Thermal Switch Replacement: 步骤 3 中的图像 1,3 Hamilton Beach 25460Z Thermal Switch Replacement: 步骤 3 中的图像 2,3 Hamilton Beach 25460Z Thermal Switch Replacement: 步骤 3 中的图像 3,3
    • Use the pliers to pinch the widest point of the cap. This should be done opposite of the already existing crimps.

    • Slide off the white cap.

    • Repeat these steps for the second white cap.

  4. Hamilton Beach 25460Z Thermal Switch Replacement: 步骤 4 中的图像 1,2 Hamilton Beach 25460Z Thermal Switch Replacement: 步骤 4 中的图像 2,2
    • Remove the two rubber screw covers from the bottom of the Panini Press.

    • Remove the four uncovered 10mm screws with the PH2 Screwdriver.

  5. Hamilton Beach 25460Z Thermal Switch Replacement: 步骤 5 中的图像 1,2 Hamilton Beach 25460Z Thermal Switch Replacement: 步骤 5 中的图像 2,2
    • Lift the plastic lower heating element up and place to the side for reassembly. You have now disconnected the plug wiring completely.

  6. Hamilton Beach 25460Z Thermal Switch Replacement, Thermal Switch: 步骤 6 中的图像 1,2 Hamilton Beach 25460Z Thermal Switch Replacement, Thermal Switch: 步骤 6 中的图像 2,2
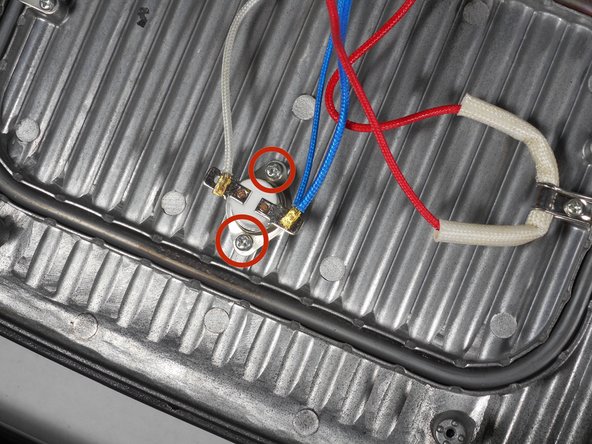
    • Remove the two 10mm screws connecting the thermal switch with the PH2 Screwdriver and a bit of force.

    • These screws may be difficult to remove.

  7. Hamilton Beach 25460Z Thermal Switch Replacement: 步骤 7 中的图像 1,1
    • De-solder the connection between the wires and the thermal switch.

    • Refer to this page if you need to brush up on your soldering skills.

    • Replace the thermal switch.

    • The lead on the red (with the small hole), marked in red, connects to the white wire.

    • The lead on the right, marked in blue, connects to the blue wire.

结论

To reassemble your device, follow these instructions in reverse order.

团队

Cal Poly, Team 6-27, Amido Winter 2015 Cal Poly, Team 6-27, Amido Winter 2015 的会员

CPSU-AMIDO-W15S6G27

4 名成员

创作了6篇指南

0条评论

添加评论

浏览统计数据:

过去 24 小时: 0

过去 7 天: 1

过去 30 天: 15

总计 1,824