简介
The charging port is where the charger plugs into the phone. If this piece is damaged, the phone might not be able to charge. Make sure you have tried cleaning the port before jumping into this replacement.
你所需要的
-
-
Insert the end of a paper clip into the holes on each side of the phone to eject the SIM card and Micro SD card.
-
Set the cardholders aside.
-
-
-
Use a metal spudger to pry up the left edge of the upper grey front plate.
-
Use the narrow plastic pry tool to carefully separate the black ribbon antenna from the grey plate.
-
-
-
Use the plastic pry tool to pry around the edge of the phone.
-
Slowly pull up from the right side of the screen like opening a book.
-
Use the plastic spudger to peel the foam adhesive around the camera away from the back plate.
Only open the back enough to gain access to the foam adhesive around the camera. If you open too much before separating the camera, you will rip the ribbon connector apart & the camera will never work again. Thank you !!!
Is there anything else that can destroy the camera?
I was careful and did not think that I destroyed anything, also there is no damage visible. But the camera doesn’t work, I cannot even switch from front to main camera. Any idea or hopeless?
Once the back is pried enough to reach inside, you can use the plastic spudger tool to reach in and pry the sides of the square camera body away from the back of the case. You are trying to protect the camera body, and the ribbon cable that connects it to the main board, by carefully separating the adhesive around the sides that fasten the camera body to the hole in the back cover of the phone.
There are several plastic clips around the perimeter of the phone. I found it easiest to unclip the one right blow the volume button first, then work down the right side of the phone (two more on the side, one at the corner) then work up the right side (one at the upper right corner) then along the top and bottom.
-
-
-
-
Peel off the long yellow pieces of tape on the right and left side of the copper plate.
-
-
-
Use the pointed end of the spudger to pop off the four antenna connectors. Three are located on the top left corner of the motherboard and one on the bottom right.
-
-
-
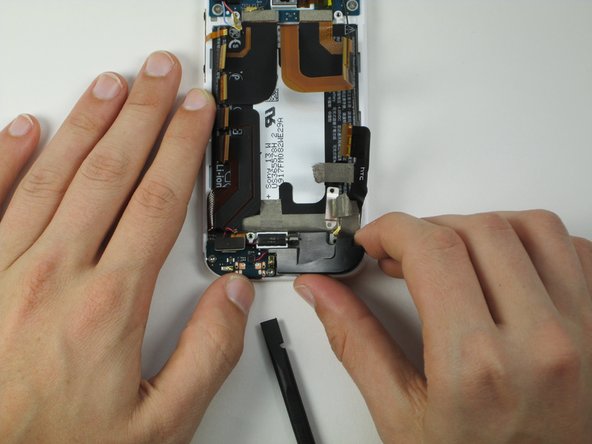
Use the narrow plastic tool to pry up the black foam covered rectangular connector.
-
-
-
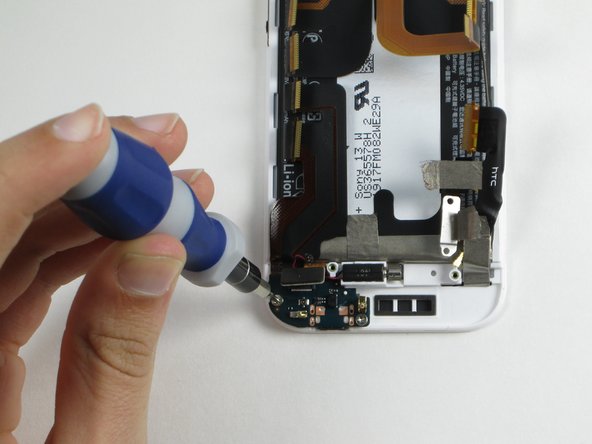
Use the T5 torx screwdriver from the iFixit toolkit to remove the two 2mm screws that hold the power connector board in.
-
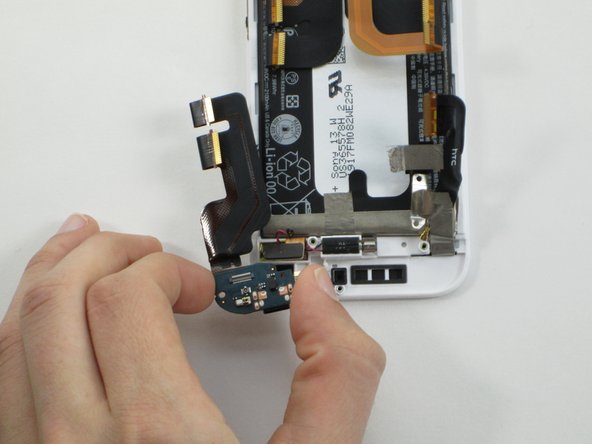
Pull the board out.
If replacing the USB board, note that it will come flat, but the one you remove has two tight bends in the flexi to form a step up over the battery. This is important to replicate in replacement. It may be tempting to allow more gentle sweep of the flexi over the battery, but if you do this, the connectors won't align with their intended counterparts on the mainboard (but you'll only discover in step 8 and have to go back through to around 12 to form the step).
-


To reassemble your device, follow these instructions in reverse order.
To reassemble your device, follow these instructions in reverse order.
8等其他人完成本指南。
团队

Cal Poly, Team 4-48, Amido Fall 2014 Cal Poly, Team 4-48, Amido Fall 2014 的会员
CPSU-AMIDO-F14S4G48
5 名成员
创作了17篇指南
2条评论
I wanna take to a shop and pay for the repairs.Please could you give me places to go
Paul Volpe - 回复
Please advise me on any places I could take my phone for repair.I live in the Sydney area.
Paul Volpe - 回复