跳转到主内容

HP Windows Mixed Reality Controllers TPC-Q044 Trigger Replacement

你所需要的

  1. HP Windows Mixed Reality Controllers TPC-Q044 Trigger Replacement, Batteries: 步骤 1 中的图像 1,3 HP Windows Mixed Reality Controllers TPC-Q044 Trigger Replacement, Batteries: 步骤 1 中的图像 2,3 HP Windows Mixed Reality Controllers TPC-Q044 Trigger Replacement, Batteries: 步骤 1 中的图像 3,3
    • Slide the rear compartment cover in the direction of the arrow.

    • If replacing batteries, ensure the (+) and (-) on the battery match the (+) and (-) labeled in the battery compartment.

  2. HP Windows Mixed Reality Controllers TPC-Q044 Trigger Replacement, Shell: 步骤 2 中的图像 1,2 HP Windows Mixed Reality Controllers TPC-Q044 Trigger Replacement, Shell: 步骤 2 中的图像 2,2
    • Remove the four 4mm screws using a Phillips #00 screwdriver.

  3. HP Windows Mixed Reality Controllers TPC-Q044 Trigger Replacement: 步骤 3 中的图像 1,3 HP Windows Mixed Reality Controllers TPC-Q044 Trigger Replacement: 步骤 3 中的图像 2,3 HP Windows Mixed Reality Controllers TPC-Q044 Trigger Replacement: 步骤 3 中的图像 3,3
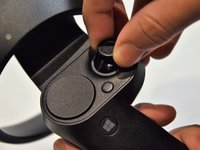
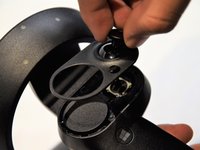
    • Grip the main body and pull the joystick outwards until the entire front panel pops off.

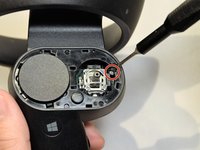
    • Remove the 6mm screw in the corner of the joystick well using a Phillips #00 screwdriver.

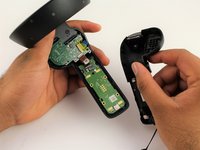
  4. HP Windows Mixed Reality Controllers TPC-Q044 Trigger Replacement: 步骤 4 中的图像 1,2 HP Windows Mixed Reality Controllers TPC-Q044 Trigger Replacement: 步骤 4 中的图像 2,2
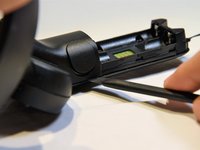
    • Use a spudger to pry apart the two halves of the assembly.

    • Work slowly, prying a small section at a time until the halves are completely separated.

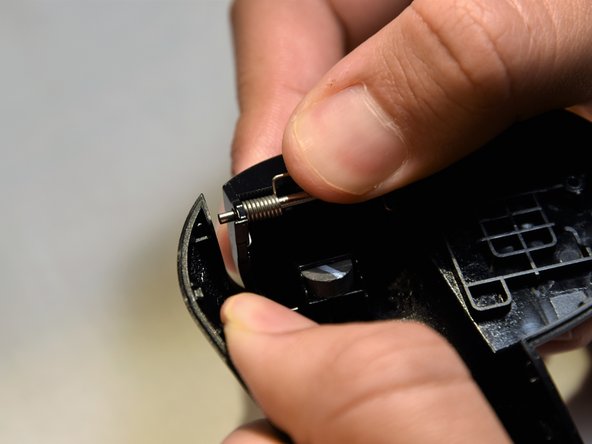
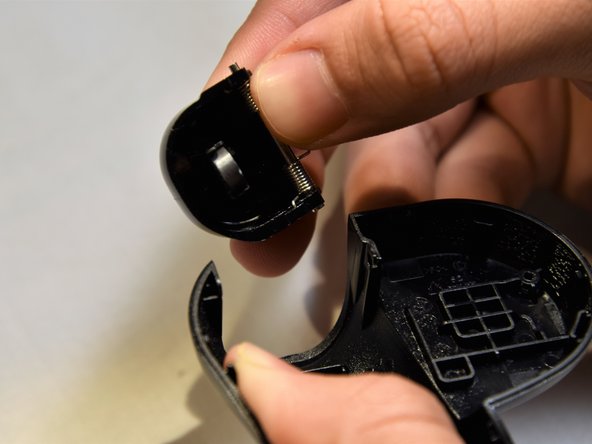
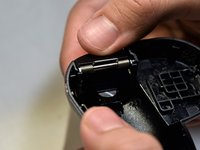
  5. HP Windows Mixed Reality Controllers TPC-Q044 Trigger Replacement, Trigger: 步骤 5 中的图像 1,3 HP Windows Mixed Reality Controllers TPC-Q044 Trigger Replacement, Trigger: 步骤 5 中的图像 2,3 HP Windows Mixed Reality Controllers TPC-Q044 Trigger Replacement, Trigger: 步骤 5 中的图像 3,3
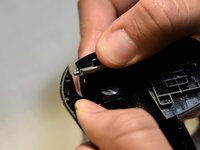
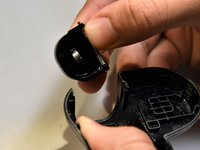
    • Grasp the trigger with one hand while pushing against the outer wall of the shell.

    • Apply pressure, pulling the wall away from the trigger.

    • Remove the trigger starting from the freed edge.

    • The spring-rod assembly can easily come apart. Inserting the large end first during reassembly may make the process easier.

结论

To reassemble your device, follow these instructions in reverse order.

4等其他人完成本指南。

Clement Cheung

于01/24/19注册

643 声望

创作了5篇指南

团队

Cal Poly, Team S18-G5, White Winter 2019 Cal Poly, Team S18-G5, White Winter 2019 的会员

CPSU-WHITE-W19S18G5

2 名成员

创作了14篇指南

0条评论

添加评论

浏览统计数据:

过去 24 小时: 1

过去 7 天: 2

过去 30 天: 6

总计 1,571