跳转到主内容

HP TouchSmart 15-r015dx Screen Replacement

你所需要的

  1. HP TouchSmart 15-r015dx Screen Replacement, Screen: 步骤 1 中的图像 1,3 HP TouchSmart 15-r015dx Screen Replacement, Screen: 步骤 1 中的图像 2,3 HP TouchSmart 15-r015dx Screen Replacement, Screen: 步骤 1 中的图像 3,3
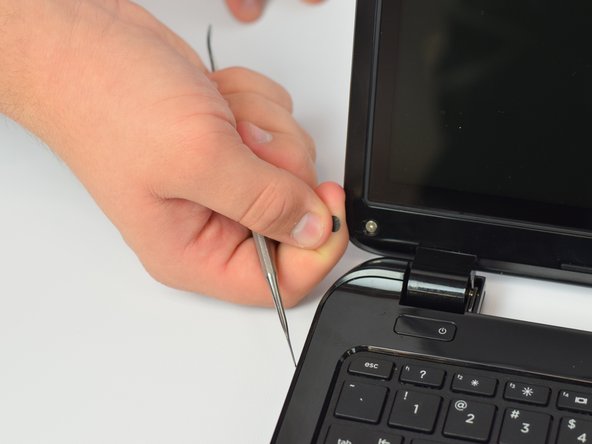
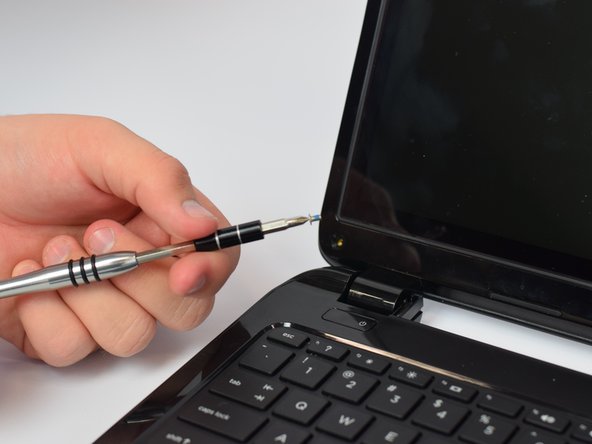
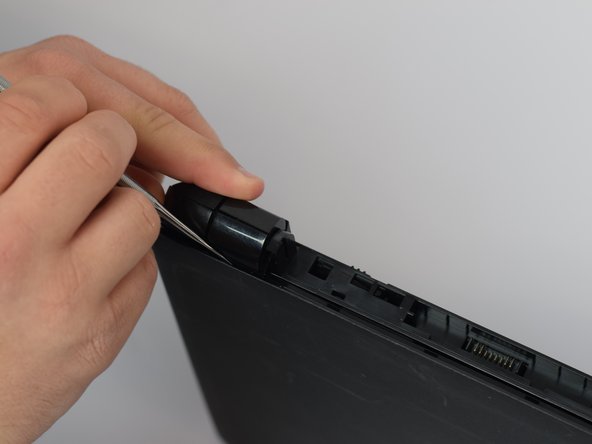
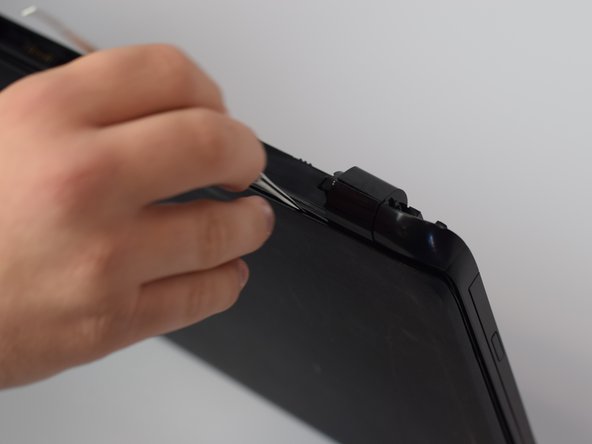
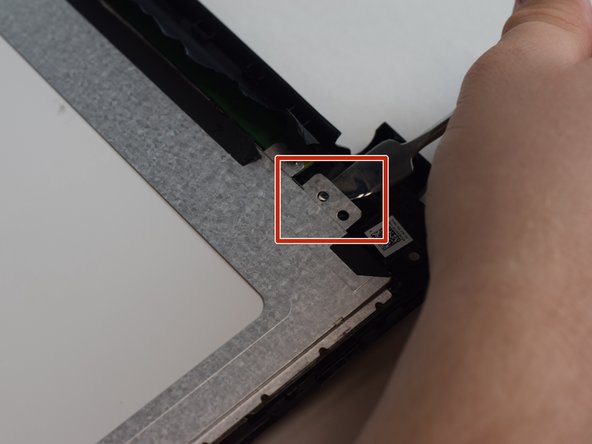
    • Acquire the metal spudger and a Precision Magnetized Driver with J1 size bit.

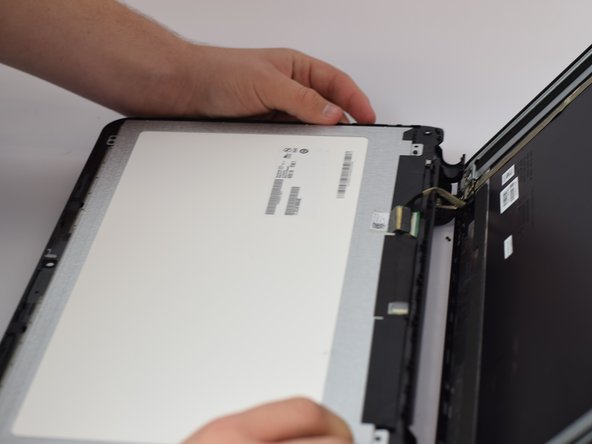
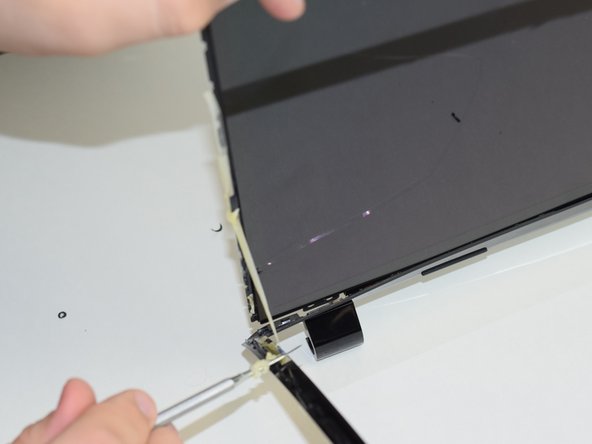
    • Flip your HP TouchSmart 15 over.

  2. HP TouchSmart 15-r015dx Screen Replacement: 步骤 2 中的图像 1,3 HP TouchSmart 15-r015dx Screen Replacement: 步骤 2 中的图像 2,3 HP TouchSmart 15-r015dx Screen Replacement: 步骤 2 中的图像 3,3
    • Locate tabs on the underside of the laptop.

    • Push both tabs towards the center of the laptop and pull away to remove battery.

  3. HP TouchSmart 15-r015dx Screen Replacement: 步骤 3 中的图像 1,3 HP TouchSmart 15-r015dx Screen Replacement: 步骤 3 中的图像 2,3 HP TouchSmart 15-r015dx Screen Replacement: 步骤 3 中的图像 3,3
    • Take the sharp end of the pry tool and pop out the black screw cover.

    • Repeat on opposite side.

  4. HP TouchSmart 15-r015dx Screen Replacement: 步骤 4 中的图像 1,3 HP TouchSmart 15-r015dx Screen Replacement: 步骤 4 中的图像 2,3 HP TouchSmart 15-r015dx Screen Replacement: 步骤 4 中的图像 3,3
    • Take the Precision Magnetized Driver with J1 size bit and unscrew the screw.

    • Repeat on opposite side.

  5. HP TouchSmart 15-r015dx Screen Replacement: 步骤 5 中的图像 1,3 HP TouchSmart 15-r015dx Screen Replacement: 步骤 5 中的图像 2,3 HP TouchSmart 15-r015dx Screen Replacement: 步骤 5 中的图像 3,3
    • Using the pry tool, begin to separate the touchscreen from the plastic backing.

  6. HP TouchSmart 15-r015dx Screen Replacement: 步骤 6 中的图像 1,3 HP TouchSmart 15-r015dx Screen Replacement: 步骤 6 中的图像 2,3 HP TouchSmart 15-r015dx Screen Replacement: 步骤 6 中的图像 3,3
    • Close the laptop and flip it over once again.

    • Continue to pry the touchscreen from the plastic backing in the hinged area of the laptop.

  7. HP TouchSmart 15-r015dx Screen Replacement: 步骤 7 中的图像 1,3 HP TouchSmart 15-r015dx Screen Replacement: 步骤 7 中的图像 2,3 HP TouchSmart 15-r015dx Screen Replacement: 步骤 7 中的图像 3,3
    • Flip over the laptop and open it.

    • Pull up on the separated touchscreen while pulling it away from the plastic backing.

    • Be careful while laying down the touchscreen to not pull the connection point.

    • Lay the touchscreen on the keyboard facedown.

  8. HP TouchSmart 15-r015dx Screen Replacement: 步骤 8 中的图像 1,3 HP TouchSmart 15-r015dx Screen Replacement: 步骤 8 中的图像 2,3 HP TouchSmart 15-r015dx Screen Replacement: 步骤 8 中的图像 3,3
    • Locate the connection point.

    • Slowly and carefully peel off.

  9. HP TouchSmart 15-r015dx Screen Replacement: 步骤 9 中的图像 1,2 HP TouchSmart 15-r015dx Screen Replacement: 步骤 9 中的图像 2,2
    • Isolate the touchscreen from the keyboard.

  10. HP TouchSmart 15-r015dx Screen Replacement: 步骤 10 中的图像 1,3 HP TouchSmart 15-r015dx Screen Replacement: 步骤 10 中的图像 2,3 HP TouchSmart 15-r015dx Screen Replacement: 步骤 10 中的图像 3,3
    • Begin by peeling off the black adhesive tape using the pry tool.

    • Once adhesive tape is removed, use the pry tool to remove the tab in the corner. Repeat in each corner.

  11. HP TouchSmart 15-r015dx Screen Replacement: 步骤 11 中的图像 1,3 HP TouchSmart 15-r015dx Screen Replacement: 步骤 11 中的图像 2,3 HP TouchSmart 15-r015dx Screen Replacement: 步骤 11 中的图像 3,3
    • Using the sharp end of the pry tool, separate the plastic from the screen.

  12. HP TouchSmart 15-r015dx Screen Replacement: 步骤 12 中的图像 1,1
    • Now it is time to reassemble your device with a new screen.

结论

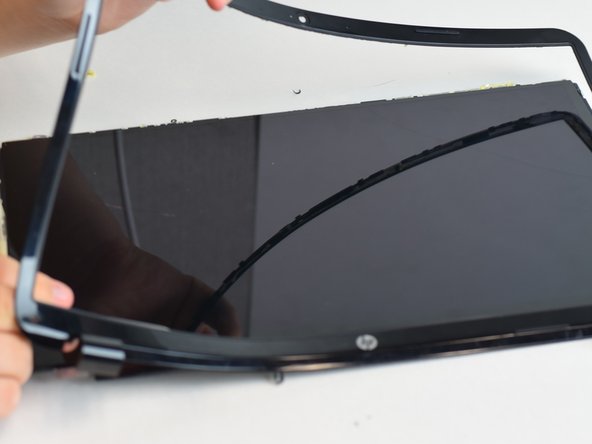
To reassemble your device, follow these instructions in reverse order.

3等其他人完成本指南。

一条评论

Amazing work. I would not change a thing.

Dan Hartzell - 回复

添加评论

浏览统计数据:

过去 24 小时: 0

过去 7 天: 0

过去 30 天: 6

总计 1,182