跳转到主内容

HP Stream x360 11-p010nr Battery Replacement

你所需要的

  1. HP Stream x360 11-p010nr Battery Replacement, Battery: 步骤 1 中的图像 1,3 HP Stream x360 11-p010nr Battery Replacement, Battery: 步骤 1 中的图像 2,3 HP Stream x360 11-p010nr Battery Replacement, Battery: 步骤 1 中的图像 3,3
    • First, make sure the laptop is completely powered off and not charging to avoid electric shock.

    • Flip the laptop upside down then remove the seven 6.5 mm screws using a JIS J0 screwdriver.

    • Also remove the two 8.5 mm JIS J0 screws near the hinge of the laptop.

    • Peel back the two rubber feet near the hinge of the laptop to reveal and remove two more 8.5 mm JIS J0 screws.

    • The rubber feet near the speakers have no screws.

  2. HP Stream x360 11-p010nr Battery Replacement: 步骤 2 中的图像 1,2 HP Stream x360 11-p010nr Battery Replacement: 步骤 2 中的图像 2,2
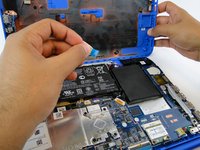
    • After removing all the screws, slowly and carefully lift the back cover, exposing the internal components.

    • Be careful not to damage the blue strip when opening the back case.

  3. HP Stream x360 11-p010nr Battery Replacement: 步骤 3 中的图像 1,3 HP Stream x360 11-p010nr Battery Replacement: 步骤 3 中的图像 2,3 HP Stream x360 11-p010nr Battery Replacement: 步骤 3 中的图像 3,3
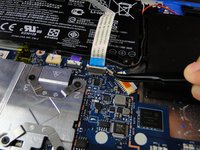
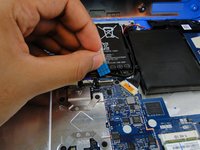
    • Carefully detach the blue strip that connects the back cover to the internals.

    • Make sure the blue tab is facing upwards when reassembling.

  4. HP Stream x360 11-p010nr Battery Replacement: 步骤 4 中的图像 1,3 HP Stream x360 11-p010nr Battery Replacement: 步骤 4 中的图像 2,3 HP Stream x360 11-p010nr Battery Replacement: 步骤 4 中的图像 3,3
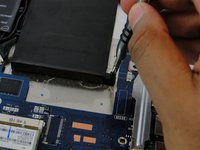
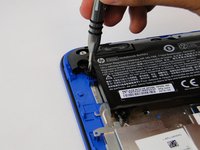
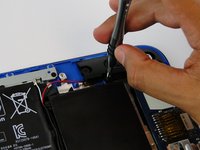
    • Using the JIS J0 screwdriver, unscrew the 6.5 mm screws surrounding the battery.

  5. HP Stream x360 11-p010nr Battery Replacement: 步骤 5 中的图像 1,1
    • Carefully remove the surrounding wire away from the battery

  6. HP Stream x360 11-p010nr Battery Replacement: 步骤 6 中的图像 1,3 HP Stream x360 11-p010nr Battery Replacement: 步骤 6 中的图像 2,3 HP Stream x360 11-p010nr Battery Replacement: 步骤 6 中的图像 3,3
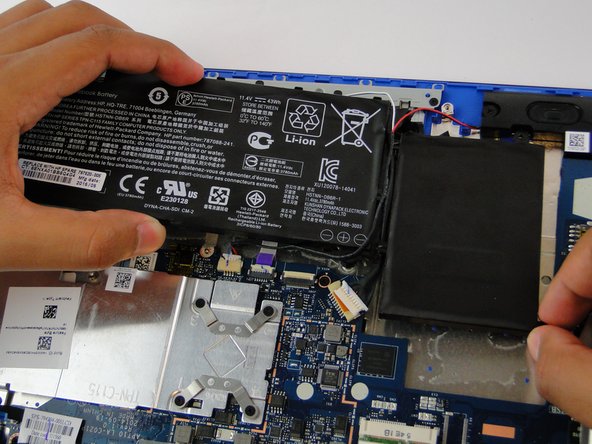
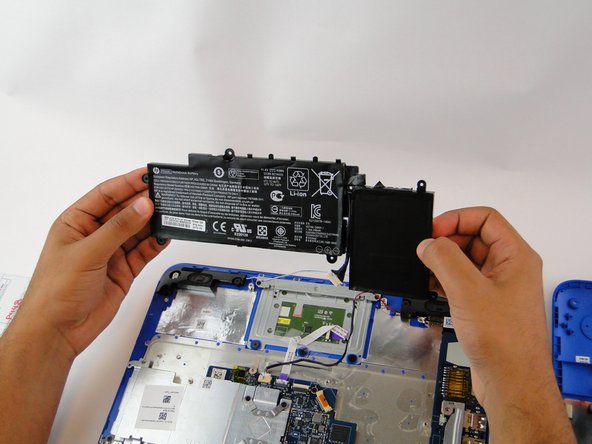
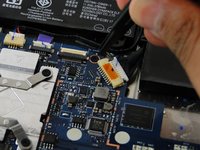
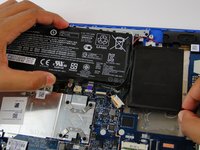
    • Lastly, unhook the clip connecting the battery to the motherboard by pushing it away from the slot.

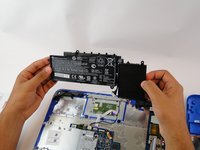
    • At this point, everything should be disconnected, simply remove the battery. Be sure to maneuver around the wire that runs between the middle of the battery.

结论

To reassemble your device, follow these instructions in reverse order.

5等其他人完成本指南。

Abdulaziz Alkulaib

于03/09/17注册

116 声望

撰写一个指南

团队

USF Tampa, Team S7-G4, Cagle Spring 2017 USF Tampa, Team S7-G4, Cagle Spring 2017 的会员

USFT-CAGLE-S17S7G4

4 名成员

创作了1篇指南

0条评论

添加评论

浏览统计数据:

过去 24 小时: 1

过去 7 天: 7

过去 30 天: 23

总计 3,753