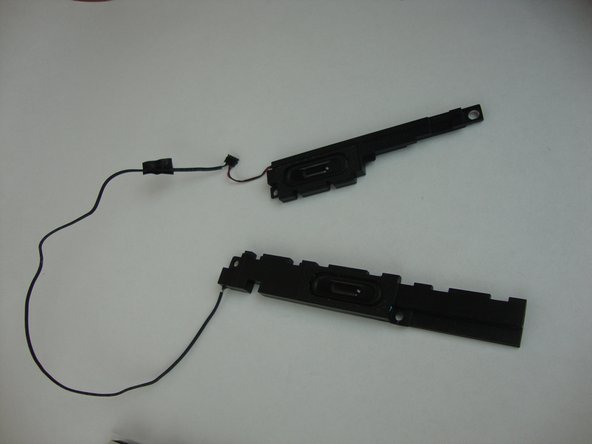
跳转到主内容

HP Pavilion x2 10-n113dx Speaker Replacement

你所需要的

  1. HP Pavilion x2 10-n113dx Speaker Replacement, Battery: 步骤 1 中的图像 1,3 HP Pavilion x2 10-n113dx Speaker Replacement, Battery: 步骤 1 中的图像 2,3 HP Pavilion x2 10-n113dx Speaker Replacement, Battery: 步骤 1 中的图像 3,3
    • Before starting, please turn off your laptop.

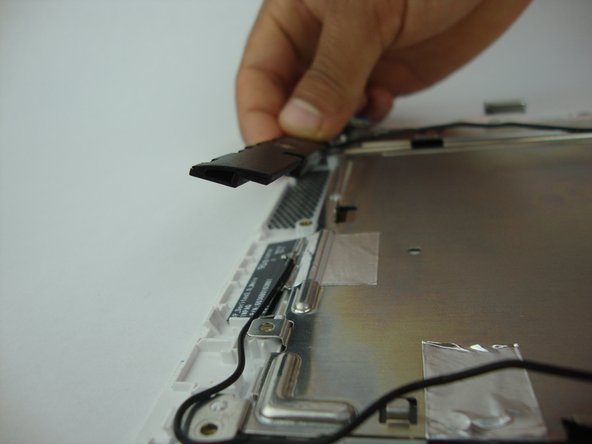
    • Using the blue plastic opening tool or a flat bladed tool, carefully slide the blade in between the display panel and gently slide to prop open the assembly.

  2. HP Pavilion x2 10-n113dx Speaker Replacement: 步骤 2 中的图像 1,2 HP Pavilion x2 10-n113dx Speaker Replacement: 步骤 2 中的图像 2,2
    • Gently lift and remove the display panel from the assembly.

    • Remove the translucent yellow tape that covers the battery connector on the mainboard.

    • The tape will be in the way for a future step.

  3. HP Pavilion x2 10-n113dx Speaker Replacement: 步骤 3 中的图像 1,3 HP Pavilion x2 10-n113dx Speaker Replacement: 步骤 3 中的图像 2,3 HP Pavilion x2 10-n113dx Speaker Replacement: 步骤 3 中的图像 3,3
    • Flip up the small white colored locking flap using the tip of a spudger or your fingernail. Then the ribbon cable can be removed easily without much effort.

    • Carefully disconnect the white ribbon cable from the mainboard.

  4. HP Pavilion x2 10-n113dx Speaker Replacement: 步骤 4 中的图像 1,3 HP Pavilion x2 10-n113dx Speaker Replacement: 步骤 4 中的图像 2,3 HP Pavilion x2 10-n113dx Speaker Replacement: 步骤 4 中的图像 3,3
    • Carefully disconnect the battery cable from its connector on the mainboard.

  5. HP Pavilion x2 10-n113dx Speaker Replacement: 步骤 5 中的图像 1,3 HP Pavilion x2 10-n113dx Speaker Replacement: 步骤 5 中的图像 2,3 HP Pavilion x2 10-n113dx Speaker Replacement: 步骤 5 中的图像 3,3
    • Using the Phillips #0 screwdriver, carefully remove the 4 corner screws that hold the battery to the display panel.

    • 3 screws are 3.12 mm head, 2.40 mm length, and 1 screw is 5.85mm head, 2.5mm length.

    • Remove the battery from the device.

  6. HP Pavilion x2 10-n113dx Speaker Replacement, Speaker: 步骤 6 中的图像 1,3 HP Pavilion x2 10-n113dx Speaker Replacement, Speaker: 步骤 6 中的图像 2,3 HP Pavilion x2 10-n113dx Speaker Replacement, Speaker: 步骤 6 中的图像 3,3
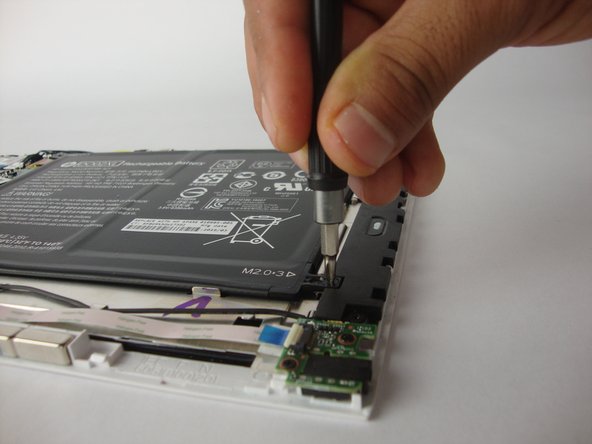
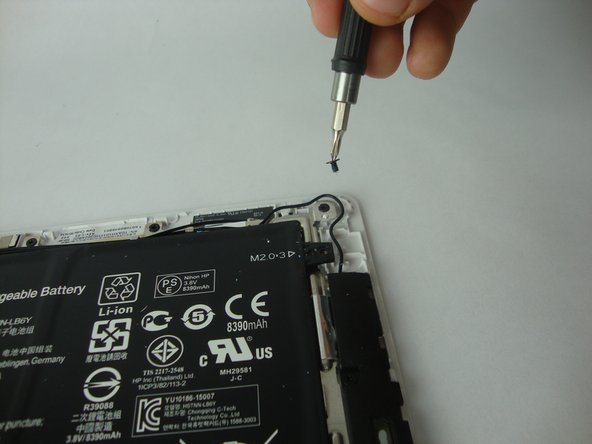
    • To unscrew the first speaker, use the Phillips #0 screwdriver to unscrew the 2 screws- head 3.99mm, length 3.32 mm.

  7. HP Pavilion x2 10-n113dx Speaker Replacement: 步骤 7 中的图像 1,1
    • For the second speaker, repeat the previous step by unscrewing the two screws.

  8. HP Pavilion x2 10-n113dx Speaker Replacement: 步骤 8 中的图像 1,3 HP Pavilion x2 10-n113dx Speaker Replacement: 步骤 8 中的图像 2,3 HP Pavilion x2 10-n113dx Speaker Replacement: 步骤 8 中的图像 3,3
    • Gently remove the 1st and 2nd speaker from the assembly.

结论

To reassemble your device, follow these instructions in reverse order.

David Zambrano

于09/28/17注册

822 声望

创作了5篇指南

团队

USF Tampa, Team S13-G4, Boczar Fall 2017 USF Tampa, Team S13-G4, Boczar Fall 2017 的会员

USFT-BOCZAR-F17S13G4

4 名成员

创作了5篇指南

0条评论

添加评论

浏览统计数据:

过去 24 小时: 0

过去 7 天: 0

过去 30 天: 0

总计 511