简介
These instructions detail how to safely take apart an HP dv5000 laptop and replace its fan with a working one. A guide like this is necessary if your laptop has been overheating, making loud and grinding noises, or unexpectedly shutting down. The laptops cooling fan is one of the most important parts of the laptop, as it allows for its temperature to be regulated. If the fan were to stop working, that causes the devices performance and lifespan to suffer. This guide does not require you to have advanced technical skills, but you should be comfortable handling delicate parts and keeping track of small screws. This guide will help you learn how to remove a faulty fan and install a new one to restore proper cooling and keep your laptop running efficiently.
Before beginning this repair, check that the issue is not caused by dust buildup inside the fan or vents. In some cases, cleaning the fan with compressed air may resolve overheating or noise issues without needing a full replacement. Also, make sure that the problem is not coming from something related to the software such as a high CPU usage causing excessive heat.
This guide requires disassembling the laptop to access internal cooling components, including the fan assembly. You will need to carefully remove screws and disconnect internal components, so take caution when handling fragile parts such as connectors and cables.
Before starting, make sure the laptop is completely powered off, unplugged from any external power source, and the battery is removed. This is recommended to avoid damaging sensitive components.
你所需要的
-
-
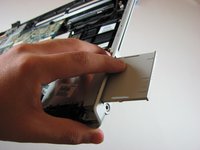
Lay the computer face-down on a flat surface. Orient the computer to match the image.
-
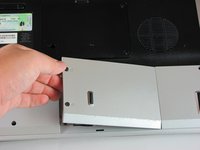
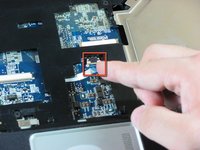
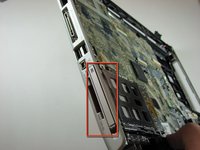
Locate the battery release switch, as indicated in the image by the red rectangle. Slide the switch from right to left, and remove the battery.
 询问修复机器人
-
-
-
Remove the two 5mm Phillips screws on the right side of the RAM cover.
-
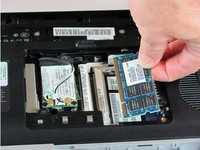
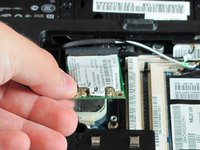
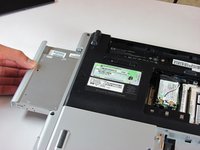
Lift the right side of the RAM cover, and remove it.
-
-
-
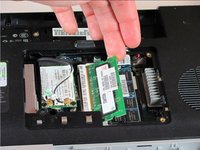
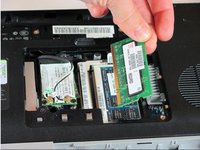
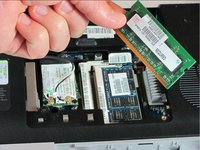
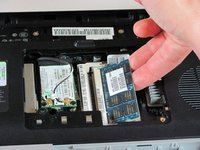
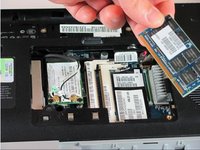
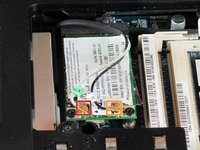
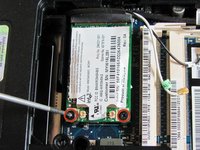
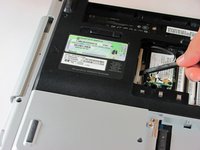
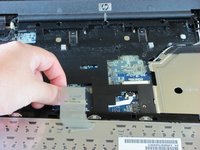
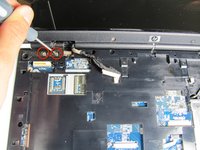
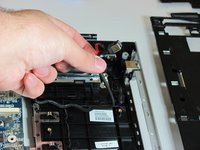
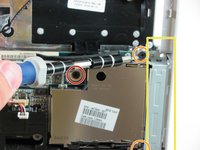
Disconnect the antenna leads from the wifi card by lifting the gold ends of the wires off the prongs on the wifi card.
-
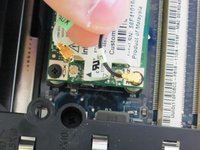
The white wire connects to the AUX terminal.
-
The black wire connects to the MAIN terminal.
-
-
-
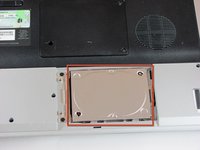
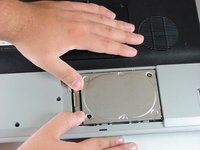
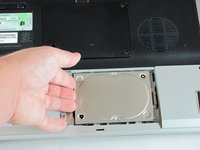
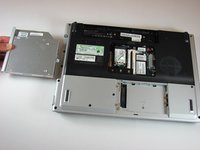
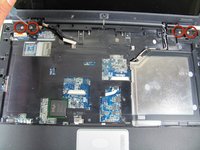
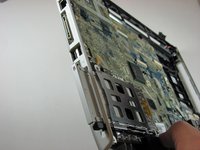
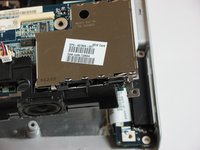
Locate the hard drive cover. Note that in this image, the RAM cover is still in place.
-
-
-
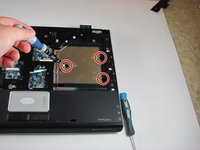
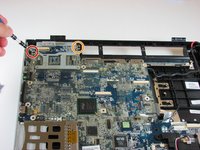
Remove the two 11.0mm screws at the corners on either side of the battery compartment.
-
Remove the three 6.0mm screws.
-
Remove the two 5.0mm screws.
-
Remove the 6.0mm screw in the middle of the battery compartment.
-
-
-
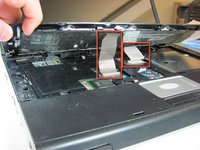
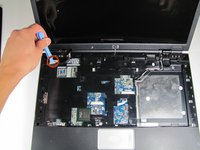
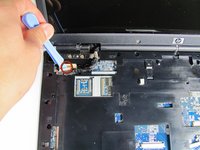
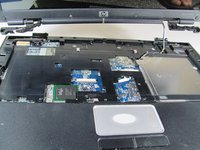
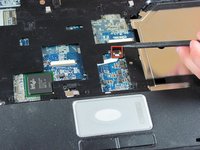
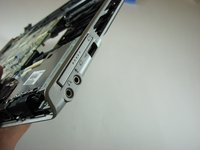
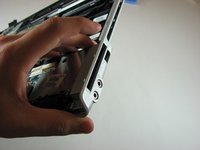
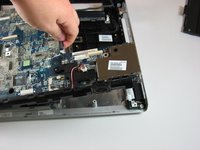
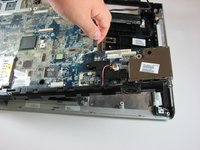
Use the plastic prying tool to disconnect the screen cable from the system board.
-
-
-
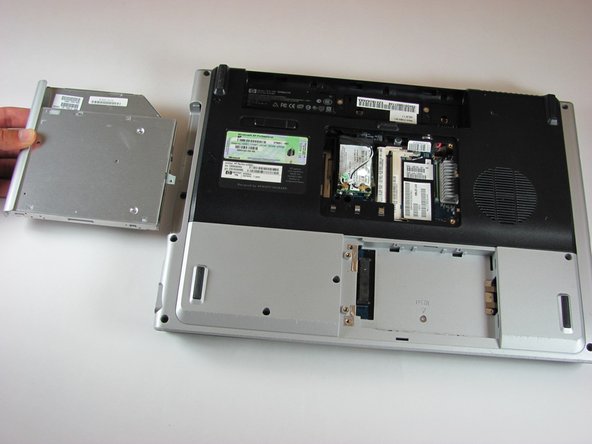
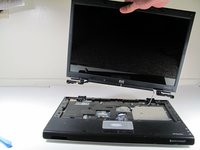
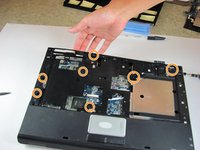
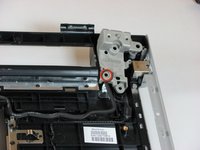
Flip the computer over to access the screws on the underside of the frame.
-
Remove the two 3.0mm screws.
-
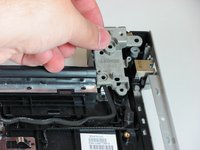
Remove the 5.0mm screw.
-


To reassemble your device, follow these instructions in reverse order.
13等其他人完成本指南。
团队

Cal Poly, Team 21-34, Regan Fall 2010 Cal Poly, Team 21-34, Regan Fall 2010 的会员
CPSU-REGAN-F10S21G34
4 名成员
创作了11篇指南