跳转到主内容

HP Pavilion 17-g119dx Fan Replacement

你所需要的

  1. HP Pavilion 17-g119dx Fan Replacement, Battery: 步骤 1 中的图像 1,1
    • Close your laptop and turn it over so that the bottom is facing up.

  2. HP Pavilion 17-g119dx Fan Replacement: 步骤 2 中的图像 1,2 HP Pavilion 17-g119dx Fan Replacement: 步骤 2 中的图像 2,2
    • In the upper left hand corner, slide the bar with the lock icon to the right. This will unlock the battery.

  3. HP Pavilion 17-g119dx Fan Replacement: 步骤 3 中的图像 1,2 HP Pavilion 17-g119dx Fan Replacement: 步骤 3 中的图像 2,2
    • Slide the bar with the battery icon, on the right of your laptop, to the left to release the battery.

  4. HP Pavilion 17-g119dx Fan Replacement: 步骤 4 中的图像 1,2 HP Pavilion 17-g119dx Fan Replacement: 步骤 4 中的图像 2,2
    • Grab the battery and remove it from the laptop.

  5. HP Pavilion 17-g119dx Fan Replacement, Fan: 步骤 5 中的图像 1,3 HP Pavilion 17-g119dx Fan Replacement, Fan: 步骤 5 中的图像 2,3 HP Pavilion 17-g119dx Fan Replacement, Fan: 步骤 5 中的图像 3,3
    • Remove the twenty 6.5mm screws using the Phillips #00 screwdriver.

    • Two of these 6.5 mm screws are covered by a silver sticker. Remove the sticker by gently scraping your finger nail under the sticker and then remove the screws.

  6. HP Pavilion 17-g119dx Fan Replacement: 步骤 6 中的图像 1,3 HP Pavilion 17-g119dx Fan Replacement: 步骤 6 中的图像 2,3 HP Pavilion 17-g119dx Fan Replacement: 步骤 6 中的图像 3,3
    • Remove the black corner covers on either side of the battery to reveal four additional 6.5 mm Phillips #00 screws.

  7. HP Pavilion 17-g119dx Fan Replacement: 步骤 7 中的图像 1,3 HP Pavilion 17-g119dx Fan Replacement: 步骤 7 中的图像 2,3 HP Pavilion 17-g119dx Fan Replacement: 步骤 7 中的图像 3,3
    • Remove the four 6.5 mm Phillips #00 screws that were underneath the black corner covers.

  8. HP Pavilion 17-g119dx Fan Replacement: 步骤 8 中的图像 1,3 HP Pavilion 17-g119dx Fan Replacement: 步骤 8 中的图像 2,3 HP Pavilion 17-g119dx Fan Replacement: 步骤 8 中的图像 3,3
    • On the right-hand corner of the laptop, remove the CD-ROM by pressing the small button on the side. Pull it out of the laptop, and set it to the side.

  9. HP Pavilion 17-g119dx Fan Replacement: 步骤 9 中的图像 1,3 HP Pavilion 17-g119dx Fan Replacement: 步骤 9 中的图像 2,3 HP Pavilion 17-g119dx Fan Replacement: 步骤 9 中的图像 3,3
    在这个步骤中使用的工具:
    iFixit Opening Tool
    $1.99
    购买
    • Make sure that all screws and the CD-ROM Drive are removed before trying to complete this step to prevent damaging your laptop. During this step, you will likely hear loud crackling noises. This is normal.

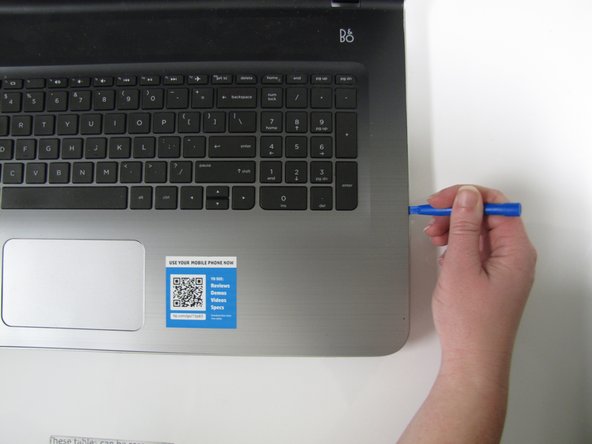
    • Flip the computer back over with the screen facing up and open the laptop.

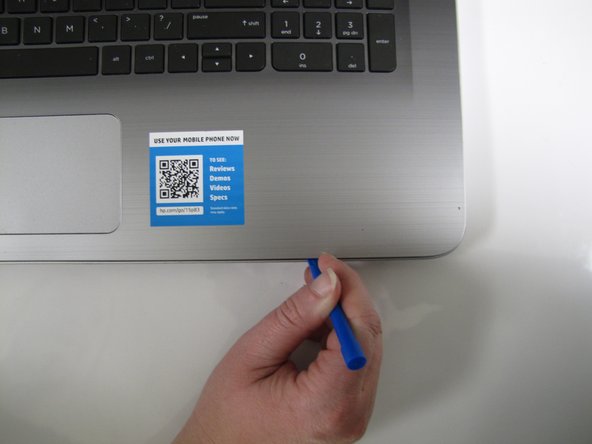
    • Use the Plastic Opening Tool to separate the face plate from the backing.
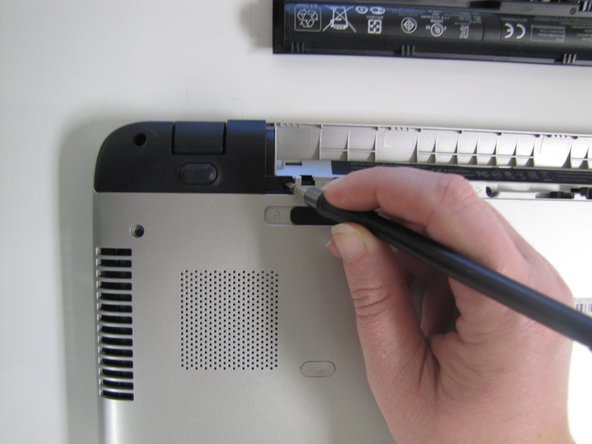
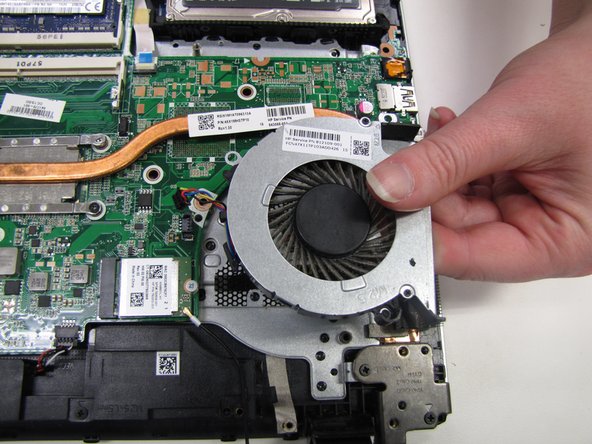
  10. HP Pavilion 17-g119dx Fan Replacement: 步骤 10 中的图像 1,2 HP Pavilion 17-g119dx Fan Replacement: 步骤 10 中的图像 2,2
    • After running the opening tool along the sides, you can pop the keyboard open to access the fan.

    • The fan is located in the lower right corner and is next to the motherboard.

  11. HP Pavilion 17-g119dx Fan Replacement: 步骤 11 中的图像 1,1
    在这个步骤中使用的工具:
    Phillips #00 Screwdriver
    $5.49
    购买
  12. HP Pavilion 17-g119dx Fan Replacement: 步骤 12 中的图像 1,3 HP Pavilion 17-g119dx Fan Replacement: 步骤 12 中的图像 2,3 HP Pavilion 17-g119dx Fan Replacement: 步骤 12 中的图像 3,3
    • The fan is connected to the motherboard by a cable. To disconnect the fan, gently push in the sides of the connecter to lift the base of the cable out of the port.

结论

To reassemble your device, follow these instructions in reverse order.

0条评论

添加评论

浏览统计数据:

过去 24 小时: 0

过去 7 天: 1

过去 30 天: 19

总计 1,309