跳转到主内容

HP Pavilion 15-d017cl Hard Drive Replacement

你所需要的

  1. HP Pavilion 15-d017cl Hard Drive Replacement, Hard Drive: 步骤 1 中的图像 1,2 HP Pavilion 15-d017cl Hard Drive Replacement, Hard Drive: 步骤 1 中的图像 2,2
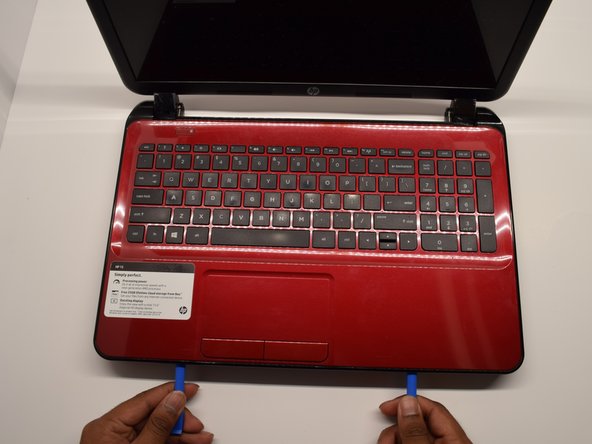
    • Flip the laptop onto its back in order to have access to the back "L" shaped panel.

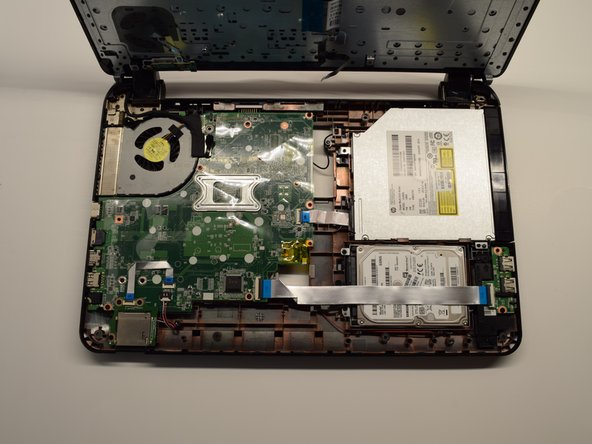
    • Using a Phillips #1 Screwdriver, unscrew the 5mm screw until the L-shaped panel feels like it can be removed.

  2. HP Pavilion 15-d017cl Hard Drive Replacement: 步骤 2 中的图像 1,2 HP Pavilion 15-d017cl Hard Drive Replacement: 步骤 2 中的图像 2,2
    • To remove the L-shaped panel, use the plastic opening tool to pry the panel from the back of the laptop. Make sure to move the tool the entire way around the panel.

    • This may require a good amount of strength to loosen the panel. As the opening tool is moving around the panel, clicking noises will be heard.

  3. HP Pavilion 15-d017cl Hard Drive Replacement: 步骤 3 中的图像 1,1
    • Remove the fifteen (15) 5 mm screws using the Phillips #1 Screwdriver.

  4. HP Pavilion 15-d017cl Hard Drive Replacement: 步骤 4 中的图像 1,3 HP Pavilion 15-d017cl Hard Drive Replacement: 步骤 4 中的图像 2,3 HP Pavilion 15-d017cl Hard Drive Replacement: 步骤 4 中的图像 3,3
    • Flip the computer over so the screen and keyboard are showing.

    • Using the opener tools, pry around the edges of the computer in between the keyboard and the base.

    • Apply enough pressure to unlatch the keyboard but be cautious of the parts under it.

    • Flip the keyboard up toward the screen to access the motherboard.

  5. HP Pavilion 15-d017cl Hard Drive Replacement: 步骤 5 中的图像 1,3 HP Pavilion 15-d017cl Hard Drive Replacement: 步骤 5 中的图像 2,3 HP Pavilion 15-d017cl Hard Drive Replacement: 步骤 5 中的图像 3,3
    • Using the Spudger, press into the silver latch and lift it up.

    • Using the Tweezers, pull the Ribbon Cable out of the silver latch.

  6. HP Pavilion 15-d017cl Hard Drive Replacement: 步骤 6 中的图像 1,3 HP Pavilion 15-d017cl Hard Drive Replacement: 步骤 6 中的图像 2,3 HP Pavilion 15-d017cl Hard Drive Replacement: 步骤 6 中的图像 3,3
    • Using a Phillips #1 screwdriver, remove the three screws located around the hard drive.

    • When finished unscrewing, pull the hard drive out.

结论

To reassemble your device, follow these instructions in reverse order.

4等其他人完成本指南。

0条评论

添加评论

浏览统计数据:

过去 24 小时: 0

过去 7 天: 8

过去 30 天: 15

总计 1,173