跳转到主内容

HP Pavilion 15-ca2073cl Cooling Fan Replacement

你所需要的

  1. HP Pavilion 15-ca2073cl Cooling Fan Replacement, Back Cover: 步骤 1 中的图像 1,1
    • Before beginning, make sure the laptop is completely turned off by pressing the off button and waiting for the screen to turn black.

    • Flip the laptop over.

    • Remove all the 6.5mm screws (black) and the 4.8mm long screws (silver) using the Phillips #00 screwdriver.

  2. HP Pavilion 15-ca2073cl Cooling Fan Replacement: 步骤 2 中的图像 1,2 HP Pavilion 15-ca2073cl Cooling Fan Replacement: 步骤 2 中的图像 2,2
    • Use an iFixit opening tool to wedge in between the case and the body of the laptop.

    • Start from the front and work down both sides, disconnecting clips.

    • Remove the bottom case from the body.

  3. HP Pavilion 15-ca2073cl Cooling Fan Replacement, Battery: 步骤 3 中的图像 1,2 HP Pavilion 15-ca2073cl Cooling Fan Replacement, Battery: 步骤 3 中的图像 2,2
    • Remove six 4.8mm screws (silver) using the Phillips #00 screwdriver.

  4. HP Pavilion 15-ca2073cl Cooling Fan Replacement, Cooling Fan: 步骤 4 中的图像 1,2 HP Pavilion 15-ca2073cl Cooling Fan Replacement, Cooling Fan: 步骤 4 中的图像 2,2
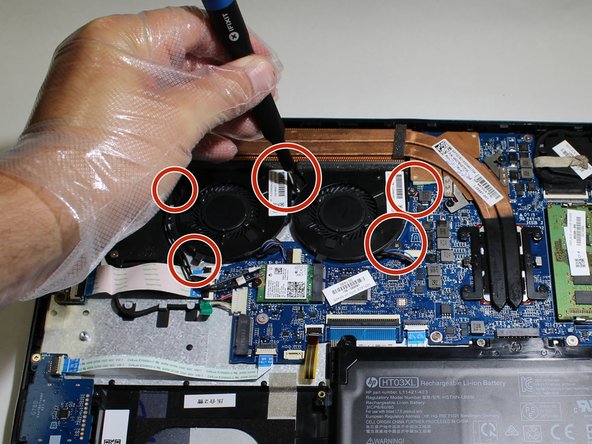
    • Remove the five silver 4.3 mm screws securing the fans using a Phillips #0 screwdriver.

  5. HP Pavilion 15-ca2073cl Cooling Fan Replacement: 步骤 5 中的图像 1,2 HP Pavilion 15-ca2073cl Cooling Fan Replacement: 步骤 5 中的图像 2,2
    • Remove the two cables from their connectors on the motherboard.

  6. HP Pavilion 15-ca2073cl Cooling Fan Replacement: 步骤 6 中的图像 1,3 HP Pavilion 15-ca2073cl Cooling Fan Replacement: 步骤 6 中的图像 2,3 HP Pavilion 15-ca2073cl Cooling Fan Replacement: 步骤 6 中的图像 3,3
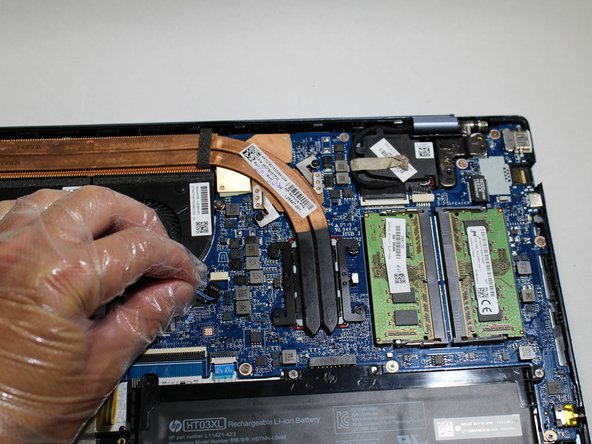
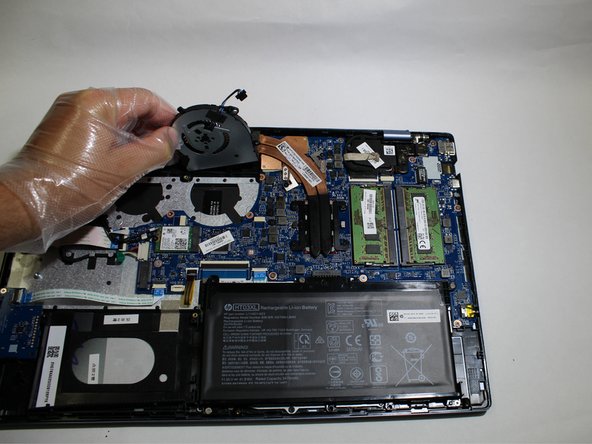
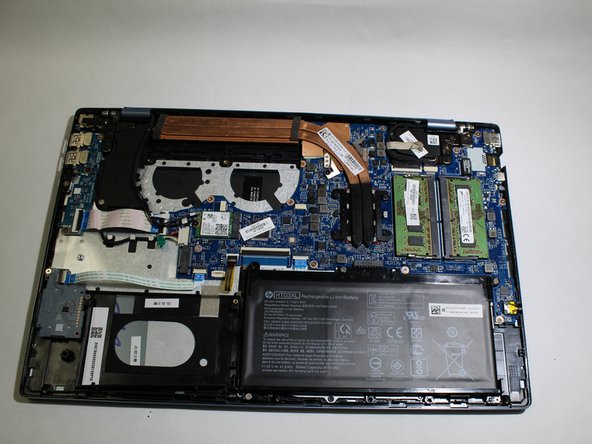
    • Lift and remove one cooling fan at a time from the laptop.

结论

To reassemble your device, follow these instructions in reverse order.

一条评论

Thank you for making this post.

Adam Mallicoat - 回复

添加评论

浏览统计数据:

过去 24 小时: 0

过去 7 天: 0

过去 30 天: 7

总计 478