跳转到主内容

HP Pavilion 14-q020nr Screen Replacement

你所需要的

  1. HP Pavilion 14-q020nr Screen Replacement, Screen: 步骤 1 中的图像 1,1
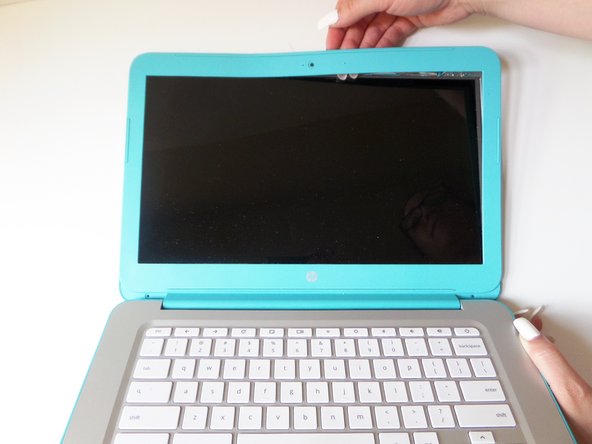
    • With the laptop facing you, open the clamshell. Be sure to turn the power off using a long press before beginning.

    • Remove the screw covers on both sides of the screen bezel by sliding a metal spudger into the crevice and gently peeling the cover away.

    • If the laptop turns on at any point during the repair, quickly turn it off with a long press

  2. HP Pavilion 14-q020nr Screen Replacement: 步骤 2 中的图像 1,1
    • Remove both 4mm screws using a Phillips Head 1 screwdriver

  3. HP Pavilion 14-q020nr Screen Replacement: 步骤 3 中的图像 1,3 HP Pavilion 14-q020nr Screen Replacement: 步骤 3 中的图像 2,3 HP Pavilion 14-q020nr Screen Replacement: 步骤 3 中的图像 3,3
    • Snap off the screen bezel by prying with your fingers in between the bezel and the screen.

    • Continue around the screen, gently prying and lifting.

    • You will hear a series of audible clicks as the bezel disconnects from the other hardware.

  4. HP Pavilion 14-q020nr Screen Replacement: 步骤 4 中的图像 1,1
    • Carefully loosen the bottom bezel. Eventually it will snap free from the rest of the clamshell.

    • Pull hinge up and forward to detach it from the Chromebook. The bezel and hinge cover will remain attached.

  5. HP Pavilion 14-q020nr Screen Replacement: 步骤 5 中的图像 1,2 HP Pavilion 14-q020nr Screen Replacement: 步骤 5 中的图像 2,2
    • Remove the four 4mm screws within the metal tabs on the top and bottom of the screen using a Phillips Head 1 screwdriver.

  6. HP Pavilion 14-q020nr Screen Replacement: 步骤 6 中的图像 1,3 HP Pavilion 14-q020nr Screen Replacement: 步骤 6 中的图像 2,3 HP Pavilion 14-q020nr Screen Replacement: 步骤 6 中的图像 3,3
    • Gently pry the metal tabs off of the screen assembly while holding the screen to unlock them.

    • Grab the screen by its unlocked tabs and tilt it down and away from the screen assembly, laying it down.

    • The new screen may scratch, to avoid this put a cloth down on the keyboard before laying down the screen.

  7. HP Pavilion 14-q020nr Screen Replacement: 步骤 7 中的图像 1,2 HP Pavilion 14-q020nr Screen Replacement: 步骤 7 中的图像 2,2
    • Peel off the barcode sticker to reveal the screen connector plug.

  8. HP Pavilion 14-q020nr Screen Replacement: 步骤 8 中的图像 1,3 HP Pavilion 14-q020nr Screen Replacement: 步骤 8 中的图像 2,3 HP Pavilion 14-q020nr Screen Replacement: 步骤 8 中的图像 3,3
    • Slide the connector out from its plug on the screen using your fingers to completely disconnect the screen.

    • Using your fingers, slide the connector out from its plug attached to the screen to completely disconnect the old screen panel

结论

To reassemble your device, follow these instructions in reverse order.

Jenell Chase

于09/11/17注册

210 声望

创作了2篇指南

团队

CSU Fullerton, Team S2-G2, Bruce Fall 2017 CSU Fullerton, Team S2-G2, Bruce Fall 2017 的会员

CSUF-BRUCE-F17S2G2

3 名成员

创作了6篇指南

4条评论

Where did you find a replacement screen?

Grant McPherson - 回复

We are only showing how to replace the screen, we did not actually purchase a new screen for this guide.

Samantha Esqueda -

i have a multi layered line going down the middle of my screen how would i go about fixing something like that?

aaron kremer - 回复

Sorry, we are only knowledgeable on how to replace the screen, not on the issues.

Samantha Esqueda - 回复

添加评论

浏览统计数据:

过去 24 小时: 2

过去 7 天: 2

过去 30 天: 14

总计 479