当前版本的文档还未经巡查,您可以查看最新的已查核版本。
-
-
There is a hidden screw underneath the model sticker on the front panel.
-
Peel the model sticker off the cover.
-
This will expose the T10 screw securing the panel.
-
-
Remove the single 12mm-T10 screw securing the front panel to the printer body.
-
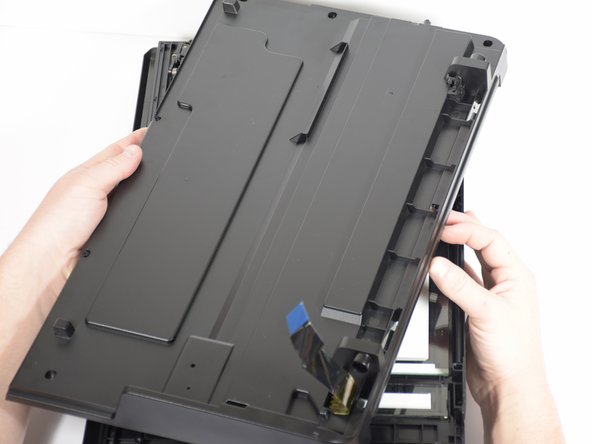
Loosen the panel cover from the printer body.
-
There is a ribbon cable connected to the backside of the cover. Disconnect the cable before separating the panel completely.
-
-
-
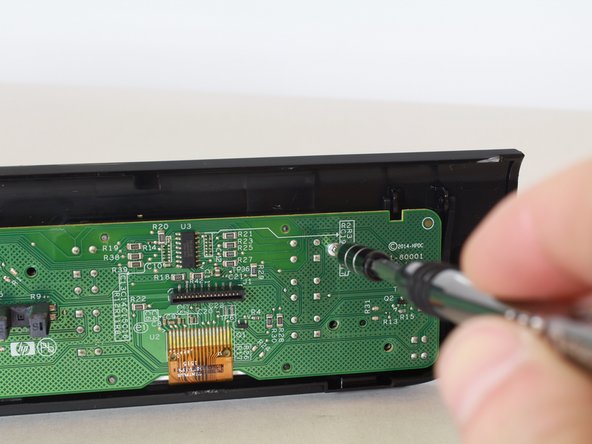
Remove the seven 8mm screws using the Torx T6 screwdriver.
-
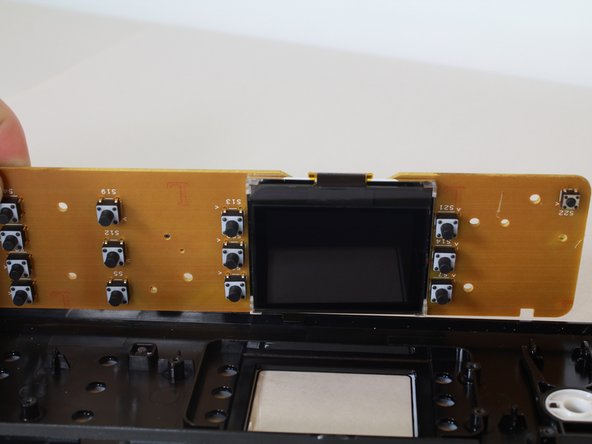
Remove the motherboard from the front-panel housing.
-
The LCD display is on the opposite side.
-
-
-
-
-
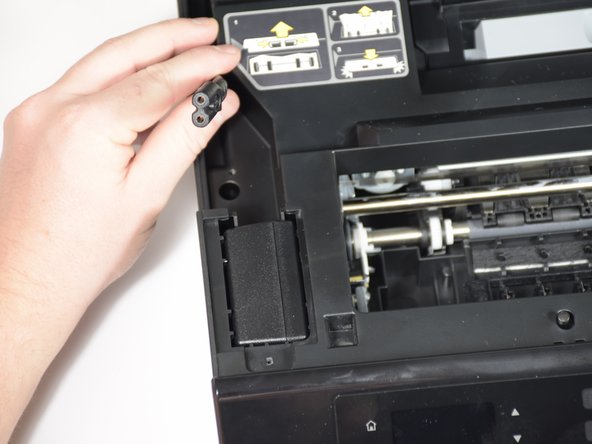
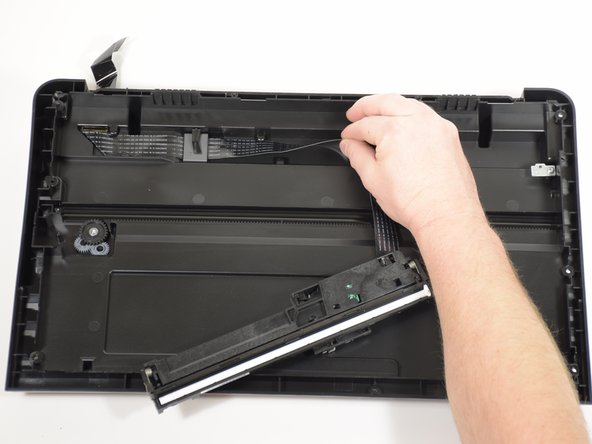
Start with the scanner head in place.
-
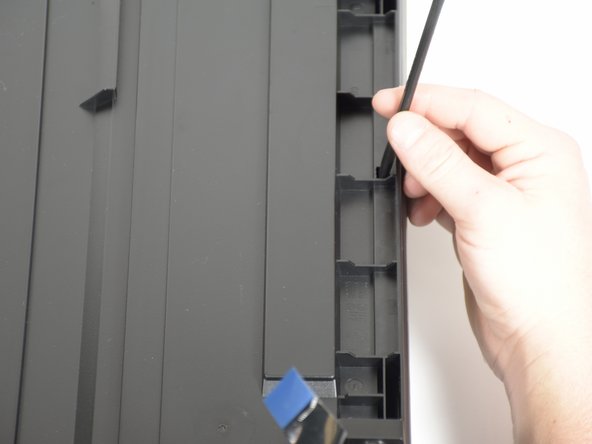
Unwind the ribbon from the track.
-
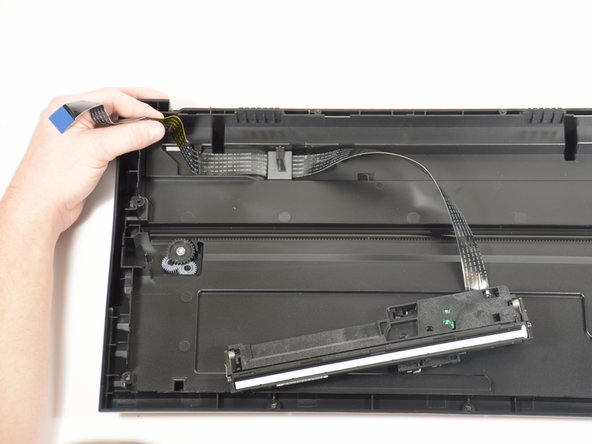
Detach ribbon completely.
嵌入本指南
选择一个尺寸并复制下面的代码,将本指南作为一个小插件嵌入到你的网站/论坛中。
预览