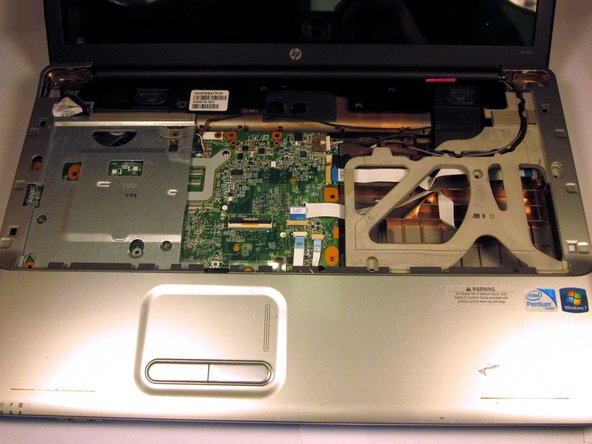
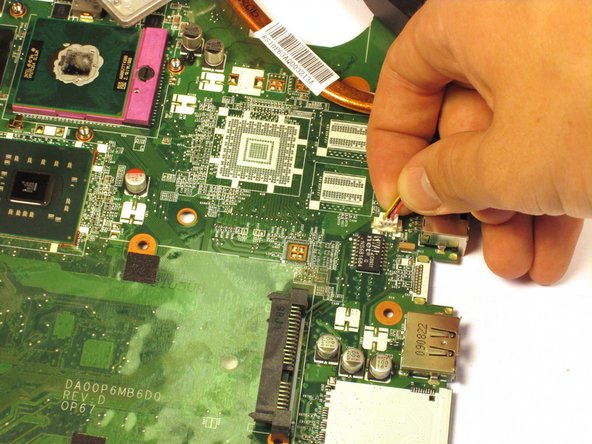
跳转到主内容

HP G71t-300 Cooling Fan Replacement

你所需要的

  1. HP G71t-300 Cooling Fan Replacement, Keyboard: 步骤 1 中的图像 1,3 HP G71t-300 Cooling Fan Replacement, Keyboard: 步骤 1 中的图像 2,3 HP G71t-300 Cooling Fan Replacement, Keyboard: 步骤 1 中的图像 3,3
    在这个步骤中使用的工具:
    Anti-Static Wrist Strap
    $7.95
    购买
    • Ground yourself by either touching an unpainted metal surface or by using the Anti-Static wrist strap.

    • Turn off the computer and remove the charger from the charging port.

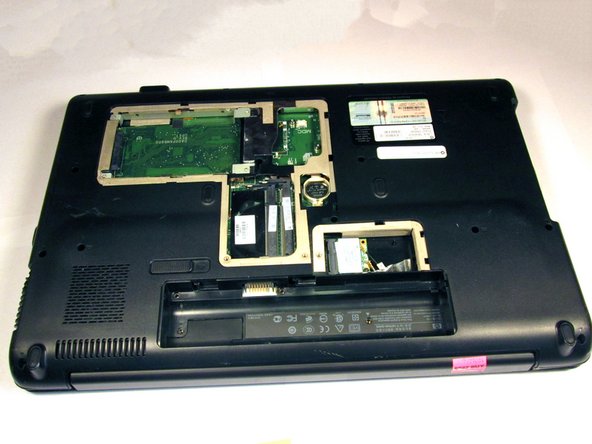
    • Turn the laptop over and slide the battery release catch to the right. The battery will pop up from its slot. Remove it using your fingers.

  2. HP G71t-300 Cooling Fan Replacement: 步骤 2 中的图像 1,2 HP G71t-300 Cooling Fan Replacement: 步骤 2 中的图像 2,2
    • Use a Phillips #0 screwdriver to remove the four screws from the indicated cover.

    • Gently lift and remove the cover.

  3. HP G71t-300 Cooling Fan Replacement: 步骤 3 中的图像 1,2 HP G71t-300 Cooling Fan Replacement: 步骤 3 中的图像 2,2
    • Remove the five 6mm screws with the Phillips #0 screwdriver.

  4. HP G71t-300 Cooling Fan Replacement: 步骤 4 中的图像 1,2 HP G71t-300 Cooling Fan Replacement: 步骤 4 中的图像 2,2
    • Pry the keyboard off with a spudger. Be careful not to apply too much pressure and damage any components.

  5. HP G71t-300 Cooling Fan Replacement: 步骤 5 中的图像 1,2 HP G71t-300 Cooling Fan Replacement: 步骤 5 中的图像 2,2
    • Disconnect the clip attaching the keyboard wiring to the motherboard. Lift and remove the keyboard.

  6. HP G71t-300 Cooling Fan Replacement, Cooling Fan: 步骤 6 中的图像 1,3 HP G71t-300 Cooling Fan Replacement, Cooling Fan: 步骤 6 中的图像 2,3 HP G71t-300 Cooling Fan Replacement, Cooling Fan: 步骤 6 中的图像 3,3
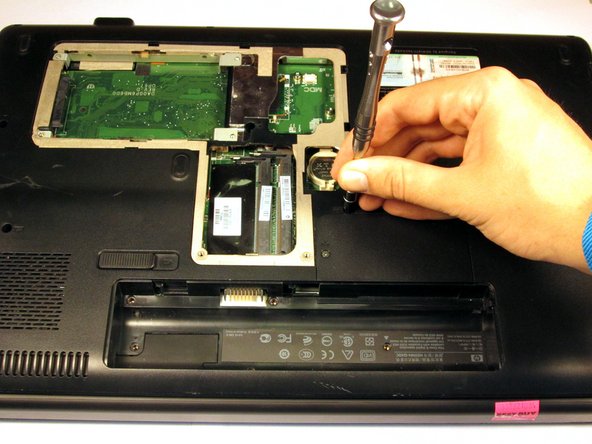
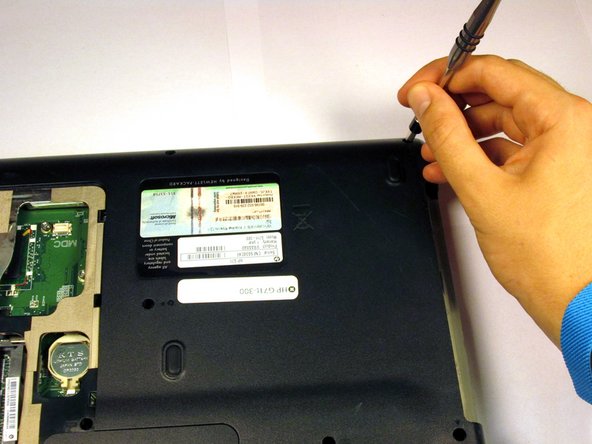
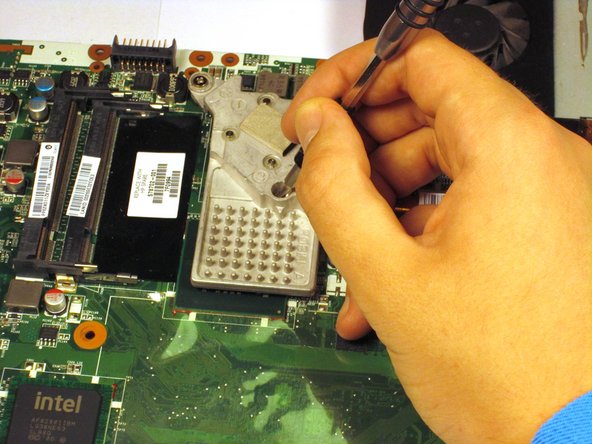
    • Use a Phillips #0 screwdriver to remove the 6mm screw from the top panel.

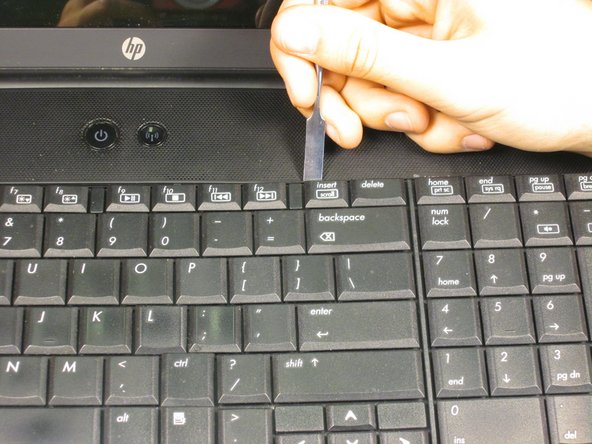
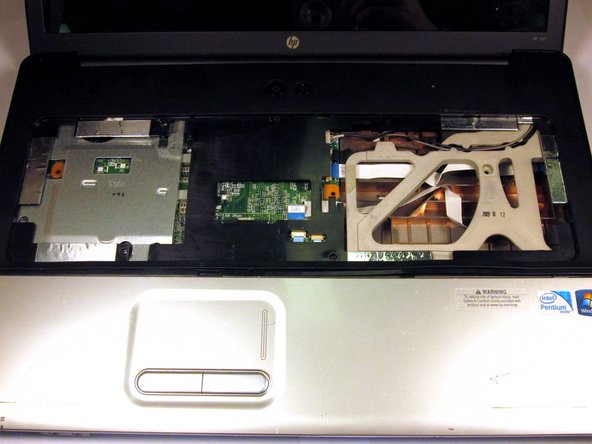
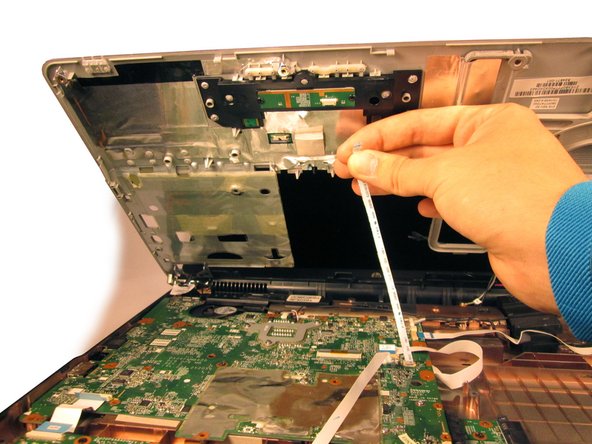
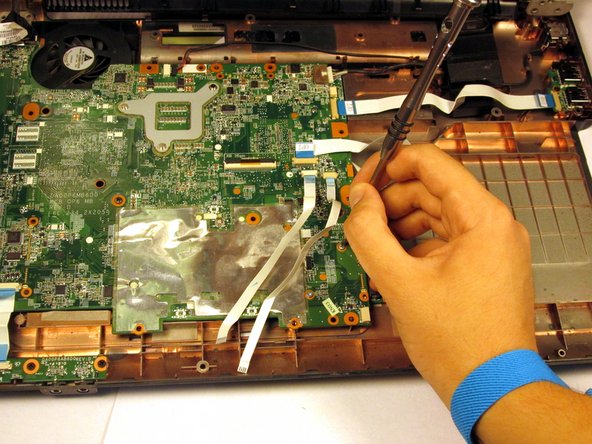
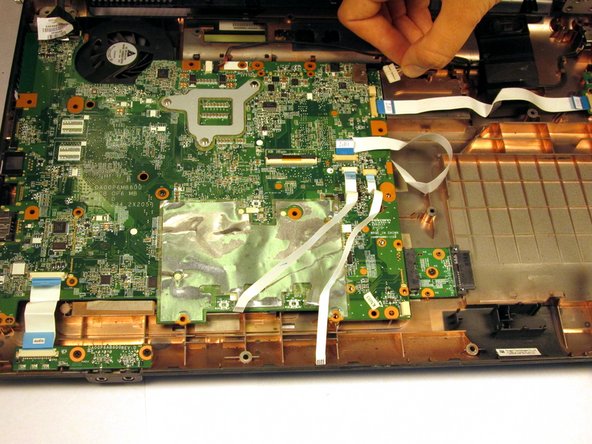
    • Gently lift and remove the panel. Use a metal spudger if the it seems set in place.

  7. HP G71t-300 Cooling Fan Replacement: 步骤 7 中的图像 1,2 HP G71t-300 Cooling Fan Replacement: 步骤 7 中的图像 2,2
    • Use a Phillips #0 screwdriver to remove the 6mm screw for the Wi-Fi module cover.

    • Remove the cover.

  8. HP G71t-300 Cooling Fan Replacement: 步骤 8 中的图像 1,2 HP G71t-300 Cooling Fan Replacement: 步骤 8 中的图像 2,2
    • Remove all fourteen 6mm screws using a Phillips #0 screwdriver.

  9. HP G71t-300 Cooling Fan Replacement: 步骤 9 中的图像 1,2 HP G71t-300 Cooling Fan Replacement: 步骤 9 中的图像 2,2
    • Partially separate the two panels until connectors are visible.

    • Unclip the wires that attach the trackpad module to the motherboard.

  10. HP G71t-300 Cooling Fan Replacement: 步骤 10 中的图像 1,2 HP G71t-300 Cooling Fan Replacement: 步骤 10 中的图像 2,2
    • Remove the five highlighted screws using a Phillips #0 screwdriver.

  11. HP G71t-300 Cooling Fan Replacement: 步骤 11 中的图像 1,2 HP G71t-300 Cooling Fan Replacement: 步骤 11 中的图像 2,2
    • Disconnect the five cables by gently pulling them from their slots.

  12. HP G71t-300 Cooling Fan Replacement: 步骤 12 中的图像 1,2 HP G71t-300 Cooling Fan Replacement: 步骤 12 中的图像 2,2
    • Press a metal spudger between the VGA port and the plastic housing to pry up the motherboard.

    • Remove the motherboard and turn it so that the fan is facing upward.

  13. HP G71t-300 Cooling Fan Replacement: 步骤 13 中的图像 1,3 HP G71t-300 Cooling Fan Replacement: 步骤 13 中的图像 2,3 HP G71t-300 Cooling Fan Replacement: 步骤 13 中的图像 3,3
    • Use a Phillips #0 screwdriver to loosen the three screws attaching the heatsink to the motherboard.

    • Remove the heatsink and fan assembly by unclipping the fan from the motherboard.

结论

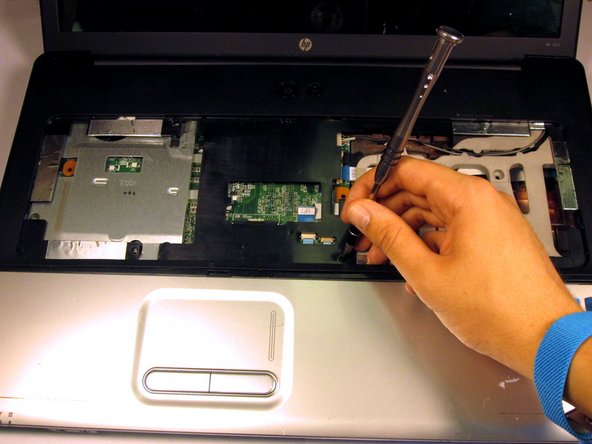
To reassemble your device, follow these instructions in reverse order.

Rohan Mathew

于09/22/16注册

513 声望

创作了5篇指南

团队

UC Davis, Team 2-3, Oliver Fall 2016 UC Davis, Team 2-3, Oliver Fall 2016 的会员

UCD-OLIVER-F16S2G3

5 名成员

创作了6篇指南

0条评论

添加评论

浏览统计数据:

过去 24 小时: 0

过去 7 天: 1

过去 30 天: 3

总计 222