简介
Use this guide to help replace your Hard Drive for greater data storage. The Hard Drive is a memory hardware device with the sole purpose of storing and retrieving data.
你所需要的
-
-
Turn the laptop over so that the bottom is facing up
-
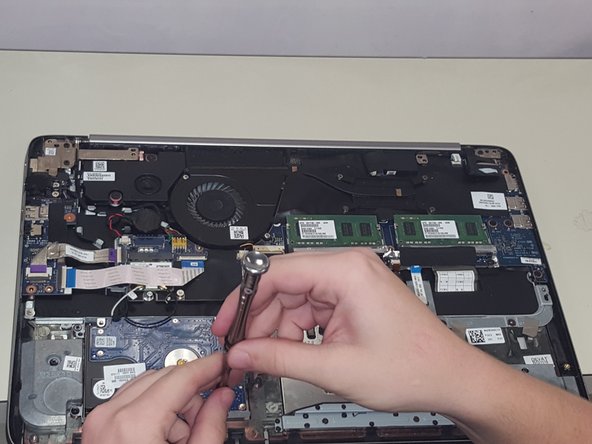
Using the J0 screwdriver, unscrew all 12 M2.5x5.5 screws from the back panel.
-
-
-
-
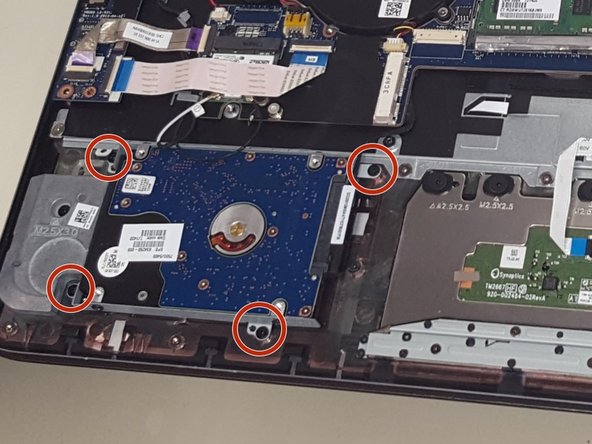
Using the JIS screwdriver along with the J000 head, unscrew the four Phillips PM2.5x5.5 screws, and place them aside.
-


To reassemble your device, follow these instructions in reverse order.
To reassemble your device, follow these instructions in reverse order.
4等其他人完成本指南。
团队

University of North Texas, Team S1-G1, Thompson Fall 2017 University of North Texas, Team S1-G1, Thompson Fall 2017 的会员
UNT-THOMPSON-F17S1G1
4 名成员
创作了5篇指南