跳转到主内容

HP Envy 700-030qe CD Drive Replacement

你所需要的

  1. HP Envy 700-030qe CD Drive Replacement, CD Drive: 步骤 1 中的图像 1,2 HP Envy 700-030qe CD Drive Replacement, CD Drive: 步骤 1 中的图像 2,2
    • Make sure that you are wearing your anti-static wristband. This will prevent damaging any internal parts with any built up static electricity.

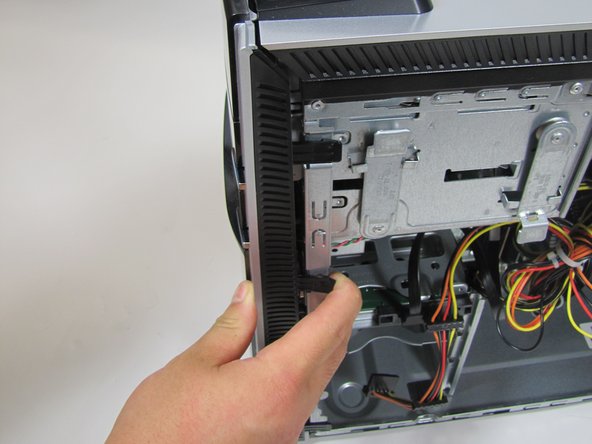
    • Unscrew the 10.5mm screw on the left of the desktop using your hand.

    • If it is too tight you may use a torx-head screwdriver or a flat-head screwdriver.

  2. HP Envy 700-030qe CD Drive Replacement: 步骤 2 中的图像 1,2 HP Envy 700-030qe CD Drive Replacement: 步骤 2 中的图像 2,2
    • Remove the side panel by sliding it towards the back of the desktop and pulling up on it as shown.

  3. HP Envy 700-030qe CD Drive Replacement: 步骤 3 中的图像 1,1
    • For the next step, remove the CD drive power cable.

  4. HP Envy 700-030qe CD Drive Replacement: 步骤 4 中的图像 1,1
    • Reorient the device with the front pointing away from you.

    • Next, remove the SATA interface cable. It is directly next to the power cable on the CD drive.

  5. HP Envy 700-030qe CD Drive Replacement: 步骤 5 中的图像 1,1
    • Now pull up and swing the mounting lever in. The lever closest to the front mounts the top drive slot, and the lever farther away mounts the bottom one.

  6. HP Envy 700-030qe CD Drive Replacement: 步骤 6 中的图像 1,2 HP Envy 700-030qe CD Drive Replacement: 步骤 6 中的图像 2,2
    • Now stand your desktop up and remove the 3 clips on the right side of the front panel.

    • Then pull the front panel off, pulling from the side that the clips are on.

  7. HP Envy 700-030qe CD Drive Replacement: 步骤 7 中的图像 1,1
    • Now you can pull the CD drive straight out of the casing!

结论

To reassemble your device, follow these instructions in reverse order.

Yoav Rosenberg

于10/01/15注册

321 声望

创作了2篇指南

团队

Cal Poly, Team 5-9, Maness Fall 2015 Cal Poly, Team 5-9, Maness Fall 2015 的会员

CPSU-MANESS-F15S5G9

4 名成员

创作了10篇指南

0条评论

添加评论

浏览统计数据:

过去 24 小时: 0

过去 7 天: 1

过去 30 天: 7

总计 1,085