跳转到主内容

HP Envy 4520 LCD Screen Replacement

你所需要的

  1. HP Envy 4520 LCD Screen  Replacement, LCD Screen: 步骤 1 中的图像 1,2 HP Envy 4520 LCD Screen  Replacement, LCD Screen: 步骤 1 中的图像 2,2
    • Lift the scanner bed.

  2. HP Envy 4520 LCD Screen  Replacement: 步骤 2 中的图像 1,2 HP Envy 4520 LCD Screen  Replacement: 步骤 2 中的图像 2,2
    • Remove the T10, 13 mm center screw.

  3. HP Envy 4520 LCD Screen  Replacement: 步骤 3 中的图像 1,3 HP Envy 4520 LCD Screen  Replacement: 步骤 3 中的图像 2,3 HP Envy 4520 LCD Screen  Replacement: 步骤 3 中的图像 3,3
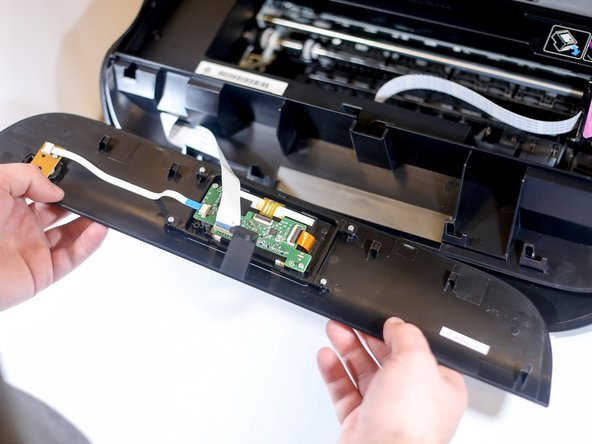
    • Slide the front panel to the right, then lift the front panel upwards.

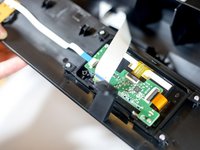
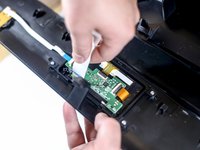
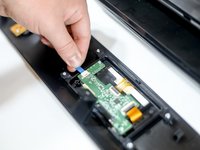
  4. HP Envy 4520 LCD Screen  Replacement: 步骤 4 中的图像 1,3 HP Envy 4520 LCD Screen  Replacement: 步骤 4 中的图像 2,3 HP Envy 4520 LCD Screen  Replacement: 步骤 4 中的图像 3,3
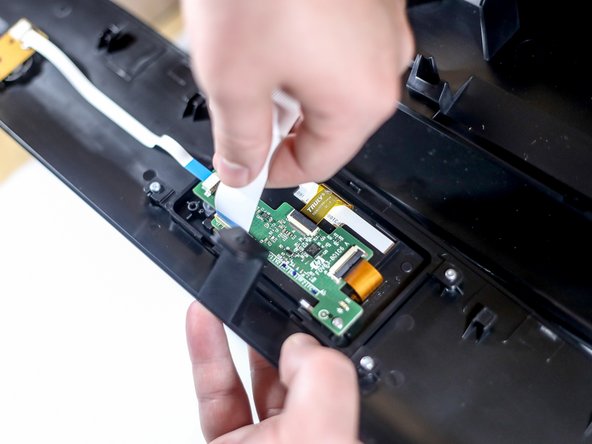
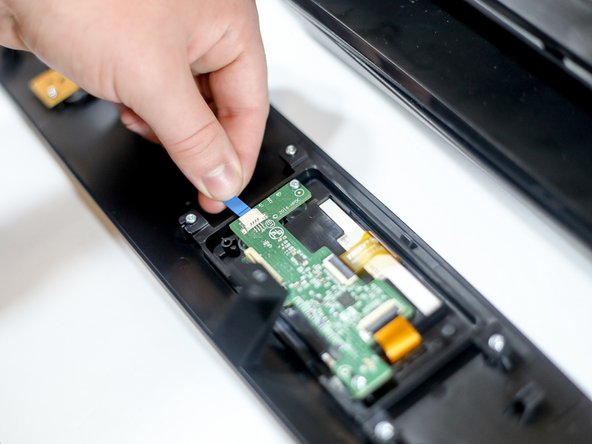
    • Remove the large flat ribbon cable by pinching the top and bottom of the cable between thumb and index finger and pulling away from the mother board.

    • Remove the small flat ribbon cable by pinching the top and bottom of the cable between thumb and index finger and pulling away from the mother board.

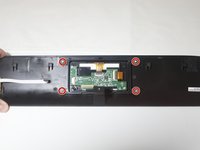
  5. HP Envy 4520 LCD Screen  Replacement: 步骤 5 中的图像 1,3 HP Envy 4520 LCD Screen  Replacement: 步骤 5 中的图像 2,3 HP Envy 4520 LCD Screen  Replacement: 步骤 5 中的图像 3,3
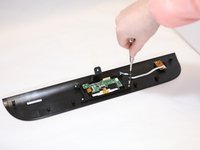
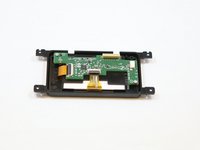
    • Remove the four T6, 7 mm mounting screws.

    • Remove the LCD screen out of the plastic housing.

结论

To reassemble your device, follow these instructions in reverse order.

另外一个人完成了本指南。

0条评论

添加评论

浏览统计数据:

过去 24 小时: 2

过去 7 天: 7

过去 30 天: 33

总计 1,436