跳转到主内容
加入维修社区 - 创建账户

HP Deskjet D1660 Power Button Replacement

你所需要的

    1. HP Deskjet D1660 Power Button Replacement, Top Cover: 步骤 1 中的图像 1,1
      • Remove the back two 14.0 mm Torx #10 screws.

      询问修复机器人

      添加评论

    2. HP Deskjet D1660 Power Button Replacement: 步骤 2 中的图像 1,1
      • Lay the printer on its back.

      • Grab the paper tray by its right side and pull it to the left and up.

      询问修复机器人

      添加评论

    3. HP Deskjet D1660 Power Button Replacement: 步骤 3 中的图像 1,1
      • Open the frontal access panel by lifting it from the top.

      • Similar to the paper tray, grab it from the right side and pull it to the left and up.

      询问修复机器人

      添加评论

    4. HP Deskjet D1660 Power Button Replacement: 步骤 4 中的图像 1,3 HP Deskjet D1660 Power Button Replacement: 步骤 4 中的图像 2,3 HP Deskjet D1660 Power Button Replacement: 步骤 4 中的图像 3,3
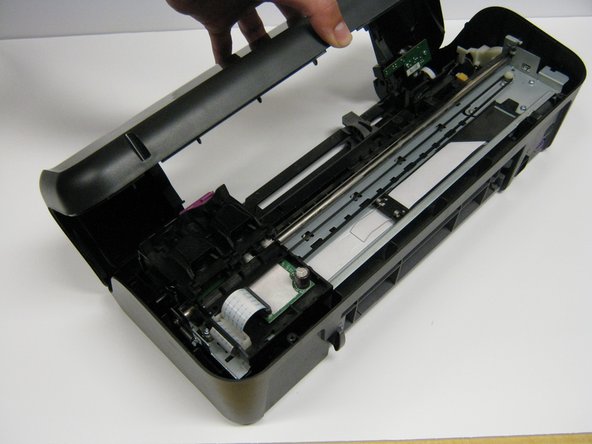
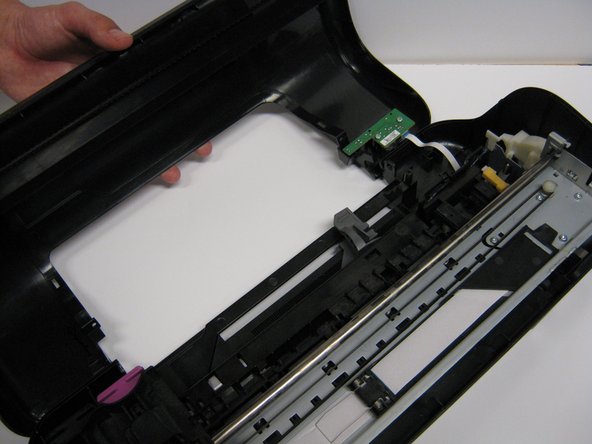
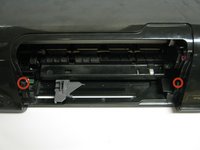
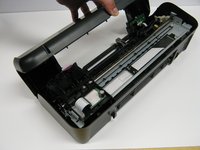
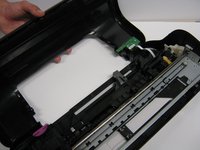
      • Take out the two frontal 14.0 mm Torx #10 screws.

      • Carefully lift the frontal cover.

      • Don't lift it up aggressively. A strip will be attached to it.

      询问修复机器人

      添加评论

    1. HP Deskjet D1660 Power Button Replacement, Power Button: 步骤 5 中的图像 1,1
      • Remove the strip that connects the printer to the front cover.

      询问修复机器人

      添加评论

    2. HP Deskjet D1660 Power Button Replacement: 步骤 6 中的图像 1,2 HP Deskjet D1660 Power Button Replacement: 步骤 6 中的图像 2,2
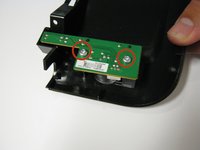
      • Remove the two 13.0 mm Torx #10 screws.

      • Carefully lift it up. The button will be located under it.

      询问修复机器人

      添加评论

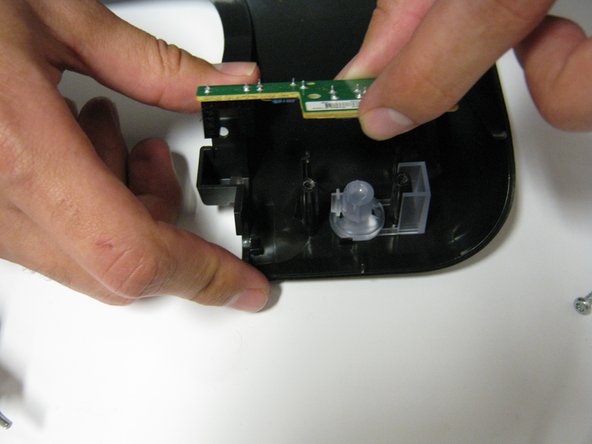
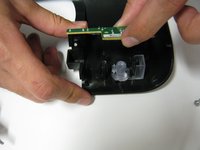
    3. HP Deskjet D1660 Power Button Replacement: 步骤 7 中的图像 1,1
      • Lift up the power button.

      询问修复机器人

      添加评论

结论

To reassemble your device, follow these instructions in reverse order.

取消:我没有完成这个指南。

另外一个人完成了本指南。

团队

Cal Poly, Team 1-41, Maness Winter 2014 Cal Poly, Team 1-41, Maness Winter 2014 的会员

CPSU-MANESS-W14S1G41

4 名成员

创作了14篇指南

0指南评论

添加评论

浏览统计数据:

过去 24 小时: 0

过去 7 天: 6

过去 30 天: 42

总计 1,388