跳转到主内容

HP 15-ac121dx Back Panel Replacement

你所需要的

  1. HP 15-ac121dx Back Panel Replacement, Back Panel: 步骤 1 中的图像 1,3 HP 15-ac121dx Back Panel Replacement, Back Panel: 步骤 1 中的图像 2,3 HP 15-ac121dx Back Panel Replacement, Back Panel: 步骤 1 中的图像 3,3
    • Locate the CD Compartment panel and gently slide it out.

  2. HP 15-ac121dx Back Panel Replacement: 步骤 2 中的图像 1,1
    • Remove the back of the laptop by unscrewing the screws shown.

    • Also remove the other 5 Phillips screws lining the back cover.

  3. HP 15-ac121dx Back Panel Replacement: 步骤 3 中的图像 1,3 HP 15-ac121dx Back Panel Replacement: 步骤 3 中的图像 2,3 HP 15-ac121dx Back Panel Replacement: 步骤 3 中的图像 3,3
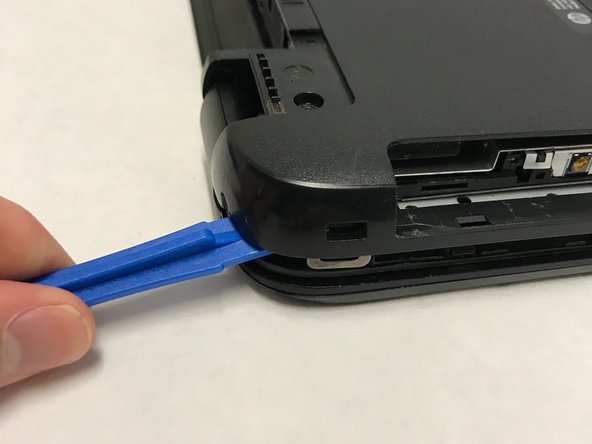
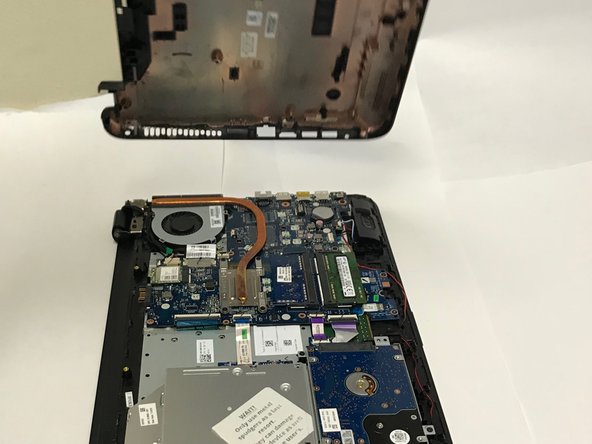
    • Using the prying tool, wedge it underneath the back of the laptop and do the same all around until the back comes off.

    • Dont forget to unscrew 2 screws under 2 plastic tabs (one on each hing). The lid will not come off without them being removed!

结论

To reassemble your device, follow these instructions in reverse order.

3等其他人完成本指南。

Ashton Martin

于01/30/18注册

459 声望

创作了2篇指南

团队

Baylor, Team S1-G2, Johnson Spring 2018 Baylor, Team S1-G2, Johnson Spring 2018 的会员

BU-JOHNSON-S18S1G2

3 名成员

创作了6篇指南

0条评论

添加评论

浏览统计数据:

过去 24 小时: 0

过去 7 天: 1

过去 30 天: 5

总计 1,366