跳转到主内容
加入维修社区 - 创建账户

HP 15-R011DX Hard Drive Replacement

你所需要的

    1. HP 15-R011DX Hard Drive Replacement, Battery: 步骤 1 中的图像 1,2 HP 15-R011DX Hard Drive Replacement, Battery: 步骤 1 中的图像 2,2
      • Slide the lock mechanism on the left side of the laptop to the right.

      询问修复机器人

      添加评论

    2. HP 15-R011DX Hard Drive Replacement: 步骤 2 中的图像 1,1
      • While holding the right slide mechanism, remove the battery from the laptop.

      • The battery is not pictured here because it is missing from this particular device.

      询问修复机器人

      添加评论

    1. HP 15-R011DX Hard Drive Replacement, How to Access the Internal Components of an HP 15-R011DX: 步骤 3 中的图像 1,2 HP 15-R011DX Hard Drive Replacement, How to Access the Internal Components of an HP 15-R011DX: 步骤 3 中的图像 2,2
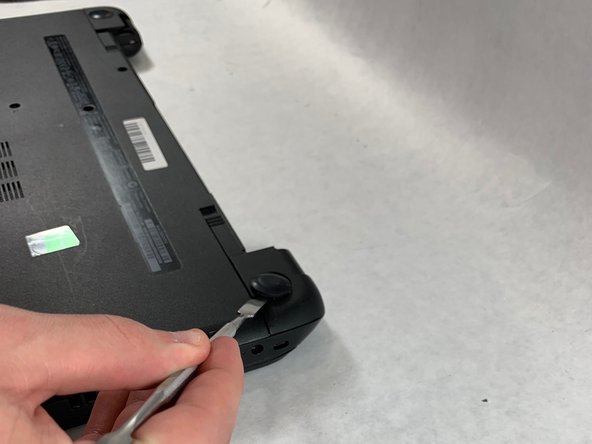
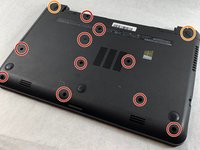
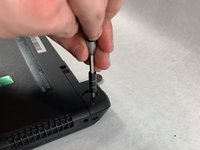
      • Flip the laptop over to reveal screw locations.

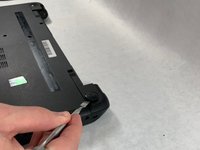
      • Use a metal spudger to remove the two rear rubber feet. There are screws hidden underneath them.

      询问修复机器人

      添加评论

    2. HP 15-R011DX Hard Drive Replacement: 步骤 4 中的图像 1,2 HP 15-R011DX Hard Drive Replacement: 步骤 4 中的图像 2,2
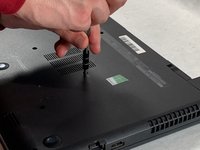
      • Remove the twelve 5mm Phillips #1 screws on the back of the laptop.

      询问修复机器人

      添加评论

    3. HP 15-R011DX Hard Drive Replacement: 步骤 5 中的图像 1,2 HP 15-R011DX Hard Drive Replacement: 步骤 5 中的图像 2,2
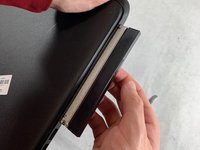
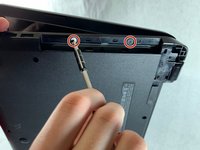
      • Remove the DVD drive from the laptop.

      • Remove the two 3 mm Phillips #1 screws underneath the DVD drive.

      添加评论

    4. HP 15-R011DX Hard Drive Replacement: 步骤 6 中的图像 1,3 HP 15-R011DX Hard Drive Replacement: 步骤 6 中的图像 2,3 HP 15-R011DX Hard Drive Replacement: 步骤 6 中的图像 3,3
      • Flip the laptop and open.

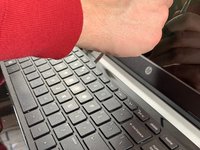
      • Detach the keyboard by prying it free from the laptop using a spudger.

      • Do not completely remove the keyboard yet. It is still attached by a ribbon cable.

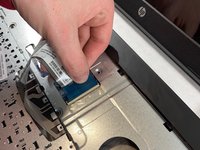
      • Disconnect the keyboard ribbon cable.

      询问修复机器人

      添加评论

    5. HP 15-R011DX Hard Drive Replacement: 步骤 7 中的图像 1,2 HP 15-R011DX Hard Drive Replacement: 步骤 7 中的图像 2,2
      • Disconnect the two narrow ribbon cables to the left of the keyboard connection.

      • Remove five 4 mm Phillips #1 screws from the metal tray for the keyboard.

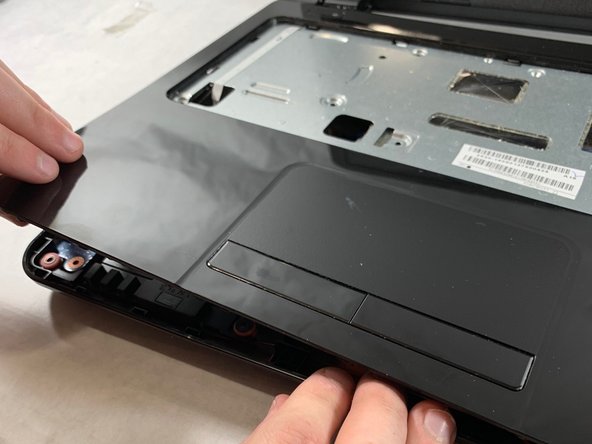
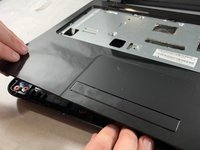
      • Pry open the plastic casing using a spudger.

      • If struggling to remove the plastic case, check that all screws have been removed.

      添加评论

    1. HP 15-R011DX Hard Drive Replacement, Hard Drive: 步骤 8 中的图像 1,1
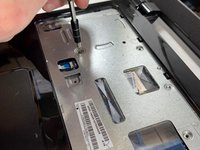
      • Remove two 5 mm Phillips #1 screws located at the base of the hard drive.

      询问修复机器人

      添加评论

    2. HP 15-R011DX Hard Drive Replacement: 步骤 9 中的图像 1,2 HP 15-R011DX Hard Drive Replacement: 步骤 9 中的图像 2,2
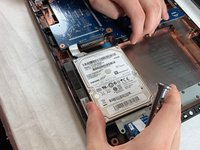
      • Pull the hard drive upwards and away from the laptop.

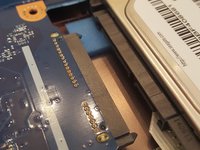
      • The hard drive should disconnect from its port on the motherboard as shown in the second image.

      询问修复机器人

      添加评论

    3. HP 15-R011DX Hard Drive Replacement: 步骤 10 中的图像 1,1
      • Flip the hard drive over.

      • Remove the two 4 mm Phillips #1 screws from the base of the hard drive.

      • Remove the mounting brace (silver bracket) from the hard drive.

      询问修复机器人

      添加评论

结论

To reassemble your device, follow these instructions in reverse order.

取消:我没有完成这个指南。

3等其他人完成本指南。

团队

UMass Dartmouth, Team S2-G4, Bailey Spring 2019 UMass Dartmouth, Team S2-G4, Bailey Spring 2019 的会员

UMASSD-BAILEY-S19S2G4

3 名成员

创作了48篇指南

0指南评论

添加评论

浏览统计数据:

过去 24 小时: 0

过去 7 天: 3

过去 30 天: 24

总计 1,866