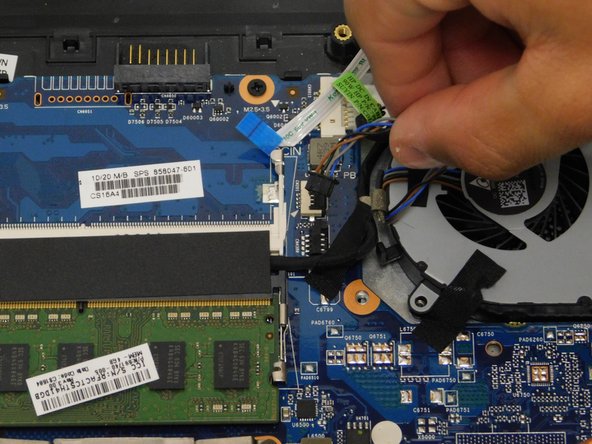
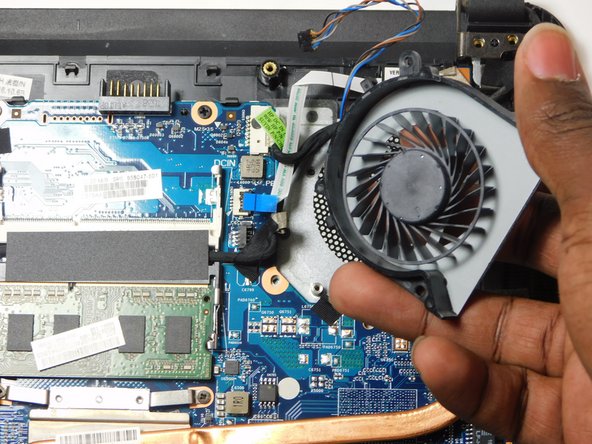
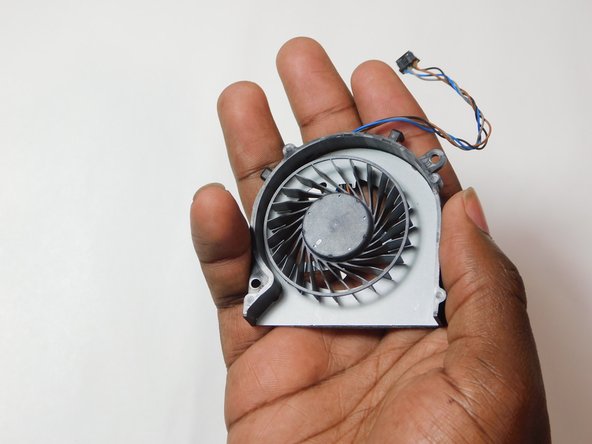
跳转到主内容

HP 14-an012nr Fan Replacement

你所需要的

  1. HP 14-an012nr Fan Replacement, Battery: 步骤 1 中的图像 1,3 HP 14-an012nr Fan Replacement, Battery: 步骤 1 中的图像 2,3 HP 14-an012nr Fan Replacement, Battery: 步骤 1 中的图像 3,3
    • Remove the battery by sliding both sliders inward.

  2. HP 14-an012nr Fan Replacement, Back Panel: 步骤 2 中的图像 1,3 HP 14-an012nr Fan Replacement, Back Panel: 步骤 2 中的图像 2,3 HP 14-an012nr Fan Replacement, Back Panel: 步骤 2 中的图像 3,3
    • Remove the eight 6 mm screws from the back panel using a Phillips #1 screwdriver.

    • Remove the rubber pads from the upper corners of the laptop to reveal two screws on each side.

    • Remove six 4 mm screws using a Phillips #1 screwdriver.

    • Pry the back panel off using an opening tool, working your way around the edges.

  3. HP 14-an012nr Fan Replacement, Fan: 步骤 3 中的图像 1,3 HP 14-an012nr Fan Replacement, Fan: 步骤 3 中的图像 2,3 HP 14-an012nr Fan Replacement, Fan: 步骤 3 中的图像 3,3
    • Remove the two 3 mm screws that secure the fan.

    • Gently disconnect the power cable; it can tear easily.

    • Remove the fan.

  4. HP 14-an012nr Fan Replacement: 步骤 4 中的图像 1,2 HP 14-an012nr Fan Replacement: 步骤 4 中的图像 2,2
    • Clean the area where the fan was located with a clean soft cloth or cotton swab.

    • Once cleaned and free of dust place the new fan and follow the steps in reverse to rebuild the laptop.

结论

To reassemble your device, follow these instructions in reverse order.

Christopher Brackeen

于09/07/23注册

85 声望

撰写一个指南

团队

Gateway, Team 2-2, Gonzalez Fall 2023 Gateway, Team 2-2, Gonzalez Fall 2023 的会员

GCC-GONZALEZ-F23S2G2

5 名成员

创作了5篇指南

0条评论

添加评论

浏览统计数据:

过去 24 小时: 0

过去 7 天: 0

过去 30 天: 2

总计 110