跳转到主内容

Gateway MA7 Hard Drive Replacement

你所需要的

  1. Gateway MA7 Hard Drive  Replacement, Hard Drive: 步骤 1 中的图像 1,1
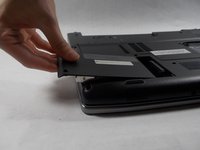
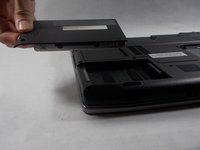
    • To prevent injury, make sure the laptop is unplugged and off before removing the battery.

    • To unlock the battery slide both switches marked in the picture to the unlocked position, the one on the left marked in pink will need to be held while you remove the battery.

  2. Gateway MA7 Hard Drive  Replacement: 步骤 2 中的图像 1,3 Gateway MA7 Hard Drive  Replacement: 步骤 2 中的图像 2,3 Gateway MA7 Hard Drive  Replacement: 步骤 2 中的图像 3,3
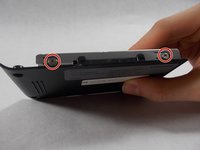
    • Remove the two 6 mm Phillips #0 screws from the back of the hard drive cover.

  3. Gateway MA7 Hard Drive  Replacement: 步骤 3 中的图像 1,3 Gateway MA7 Hard Drive  Replacement: 步骤 3 中的图像 2,3 Gateway MA7 Hard Drive  Replacement: 步骤 3 中的图像 3,3
    • Press down firmly on the hard drive and pull leftwards.

  4. Gateway MA7 Hard Drive  Replacement: 步骤 4 中的图像 1,3 Gateway MA7 Hard Drive  Replacement: 步骤 4 中的图像 2,3 Gateway MA7 Hard Drive  Replacement: 步骤 4 中的图像 3,3
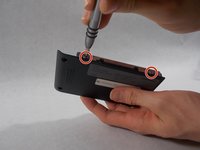
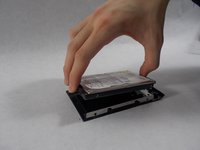
    • Remove two 4 mm Phillips #0 screws from the plastic hard drive cover.

    • Lift the hard drive up from the plastic cover.

结论

To reassemble your device, follow these instructions in reverse order.

De’Andra Clarke

于03/19/18注册

109 声望

撰写一个指南

团队

0条评论

添加评论

浏览统计数据:

过去 24 小时: 1

过去 7 天: 7

过去 30 天: 22

总计 1,319