跳转到主内容

Gateway LT4004u Screen Replacement

你所需要的

  1. Gateway LT4004u Screen Replacement, Screen: 步骤 1 中的图像 1,3 Gateway LT4004u Screen Replacement, Screen: 步骤 1 中的图像 2,3 Gateway LT4004u Screen Replacement, Screen: 步骤 1 中的图像 3,3
    • Open the laptop so that the screen and keyboard are facing you.

    • Remove the two screw covers at the bottom right and left corners of the screen using tweezers.

  2. Gateway LT4004u Screen Replacement: 步骤 2 中的图像 1,3 Gateway LT4004u Screen Replacement: 步骤 2 中的图像 2,3 Gateway LT4004u Screen Replacement: 步骤 2 中的图像 3,3
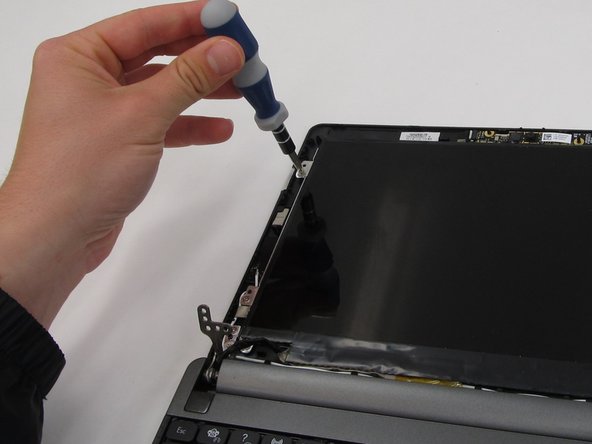
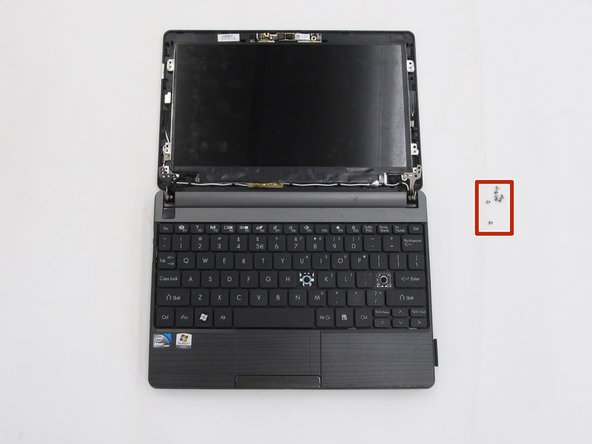
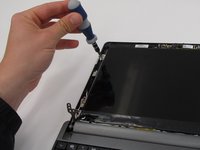
    • Unscrew the two 5.0mm screws underneath the screen covers on the left and right side and remove them from the laptop. For this step and the following steps, use a Phillips #0 head screwdriver.

  3. Gateway LT4004u Screen Replacement: 步骤 3 中的图像 1,3 Gateway LT4004u Screen Replacement: 步骤 3 中的图像 2,3 Gateway LT4004u Screen Replacement: 步骤 3 中的图像 3,3
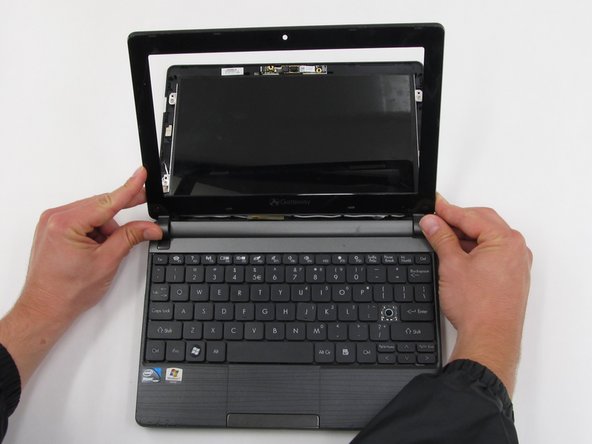
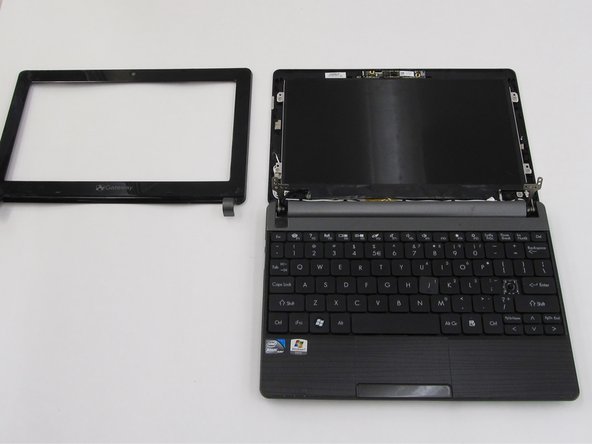
    • Once the two screws are removed, pry the screen casing away from the screen. You can use your fingernails or a tool such as tweezers to separate the screen casing from the backing.

    • Be prepared to hear cracking noises. These are expected.

    • Unhook the screen casing at the bottom of the screen from the central hinges on the left and right side connecting the screen casing to the keyboard.

    • Remove the screen casing.

  4. Gateway LT4004u Screen Replacement: 步骤 4 中的图像 1,3 Gateway LT4004u Screen Replacement: 步骤 4 中的图像 2,3 Gateway LT4004u Screen Replacement: 步骤 4 中的图像 3,3
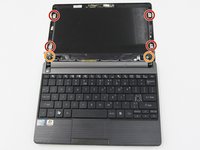
    • Once the screen casing is removed, unscrew the 8 screws surrounding the screen and remove them from the laptop. All 8 screws should measure 4.0mm long.

    • There is a single screw in each red indicator and two screws in each orange indicator, totaling to the eight screws.

  5. Gateway LT4004u Screen Replacement: 步骤 5 中的图像 1,3 Gateway LT4004u Screen Replacement: 步骤 5 中的图像 2,3 Gateway LT4004u Screen Replacement: 步骤 5 中的图像 3,3
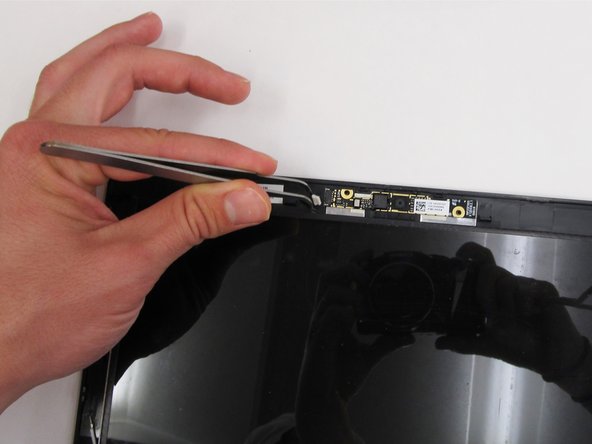
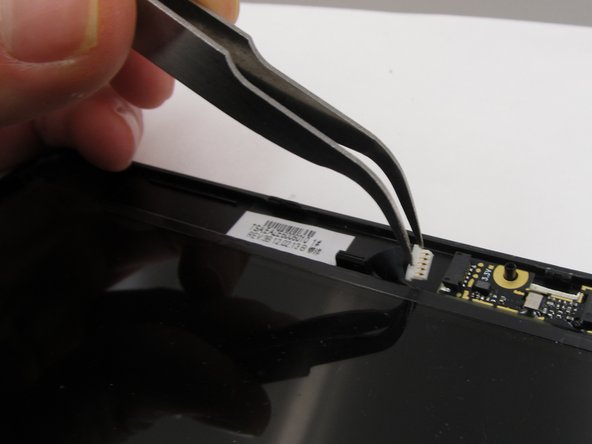
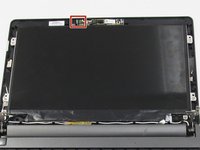
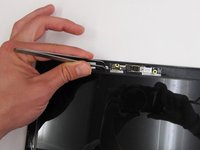
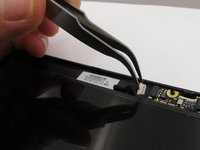
    • Unplug the webcam connection from the top of the laptop screen backing.

  6. Gateway LT4004u Screen Replacement: 步骤 6 中的图像 1,3 Gateway LT4004u Screen Replacement: 步骤 6 中的图像 2,3 Gateway LT4004u Screen Replacement: 步骤 6 中的图像 3,3
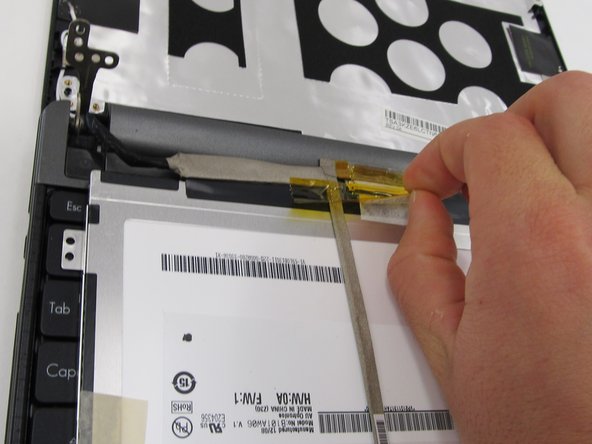
    • Flip the screen over so that it is lying on top of the keyboard.

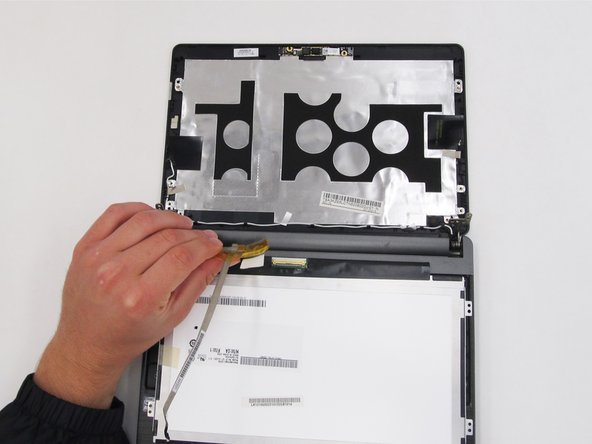
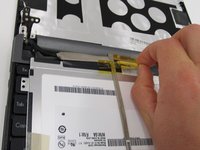
    • Looking at the underside of the screen, remove the yellow tape and carefully remove the wires attaching the screen to the laptop.

  7. Gateway LT4004u Screen Replacement: 步骤 7 中的图像 1,1
    • Remove the screen from the rest of the laptop.

结论

To reassemble your device, follow these instructions in reverse order.

另外一个人完成了本指南。

Carlisle Hiott

于03/21/16注册

812 声望

创作了7篇指南

团队

Clemson, Team 6-5, Benson Spring 2016 Clemson, Team 6-5, Benson Spring 2016 的会员

CLEM-BENSON-S16S6G5

4 名成员

创作了16篇指南

0条评论

添加评论

浏览统计数据:

过去 24 小时: 1

过去 7 天: 5

过去 30 天: 8

总计 485