跳转到主内容

Game Boy Cartridge Battery Replacement

你所需要的

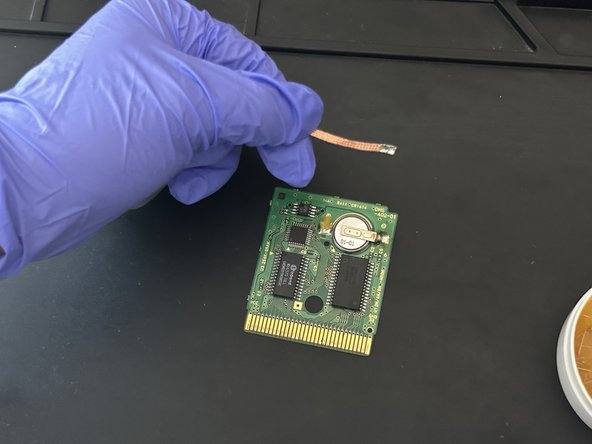
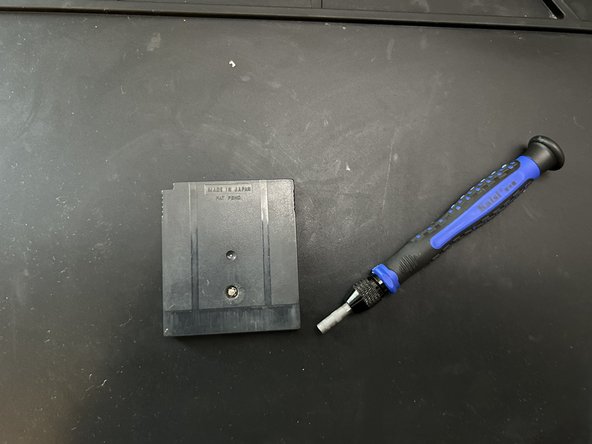
  1. Game Boy Cartridge Battery Replacement, Battery: 步骤 1 中的图像 1,2 Game Boy Cartridge Battery Replacement, Battery: 步骤 1 中的图像 2,2
    • Use the screwdriver to loosen the screw on the cartridge.

  2. Game Boy Cartridge Battery Replacement: 步骤 2 中的图像 1,1
    • Switch on your multimeter and select the Voltage (V) mode. Then, test the voltage of the battery in the cartridge.

  3. Game Boy Cartridge Battery Replacement: 步骤 3 中的图像 1,1
    • Apply some of the flux paste to help desolder the soldered areas on the battery.

  4. Game Boy Cartridge Battery Replacement: 步骤 4 中的图像 1,1
    • Be careful when handling a fully heated soldering iron, as it can burn you.

    • Use the soldering iron once it heats up fully. Then, heat up the soldered areas with the iron.

  5. Game Boy Cartridge Battery Replacement: 步骤 5 中的图像 1,2 Game Boy Cartridge Battery Replacement: 步骤 5 中的图像 2,2
    • Pick up the solder with the desoldering braid.

  6. Game Boy Cartridge Battery Replacement: 步骤 6 中的图像 1,1
    • Wipe off any excess flux paste.

    • The flux paste can damage the circuit board if not removed completely or spread to other areas on the circuit board.

  7. Game Boy Cartridge Battery Replacement: 步骤 7 中的图像 1,2 Game Boy Cartridge Battery Replacement: 步骤 7 中的图像 2,2
    • Make sure to align the battery's positive side where the positive indicator is and the negative side where the negative indicator is.

    • Use the soldering iron and soldering wire to solder both sides of the battery into place.

  8. Game Boy Cartridge Battery Replacement: 步骤 8 中的图像 1,1
    • Switch on your multimeter and select the Voltage (V) mode. Then, test the voltage of the battery in the cartridge.

    • The battery has to have at least 1.5V. If the multimeter reads a negative value, then most likely, the terminals are placed opposite, so switch them around and check the resulting value once more.

  9. Game Boy Cartridge Battery Replacement: 步骤 9 中的图像 1,2 Game Boy Cartridge Battery Replacement: 步骤 9 中的图像 2,2
    • Align the cartridge and the circuit board.

    • Then tighten the screw to secure the cartridge into place.

结论

To reassemble your game cartridge, follow step 9.

另外一个人完成了本指南。

Jose Ayala

于12/06/23注册

220 声望

撰写一个指南

团队

CSU Los Angeles, Team 3-1, Briggs Fall 2023 CSU Los Angeles, Team 3-1, Briggs Fall 2023 的会员

CSULA-BRIGGS-F23S3G1

1 名成员

创作了1篇指南

0条评论

添加评论

浏览统计数据:

过去 24 小时: 8

过去 7 天: 43

过去 30 天: 217

总计 871