简介
This is a guide to replace the standard tabbed battery found in gen 3 Pokemon games or other battery-using GBA games with a reusable battery holder/retainer for easy swaps in the future.
Be very careful when soldering these cartridges. Permanent damage to the surrounding components is possible. Always be mindful of what your soldering iron is touching.
你所需要的
-
-
Remove the screw and open the cartridge. The top lid opens by sliding down a small amount and then pulls straight up.
-
-
-
Heat up your soldering iron to around 350 Celsius (400-500 is okay but you should be faster & more careful). Add a bit of solder to the tip of your iron (this helps heat transfer).
-
Press the tip of your iron against one of the solder joints, the more surface area you can provide to the solder joint, the faster it will melt.
-
It can help to lift up on the battery and/or tab with pliers/tweezers while melting the solder to pull it off the cartridge as soon as possible; The less heat to the cartridge the better.
-
Be sure not to get your solder iron anywhere near the other components! you don't want to melt the black plastic rom casings or mess with the other components
-
This step is shown with just the tabs, but the process is the same if your battery is still connected to the tabs
-
-
-
-
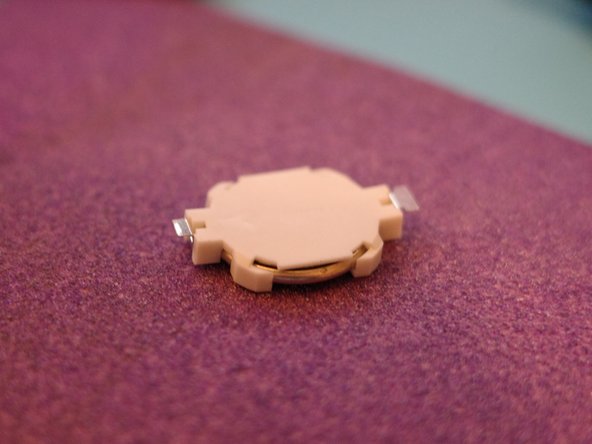
Insert a battery into your battery retainer and see what sticks up.
-
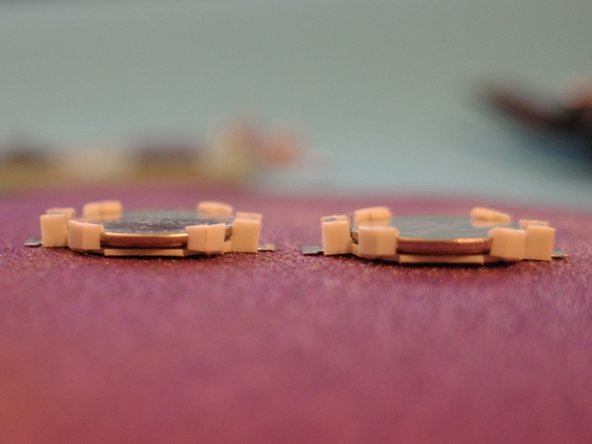
The topside battery pickup was the highest point here so I clipped it off to be level with the rest of the retainer using some precision snips
-
Next I used 220 grit sandpaper to gently wear down some of the high points of the plastic clips. Don't sand too hard or too much to avoid wearing these clips away entirely, we just want to reduce the points that stick up too high
-
Last picture shows before (left) and after (right)
-
-
-
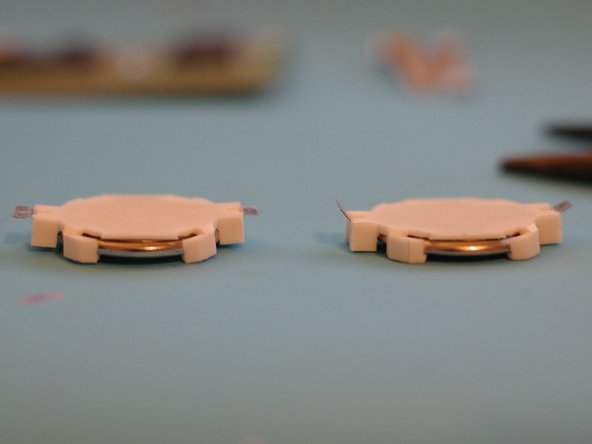
Test place the retainer on the cart. Orientation is important! The side that touches the bottom of the cart (negative) should point towards the top-right contact. The part that touches the side/top of the battery (positive) should angle towards the bottom left contact.
-
If your contacts are still too far away from the contacts, you'll need to bend them. Use some needle-nose pliers to very gently bend the contacts down. They snap easily. If they do, you can bridge the gap with a short piece of wire instead
-
-
-
Take the battery out of the retainer
-
Now that the tabs are bent to touch the motherboard contacts, place your retainer correctly oriented over the rom chip.
-
Heat your solder iron back up to temp and re-tin it's tip.
-
Gently press the retainer down against the rom chip and carefully solder the retainer's tab onto the battery contact on both sides.
-
If your retainer isn't fully touching the rom chip after soldering, you can press down and re-melt the solder joint to try to get the battery retainer to sit lower
-
-
-
Insert the battery with positive facing up (again, carefully, these retainers are a bit flimsy, especially after our modifications)
-
The retainer my look a bit bent with the battery installed, this is okay as long as you're careful in handling it. Too much rough handling may result in ripping the contact pad off of the cart.
-
Place the motherboard back in the cart casing and place the top lid back on. Make sure you don't need to press down too hard. If you do, you may need to remelt the solder again or do some more sanding (remove the battery before either)
-
If you can slide the top lid up without too much resistance, you're good to go!
-
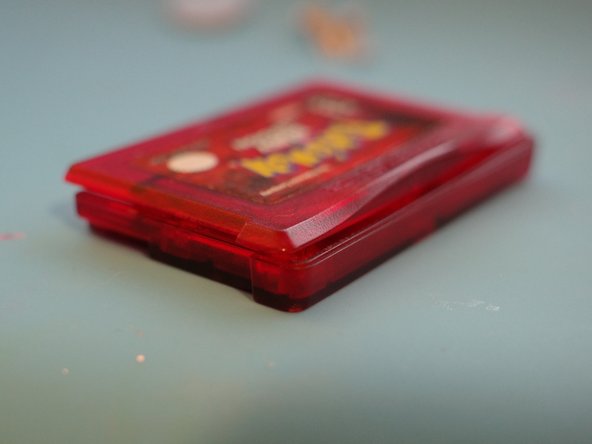
Gently screw the tri-wing screw back in and test your cart!
-


To reassemble your device, carefully slide place the lid on the GBA cart and gently slide it up until it locks and hand-tighten the screw.
To reassemble your device, carefully slide place the lid on the GBA cart and gently slide it up until it locks and hand-tighten the screw.
另外一个人完成了本指南。