跳转到主内容

Game Boy Advance Buttons and LCD Screen Replacement

已存档的指南
本指南只作为历史记录保留。请使用指南的最新版本来进行维修。

你所需要的

  1. Game Boy Advance Buttons and LCD Screen Replacement, Remove the battery cover: 步骤 1 中的图像 1,3 Game Boy Advance Buttons and LCD Screen Replacement, Remove the battery cover: 步骤 1 中的图像 2,3 Game Boy Advance Buttons and LCD Screen Replacement, Remove the battery cover: 步骤 1 中的图像 3,3
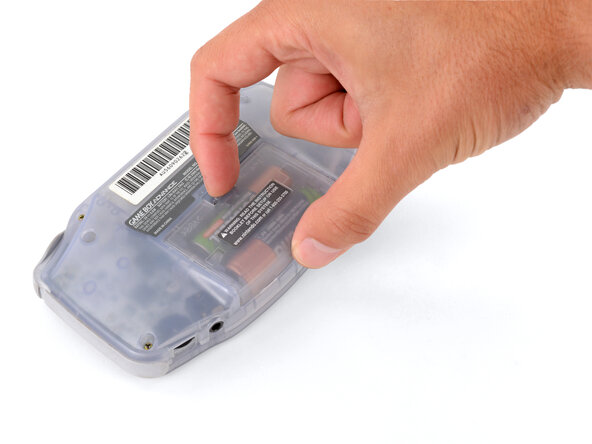
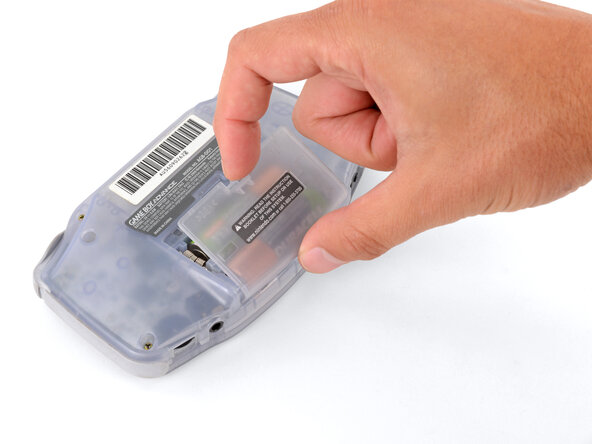
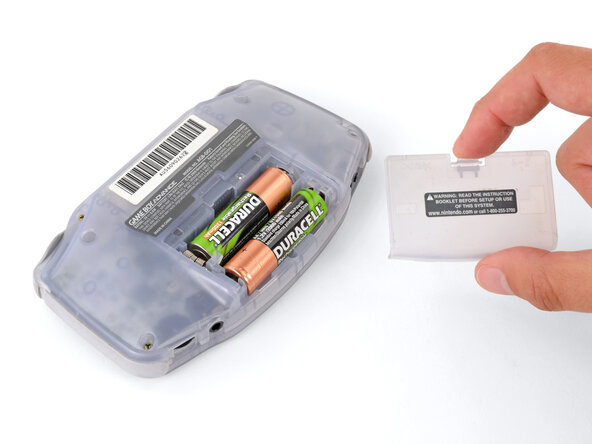
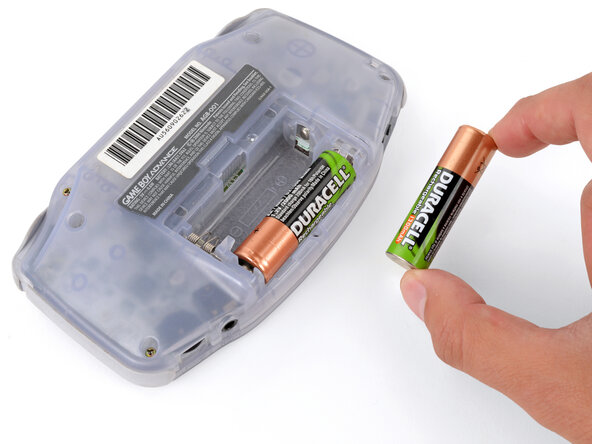
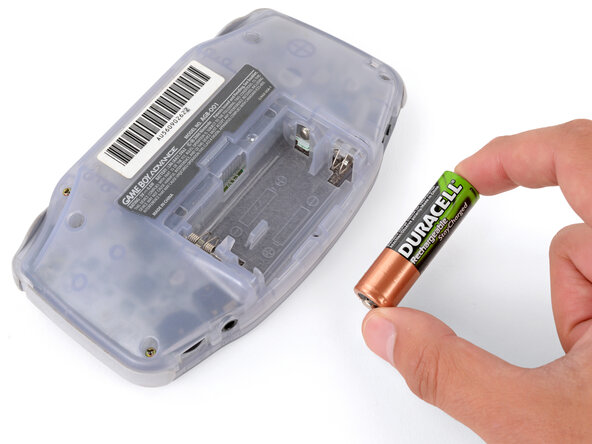
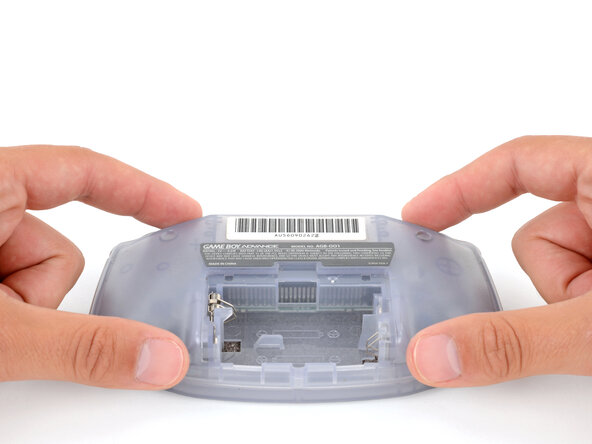
    • Release the battery cover tab with your finger and swing the cover away from your Game Boy to remove it.

    • During reassembly, insert the tabs on the bottom edge of the cover into their cutouts and press the cover into place.

  2. Game Boy Advance Buttons and LCD Screen Replacement, Remove the batteries: 步骤 2 中的图像 1,3 Game Boy Advance Buttons and LCD Screen Replacement, Remove the batteries: 步骤 2 中的图像 2,3 Game Boy Advance Buttons and LCD Screen Replacement, Remove the batteries: 步骤 2 中的图像 3,3
    • Remove the two AA batteries.

    • If the metal terminals are corroded, follow this guide to clean them.

    • When installing batteries, use the diagram in the battery well to properly orient them.

  3. Game Boy Advance Buttons and LCD Screen Replacement, Remove the back shell screws: 步骤 3 中的图像 1,2 Game Boy Advance Buttons and LCD Screen Replacement, Remove the back shell screws: 步骤 3 中的图像 2,2
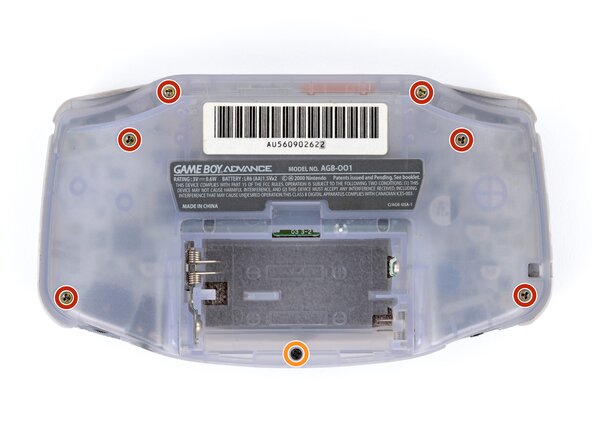
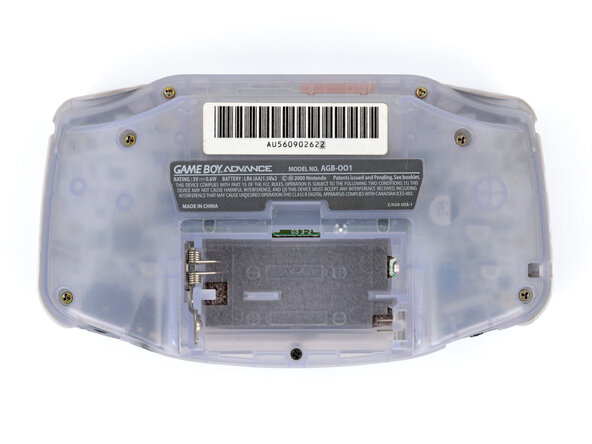
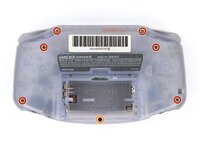
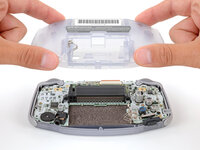
    • Remove the seven screws securing the back shell:

    • Six 9.4 mm‑long tri‑point Y0 screws

    • One 8.5 mm‑long JIS 1 screw

    • You can try to use a non-iFixit Phillips driver in a pinch, but you risk damaging or stripping screws. Push down firmly on the driver and twist slowly.

  4. Game Boy Advance Buttons and LCD Screen Replacement, Remove the back shell: 步骤 4 中的图像 1,2 Game Boy Advance Buttons and LCD Screen Replacement, Remove the back shell: 步骤 4 中的图像 2,2
    • Lift the back shell straight up and remove it.

    • During reassembly, squeeze the shell firmly around the edges and ensure the shoulder buttons and bumpers are properly seated with no large gaps. Gently test the buttons to make sure everything feels correct.

  5. Game Boy Advance Buttons and LCD Screen Replacement, Remove Triggers: 步骤 5 中的图像 1,2 Game Boy Advance Buttons and LCD Screen Replacement, Remove Triggers: 步骤 5 中的图像 2,2
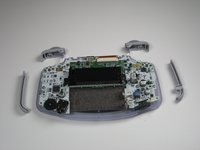
    • Remove left and right triggers by lifting and pulling them away from the system.

    • Do the same for side panels

    • For finicky or jammed triggers only! Adjust and correct triggers and reassemble. Most jammed triggers are caused by buttons misplaced or jammed in its enclosure.

  6. Game Boy Advance Buttons and LCD Screen Replacement, Remove the On/Off Switch: 步骤 6 中的图像 1,1
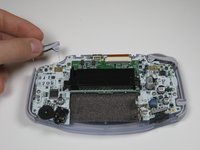
    • Remove the gray On/Off Switch by pulling up and away from the unit. Replace with another switch if necessary.

  7. Game Boy Advance Buttons and LCD Screen Replacement, Buttons and LCD Screen: 步骤 7 中的图像 1,1
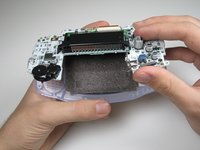
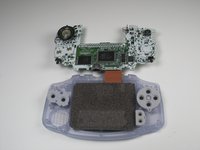
    • Remove the three screws on the circuit board with a Phillips #1 screw driver.

  8. Game Boy Advance Buttons and LCD Screen Replacement: 步骤 8 中的图像 1,2 Game Boy Advance Buttons and LCD Screen Replacement: 步骤 8 中的图像 2,2
    • Pull circuit board away from the front panel by pulling up at the bottom of the circuit board, keeping the top ribbon still connected.

    • Handle with care! The ribbon connecting the circuit board to the LCD screen can easily be damaged and will require replacement if broken.

结论

To reassemble your device, follow these instructions in reverse order.

4等其他人完成本指南。

Aldo Corona

于01/25/10注册

886 声望

创作了8篇指南

团队

Cal Poly, Team 16-29, Maness Winter 2010 Cal Poly, Team 16-29, Maness Winter 2010 的会员

CPSU-MANESS-W10S16G29

5 名成员

创作了81篇指南

0指南评论

添加评论

浏览统计数据:

过去 24 小时: 0

过去 7 天: 0

过去 30 天: 7

总计 8,619