当前版本的文档还未经巡查,您可以查看最新的已查核版本。
你所需要的
-
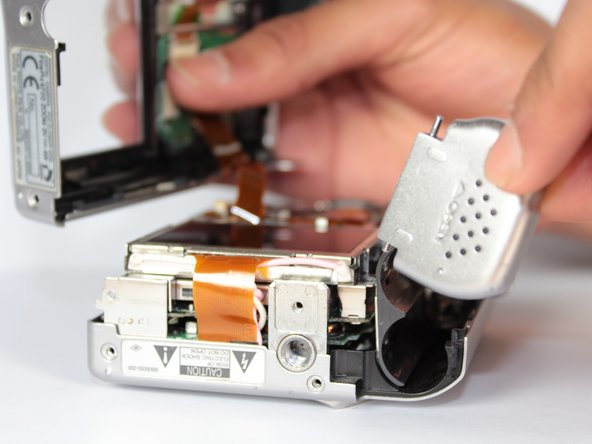
这个步骤还没有翻译 帮忙翻译一下
-
Use the Phillips #00 screwdriver to remove the 7 screws on the sides of the camera:
-
Four 3.95mm Phillips screws located on the bottom of the camera
-
Two 3.95mm Phillips screws located on the right side of the camera
-
One 3.95mm Phillips screw located on the left side of the camera
-
-
这个步骤还没有翻译 帮忙翻译一下
-
Wedge the edge of the spudger between the front and back case, near the corner of the flash.
-
Carefully run the spudger along the right edge of the camera, creating an opening.
-
Insert the spudger into the left side of the camera, above the screwhole. Then carefully run it along this edge.
-
-
-
这个步骤还没有翻译 帮忙翻译一下
-
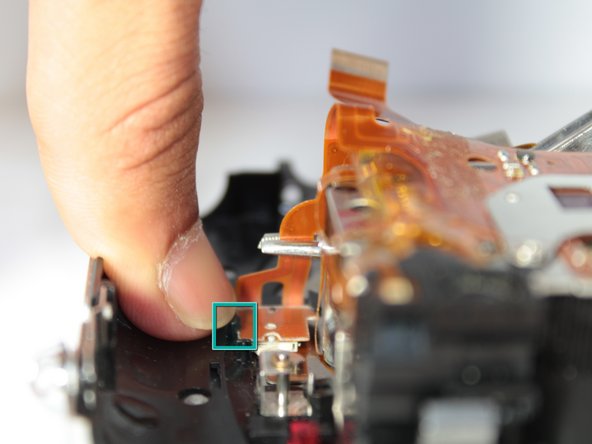
Use the spudger to push in the white tab on the square circuit board attached to the front case.
-
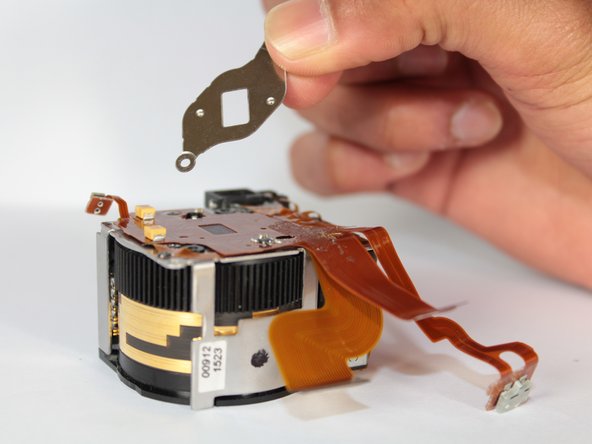
Use your finger to pull back the black plastic mount on the right side of the circuit board.
-
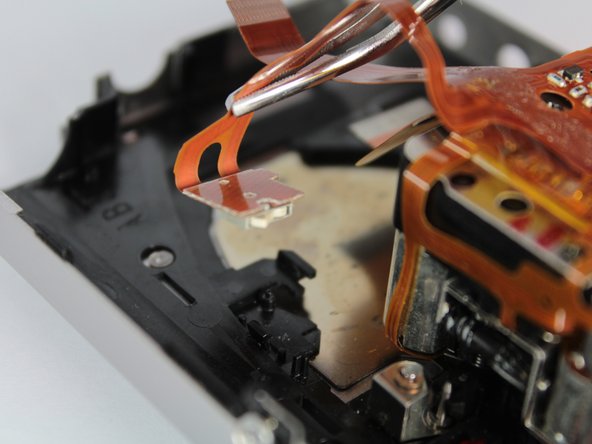
While holding back the black plastic mount, use the tweezers to gently lift the ribbon attached to the circuit board.
-


另外一个人完成了本指南。
团队

Cal Poly, Team 14-8, Forte Spring 2012 Cal Poly, Team 14-8, Forte Spring 2012 的会员
CPSU-FORTE-S12S14G8
5 名成员
创作了17篇指南
一条评论
Hello! Great guide, congratulations indeed! Could you tell me where to find the orange ribbons to replace them? Thanks!