你所需要的
-
-
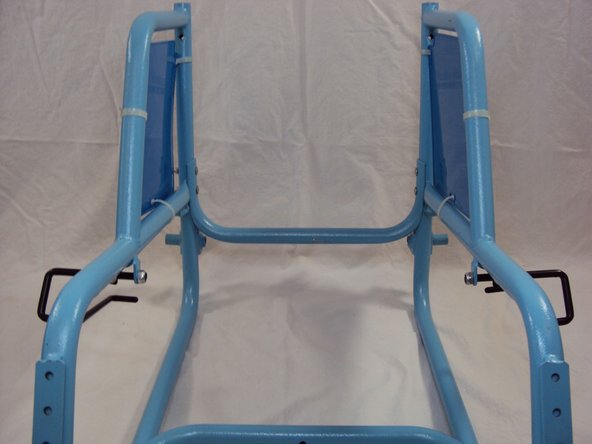
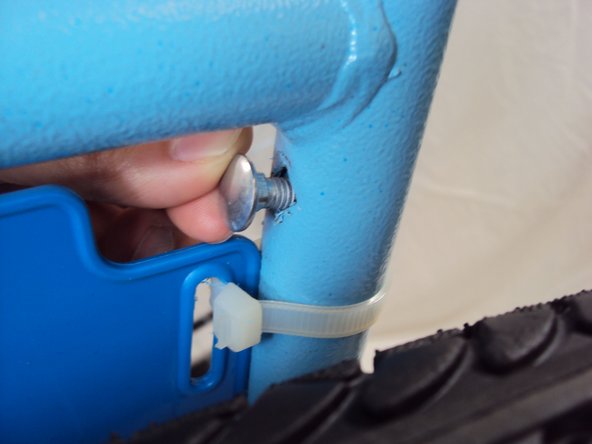
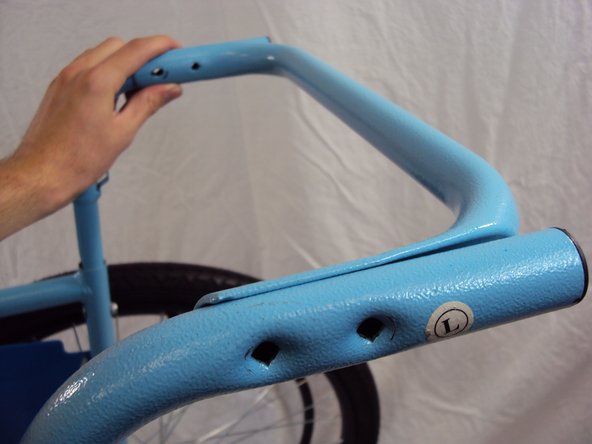
Align the crossbar (with the hole in the center) with the screw holes on the bottom of one frame piece.
-
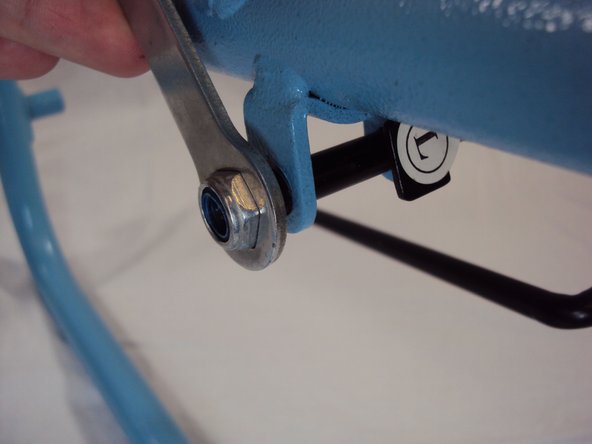
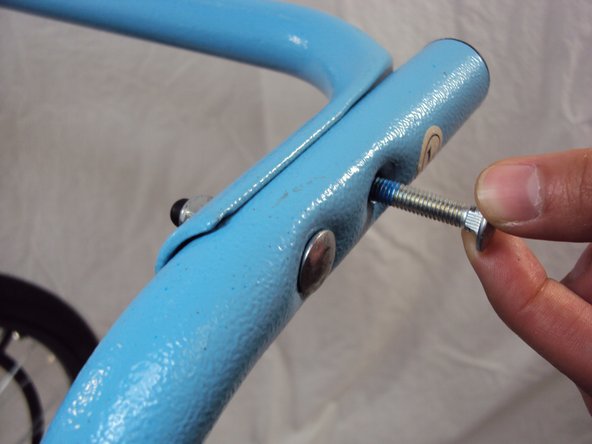
Attach the crossbar to the left frame piece with two [2] frame nuts and bolts.
-
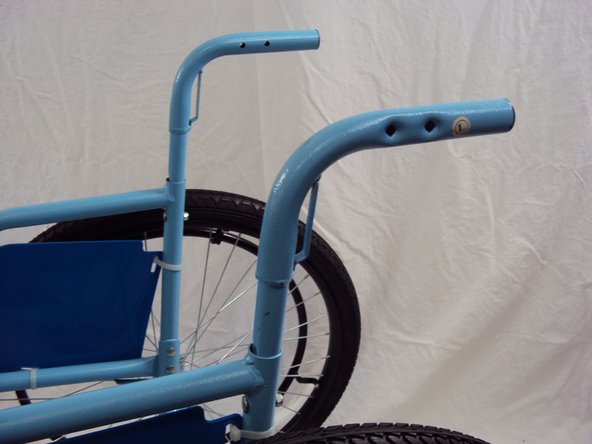
Repeat on the opposite frame piece.
-
-
-
-
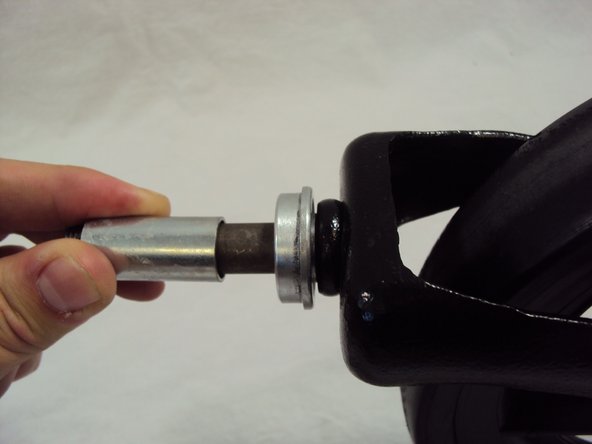
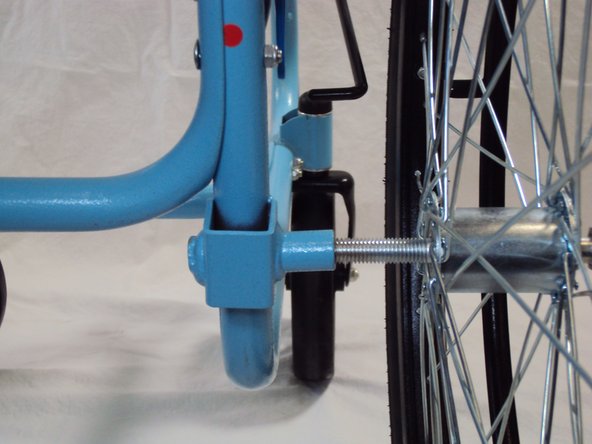
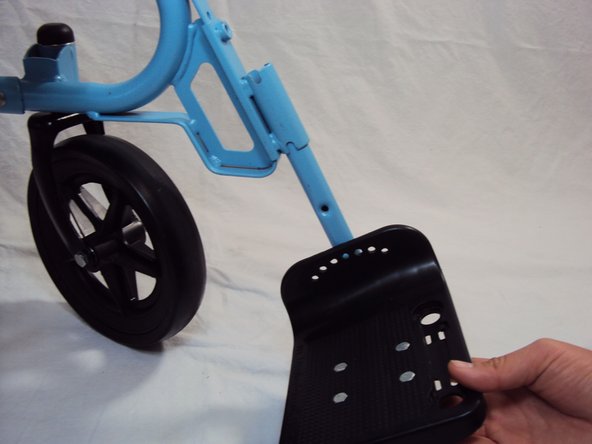
Slide a footrest socket over the rail located near the front of the seat.
-
Insert a footrest through the bottom of the footrest socket.
-
Secure the footrest with a bolt above and below the socket.
-
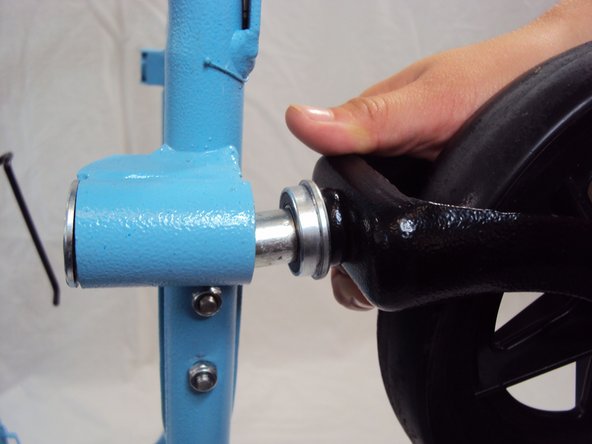
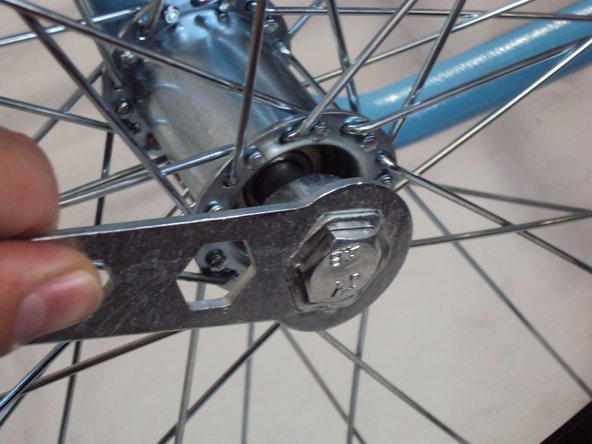
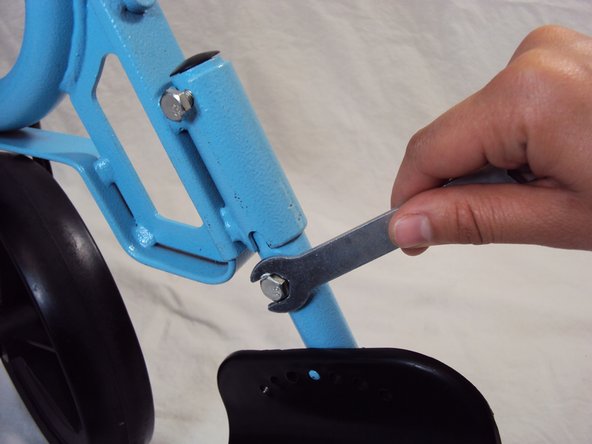
Adjust the footrest socket to your desired height.
-
Align the socket's bolt with the nearest hole in the rail, and tighten the bolt.
-
Repeat this step on the opposite rail.
-


To disasemble your device, follow these instructions in reverse order.
To disasemble your device, follow these instructions in reverse order.
另外一个人完成了本指南。
团队

Cal Poly, Team 14-8, Maness Spring 2013 Cal Poly, Team 14-8, Maness Spring 2013 的会员
CPSU-MANESS-S13S14G8
5 名成员
创作了7篇指南