简介
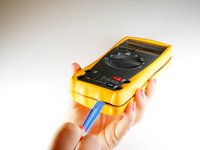
This guide details the replacement for the Fluke 77 Series III Multimeter LCD. If the LCD is not working, the multimeter cannot display readings. This is the most difficult replacement for the device, but it is still a relatively easy replacement.
你所需要的
-
-
Turn the multimeter so it is display side down.
-
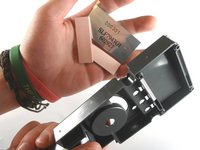
Lift up the back stand of the device by putting your thumb in the curved well at the bottom of the device, so you have access to the two covered screws below.
-
-
-
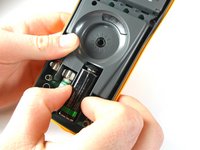
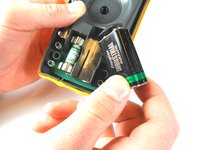
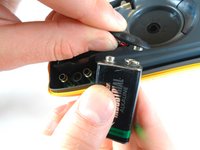
Locate the 9V battery in the lower right corner of the device.
-
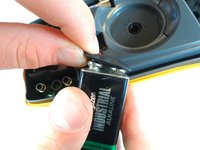
Pull the battery out of its terminal.
-
-
-
-
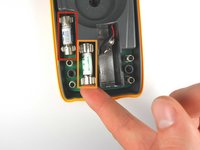
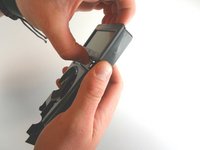
Locate the fuses near the bottom left corner inside the device.
-
The .440 Amp fuse is located in the upper left hand fuse holder.
-
The 11 Amp fuse is located in the lower right hand fuse holder.
-
Lift the rounded edge of the fuse with one finger until that side is completely out of its holder.
-
-
-
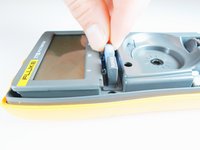
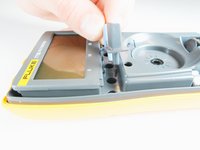
Locate the rubber range and hold buttons in the internal assembly. These are found just below the LCD screen on the left hand side.
-
Remove the rubber range and hold button part with your thumb and forefinger.
-
-
-
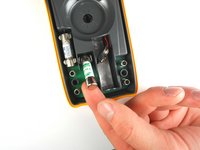
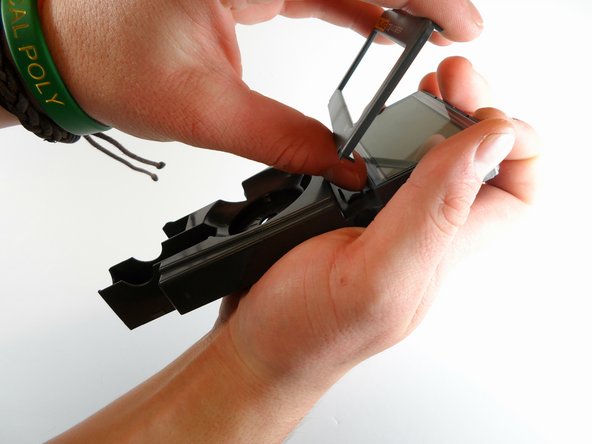
Locate the silver 7 mm screw found underneath the 11A fuse.
-
Using the Phillips #0 Screwdriver, unscrew and remove the silver 7 mm Phillips #0 screw that attaches the back panel to the internal cover.
-
-
-
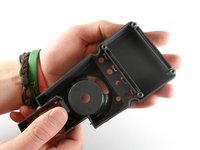
Turn the internal assembly over so that the green circuit board (PCA) is visible.
-
Locate the five silver 11 mm Phillips #1 screws on the upper part of the circuit board that hold it to the the grey plastic internal cover.
-


To reassemble your device, follow these instructions in reverse order.
9等其他人完成本指南。
团队

Cal Poly, Team 2-10, Amido Winter 2014 Cal Poly, Team 2-10, Amido Winter 2014 的会员
CPSU-AMIDO-W14S2G10
4 名成员
创作了10篇指南
5指南评论
Great job! Ive found that sometimes all it takes to get the LCD working again is to clean those pink rubber conductors and with isopropyl alcohol.
Good job .. can i make replacement display from fluk 179 to fluke 77 series 3 .. there are the same size with different model .. thank you
Ahmed Vaio - 回复
I just cracked the screen on my Fluke 79 III and this repair guide will be invaluable. If anyone can offer a part number for the screen or where I could buy one, I would be most appreciative.
Ladd Morse - 回复
FLUKE 1560856 for 175/177/179 Multimeters