跳转到主内容

Fix NUC8i7BEH overheating

你所需要的

  1. Fix NUC8i7BEH overheating, Turn NUC upside down: 步骤 1 中的图像 1,3 Fix NUC8i7BEH overheating, Turn NUC upside down: 步骤 1 中的图像 2,3 Fix NUC8i7BEH overheating, Turn NUC upside down: 步骤 1 中的图像 3,3
    • Place the NUC upside down and select a PH2 Phillips screw driver bit

  2. Fix NUC8i7BEH overheating, Unscrew lower lid: 步骤 2 中的图像 1,2 Fix NUC8i7BEH overheating, Unscrew lower lid: 步骤 2 中的图像 2,2
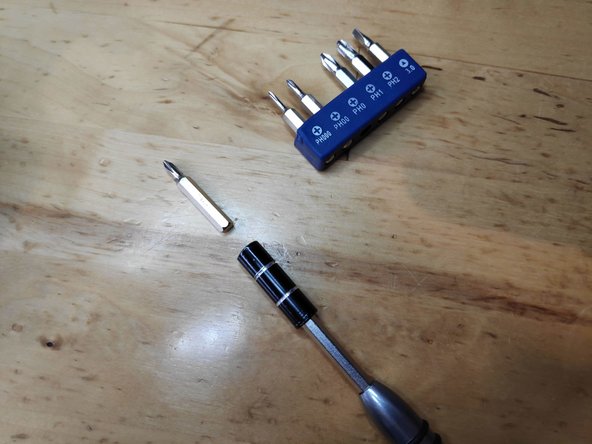
    • Start by using a Phillips head #2 screw driver to remove the lower screws on the lower case door.

    • These screws are held in with retainers, so they won't fall out when you flip the lid.

  3. Fix NUC8i7BEH overheating, Lid and HDD Bracket: 步骤 3 中的图像 1,3 Fix NUC8i7BEH overheating, Lid and HDD Bracket: 步骤 3 中的图像 2,3 Fix NUC8i7BEH overheating, Lid and HDD Bracket: 步骤 3 中的图像 3,3
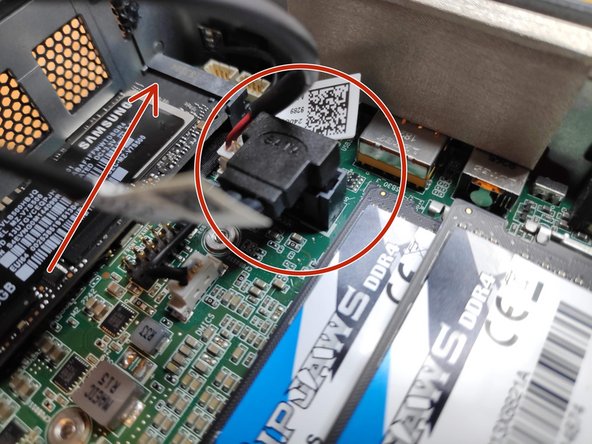
    • Lift the door, and keep an eye on the cables that connect to the NUC's motherboard. These cables are the power and data cables for the 2.5" hard drive bay.

    • Carefully unplug the cables from the motherboard, and set the bracket aside.

    • In the last photo, the slot for a blade SSD is marked with a red arrow. This is where you would install the blade SSD, and use a screw to hold it in place.

  4. Fix NUC8i7BEH overheating, SSD removal: 步骤 4 中的图像 1,2 Fix NUC8i7BEH overheating, SSD removal: 步骤 4 中的图像 2,2
    • Change the screw driver bit to the PH1 one.

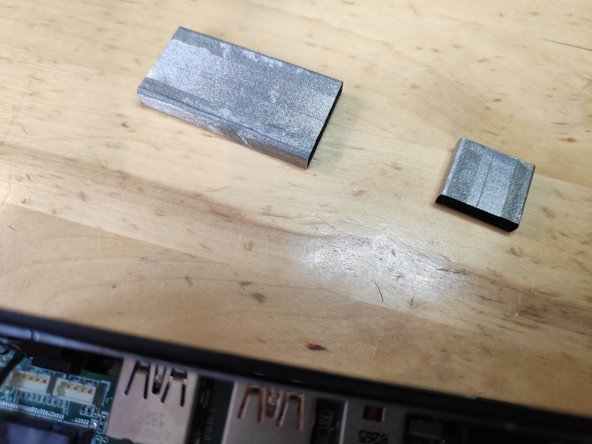
    • Unscrew the V-NAND SSD and carefully slide it out of its connector.

    • Previous step as video

  5. Fix NUC8i7BEH overheating, Motherboard Removal (Screw driver): 步骤 6 中的图像 1,1
    • Change the screw driver bit to PH1

  6. Fix NUC8i7BEH overheating, Motherboard Removal: 步骤 7 中的图像 1,3 Fix NUC8i7BEH overheating, Motherboard Removal: 步骤 7 中的图像 2,3 Fix NUC8i7BEH overheating, Motherboard Removal: 步骤 7 中的图像 3,3
    • Unscrew the screws marked in red circles

  7. Fix NUC8i7BEH overheating, Motherboard Removal, continued.: 步骤 8 中的图像 1,3 Fix NUC8i7BEH overheating, Motherboard Removal, continued.: 步骤 8 中的图像 2,3 Fix NUC8i7BEH overheating, Motherboard Removal, continued.: 步骤 8 中的图像 3,3
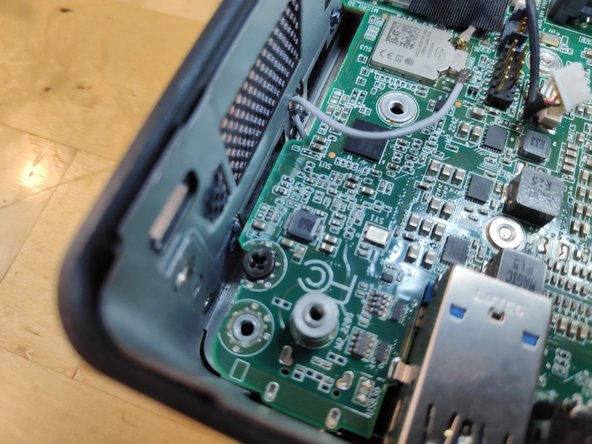
    • Remove the WiFi and Bluetooth antenna cables (be extremely careful when doing this otherwise you risk to rip the base contact terminal off the PCB)

    • Remove the stereo mic cable from the motherboard connector.

    • Pay attetion to the WiFi cable hidden under a black piece of tape

    • Disconnect mic cable

    • Remove padders from the sides

  8. Fix NUC8i7BEH overheating, Remove protection padding, continued: 步骤 11 中的图像 1,2 Fix NUC8i7BEH overheating, Remove protection padding, continued: 步骤 11 中的图像 2,2
    • Not all are necessary only the two depicted.

  9. Fix NUC8i7BEH overheating, Motherboard Removal, final step: 步骤 12 中的图像 1,3 Fix NUC8i7BEH overheating, Motherboard Removal, final step: 步骤 12 中的图像 2,3 Fix NUC8i7BEH overheating, Motherboard Removal, final step: 步骤 12 中的图像 3,3
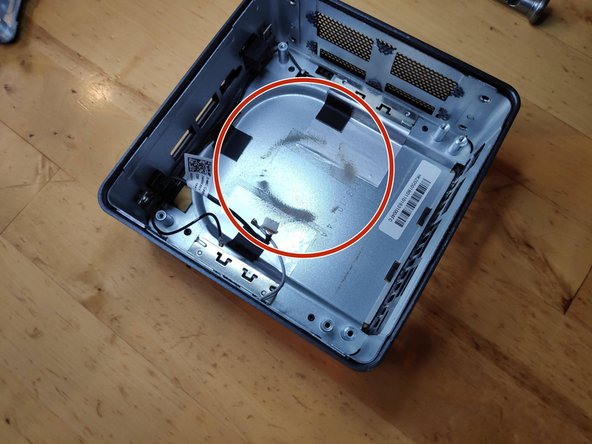
    • Use a pry tool to lift the motherboard from the casing

    • Marked with red circles the dust signs evident on first sight

  10. Fix NUC8i7BEH overheating, Remove CPU fan: 步骤 13 中的图像 1,3 Fix NUC8i7BEH overheating, Remove CPU fan: 步骤 13 中的图像 2,3 Fix NUC8i7BEH overheating, Remove CPU fan: 步骤 13 中的图像 3,3
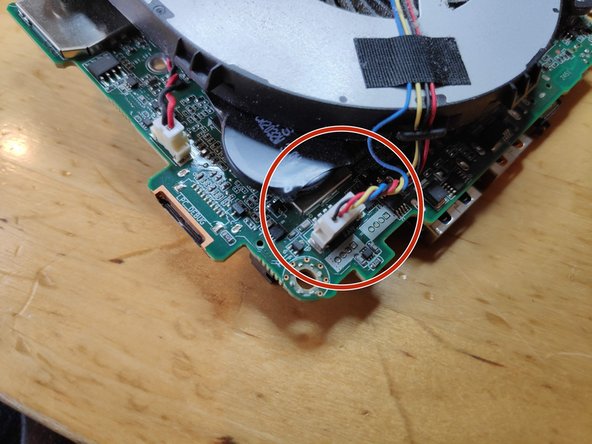
    • Remove the 3 screws fixing the CPU fan

    • Remove the fan power connect from the motherboard

  11. Fix NUC8i7BEH overheating, Blast off dust from CPU air exit fins: 步骤 14 中的图像 1,3 Fix NUC8i7BEH overheating, Blast off dust from CPU air exit fins: 步骤 14 中的图像 2,3 Fix NUC8i7BEH overheating, Blast off dust from CPU air exit fins: 步骤 14 中的图像 3,3
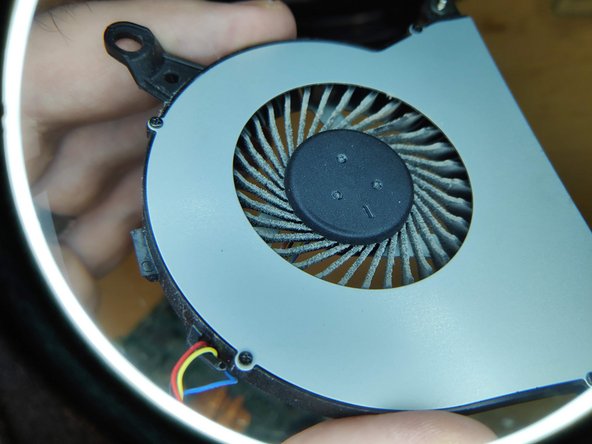
    • You will need to use compressed air, a small vacuum cleaner or something similar to blast off all the stucked dust.

  12. Fix NUC8i7BEH overheating, Blast off dust from CPU air exit fins, continued: 步骤 15 中的图像 1,1
    • I'm using a compressed air can (optional)

    • Video of the procedure

    • Video of the procedure

  13. Fix NUC8i7BEH overheating, Exchange thermal paste for CPU cooler (optional): 步骤 18 中的图像 1,2 Fix NUC8i7BEH overheating, Exchange thermal paste for CPU cooler (optional): 步骤 18 中的图像 2,2
    • This step is probably not necessary, but for the sake of completeness here it is.

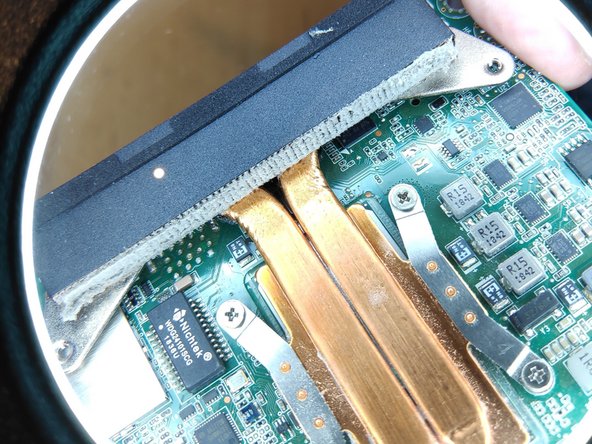
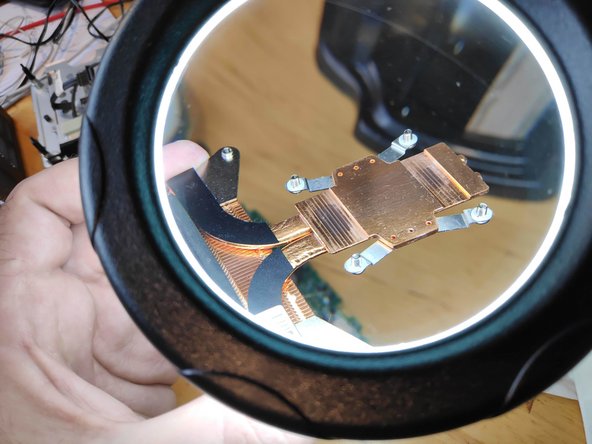
    • Remove the screws holding the CPU cooler following the numbers on them.

  14. Fix NUC8i7BEH overheating, Clean old CPU thermal paste: 步骤 19 中的图像 1,3 Fix NUC8i7BEH overheating, Clean old CPU thermal paste: 步骤 19 中的图像 2,3 Fix NUC8i7BEH overheating, Clean old CPU thermal paste: 步骤 19 中的图像 3,3
    • Use isopropyl alcohol for this, be careful not to touch the the thermal pads on the chips around the CPU.

  15. Fix NUC8i7BEH overheating, Reapply CPU thermal paste: 步骤 20 中的图像 1,1
    • Be careful not to apply too much of it.

结论

To reassemble your device, follow these instructions in reverse order.

40等其他人完成本指南。

Vladimir Knobel

于03/27/14注册

2,716 声望

创作了2篇指南

29条评论

Very helpful, thank you!

Ray Wang - 回复

Great tutorial, thanks, now my fan is very clean and quiet. Thanks for spending time to create this guide!

Schüszterl Ferenc - 回复

I did see this guide after finding out the same steps myself and having seen this guide before doing so would be very helpful.

Jack Graus - 回复

Great tutorial. Clear pictures, solid instructions. Thanks a lot!

Koen Veys - 回复

you are welcome

Vladimir Knobel -

添加评论

浏览统计数据:

过去 24 小时: 43

过去 7 天: 209

过去 30 天: 987

总计 44,089