跳转到主内容

Fitbit Charge 2 Touch Screen Assembly Replacement

你所需要的

  1. Fitbit Charge 2 Touch Screen Assembly Replacement, Remove the watch band: 步骤 1 中的图像 1,1
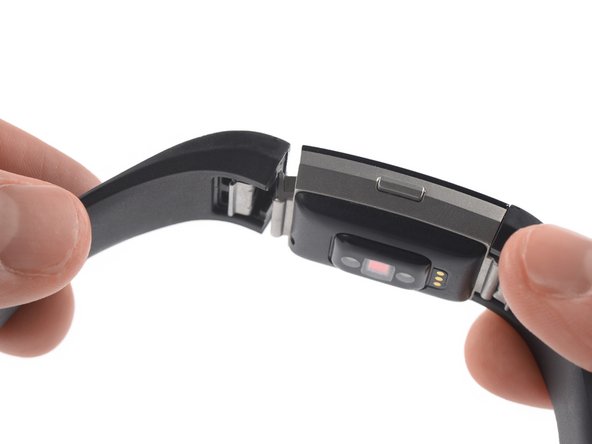
    • Before starting, take your Fitbit Charge 2 off the charger and power it down.

    • Remove the watch band on both sides.

  2. Fitbit Charge 2 Touch Screen Assembly Replacement, Heat the touch screen: 步骤 2 中的图像 1,1
    • Heat an iOpener and apply it to the touch screen for two minutes.

    • The screen is not glued down, but the heat helps to loosen the touch screen assemly.

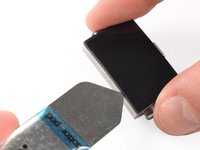
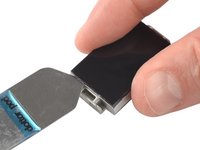
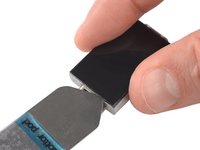
  3. Fitbit Charge 2 Touch Screen Assembly Replacement, Slide along the left edge: 步骤 3 中的图像 1,3 Fitbit Charge 2 Touch Screen Assembly Replacement, Slide along the left edge: 步骤 3 中的图像 2,3 Fitbit Charge 2 Touch Screen Assembly Replacement, Slide along the left edge: 步骤 3 中的图像 3,3
    在这个步骤中使用的工具:
    iSesamo Opening Tool
    $9.99
    购买
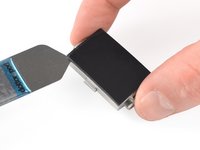
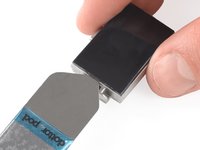
    • Insert an iSesamo into the gap between the touch screen and the watch assembly on the top left corner.

    • Slide the iSesamo along the left edge to the bottom left corner.

  4. Fitbit Charge 2 Touch Screen Assembly Replacement, Slide along the bottom edge: 步骤 4 中的图像 1,2 Fitbit Charge 2 Touch Screen Assembly Replacement, Slide along the bottom edge: 步骤 4 中的图像 2,2
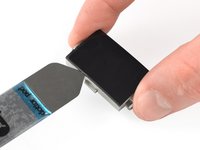
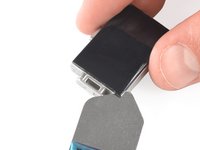
    • Slide the iSesamo around the bottom left corner.

    • Slide it along the edge to the bottom right corner.

  5. Fitbit Charge 2 Touch Screen Assembly Replacement: 步骤 5 中的图像 1,3 Fitbit Charge 2 Touch Screen Assembly Replacement: 步骤 5 中的图像 2,3 Fitbit Charge 2 Touch Screen Assembly Replacement: 步骤 5 中的图像 3,3
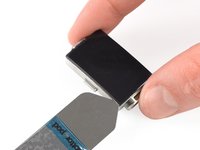
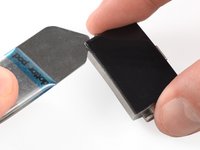
    • Slide the iSesamo around the bottom right corner.

    • Keep sliding it along the right edge to the top right corner.

  6. Fitbit Charge 2 Touch Screen Assembly Replacement: 步骤 6 中的图像 1,2 Fitbit Charge 2 Touch Screen Assembly Replacement: 步骤 6 中的图像 2,2
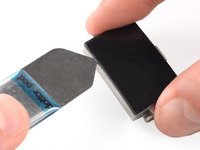
    • Slide the iSesamo around the top right corner.

    • Slide it along the top edge to the top left corner.

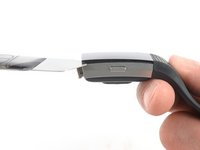
  7. Fitbit Charge 2 Touch Screen Assembly Replacement: 步骤 7 中的图像 1,2 Fitbit Charge 2 Touch Screen Assembly Replacement: 步骤 7 中的图像 2,2
    • Place the iSesamo under the top left corner.

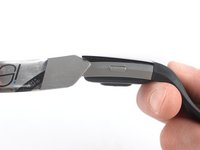
    • Feel free to reattach the watch band for this and the next step for a better grip.

    • Pry up the touch screen assembly by twisting the iSesamo sideways to create a gap and unhinge the plastic clips which are holding the screen in place.

  8. Fitbit Charge 2 Touch Screen Assembly Replacement: 步骤 8 中的图像 1,2 Fitbit Charge 2 Touch Screen Assembly Replacement: 步骤 8 中的图像 2,2
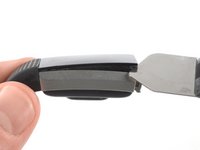
    • Place the iSesamo under the top right corner.

    • Pry up the touch screen assembly by twisting the iSesamo sideways to create a gap.

  9. Fitbit Charge 2 Touch Screen Assembly Replacement: 步骤 9 中的图像 1,2 Fitbit Charge 2 Touch Screen Assembly Replacement: 步骤 9 中的图像 2,2
    • Insert a spudger into the gap on the top edge of your Fitbit Charge 2.

    • Use the spudger to pry up the touch screen assembly.

    • Do not remove the touch screen assembly all the way yet—it's still connected to the motherboard.

  10. Fitbit Charge 2 Touch Screen Assembly Replacement: 步骤 10 中的图像 1,1
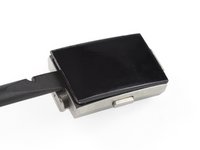
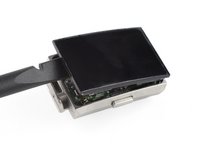
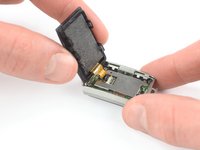
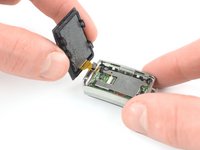
    • Carefully fold the touch screen assembly in the direction of the bottom edge.

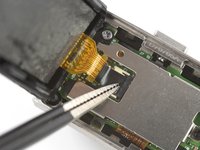
  11. Fitbit Charge 2 Touch Screen Assembly Replacement, Remove the protecting sticker: 步骤 11 中的图像 1,2 Fitbit Charge 2 Touch Screen Assembly Replacement, Remove the protecting sticker: 步骤 11 中的图像 2,2
    • Use a pair of blunt nosed tweezers to remove the black sticker which covering the touch screen connector.

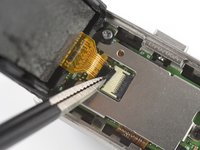
  12. Fitbit Charge 2 Touch Screen Assembly Replacement, Open the ZIF connector: 步骤 12 中的图像 1,2 Fitbit Charge 2 Touch Screen Assembly Replacement, Open the ZIF connector: 步骤 12 中的图像 2,2
    • Use the pointed end of a spudger to open the ZIF connector by pushing up the black flap.

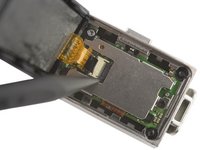
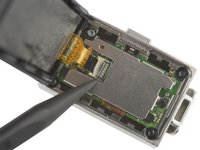
  13. Fitbit Charge 2 Touch Screen Assembly Replacement, Remove the touch screen assembly: 步骤 13 中的图像 1,3 Fitbit Charge 2 Touch Screen Assembly Replacement, Remove the touch screen assembly: 步骤 13 中的图像 2,3 Fitbit Charge 2 Touch Screen Assembly Replacement, Remove the touch screen assembly: 步骤 13 中的图像 3,3
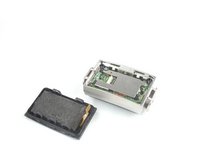
    • Pull the touch screen flex cable straight out its socket.

    • Remove the touch screen assembly.

结论

If possible, turn on your device and test your repair before reassemble.

To reassemble your device, follow these instructions in reverse order.

Take your e-waste to an R2 or e-Stewards certified recycler.

Opening didn’t go as planned? Ask our Answers community for help.

11等其他人完成本指南。
Adriana Zwink

于12/18/19注册

48,292 声望

创作了167篇指南

团队

iFixit iFixit 的会员

Staff

135 名成员

创作了16,817篇指南

0条评论

添加评论

浏览统计数据:

过去 24 小时: 5

过去 7 天: 42

过去 30 天: 178

总计 13,063