跳转到主内容

Fanttik V8 Mate Vacuum Filter Replacement

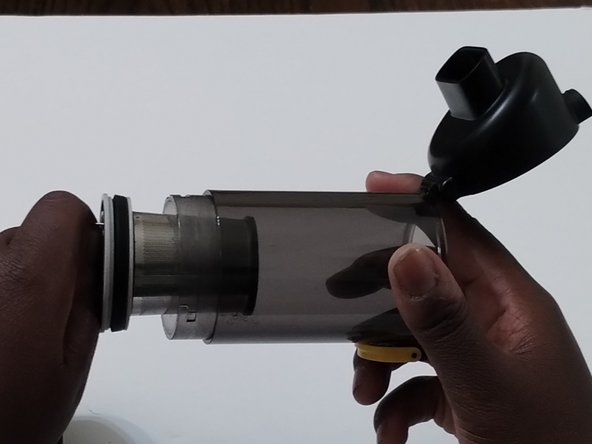
  1. Fanttik V8 Mate Vacuum Filter Replacement, Filter: 步骤 1 中的图像 1,3 Fanttik V8 Mate Vacuum Filter Replacement, Filter: 步骤 1 中的图像 2,3 Fanttik V8 Mate Vacuum Filter Replacement, Filter: 步骤 1 中的图像 3,3
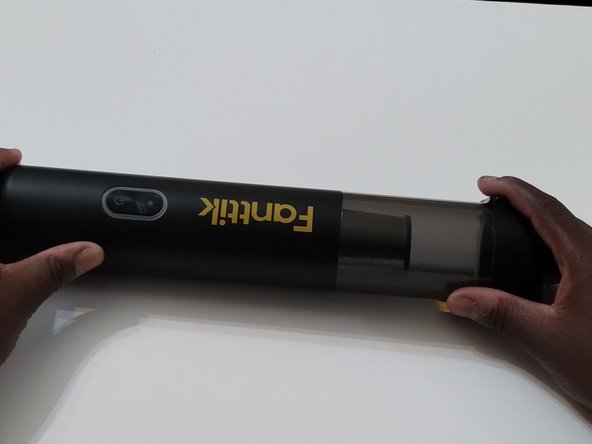
    • Open the dust cup by pushing the button.

    • Empty out any dust or debris.

  2. Fanttik V8 Mate Vacuum Filter Replacement: 步骤 2 中的图像 1,3 Fanttik V8 Mate Vacuum Filter Replacement: 步骤 2 中的图像 2,3 Fanttik V8 Mate Vacuum Filter Replacement: 步骤 2 中的图像 3,3
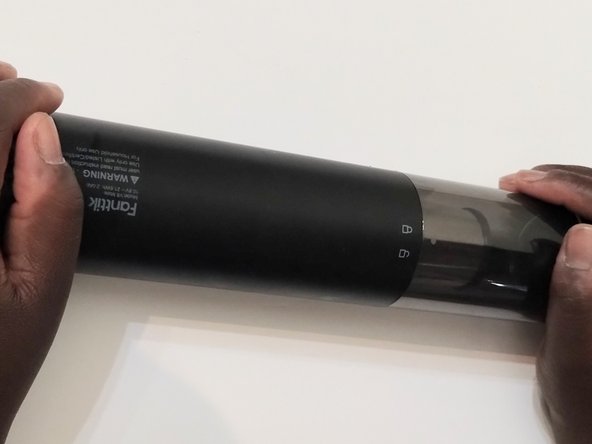
    • Locate the lock and unlock icons on the vacuum.

    • Unlock the dust cup from the base of the vacuum by twisting it counter-clockwise.

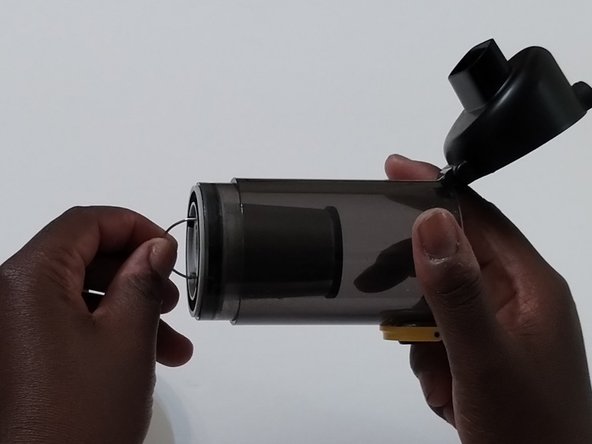
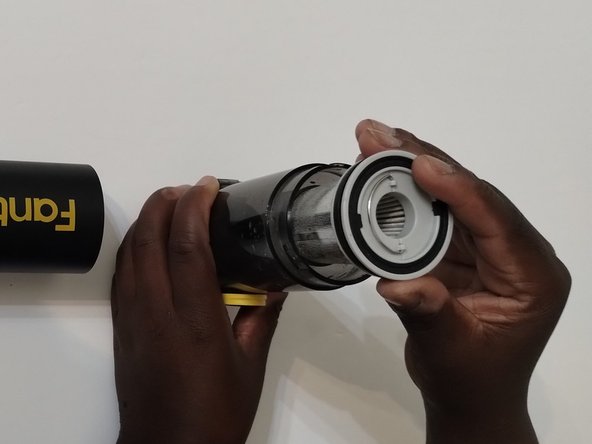
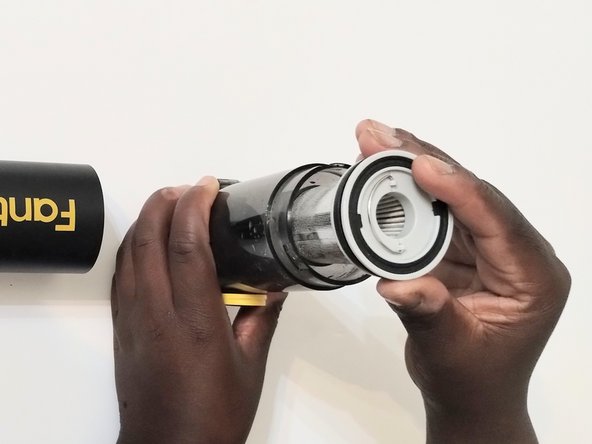
  3. Fanttik V8 Mate Vacuum Filter Replacement: 步骤 3 中的图像 1,3 Fanttik V8 Mate Vacuum Filter Replacement: 步骤 3 中的图像 2,3 Fanttik V8 Mate Vacuum Filter Replacement: 步骤 3 中的图像 3,3
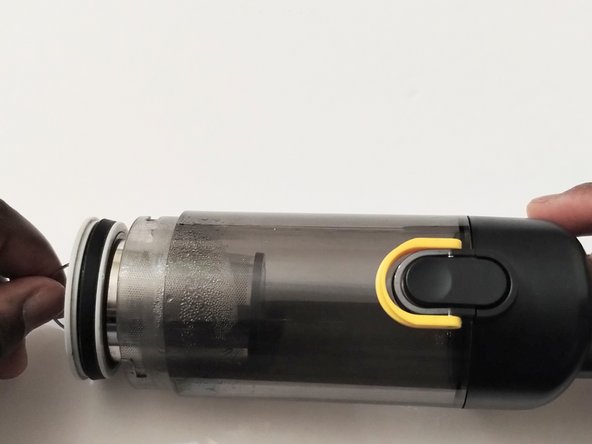
    • Remove the filter from the vacuum by pulling on the wire handle.

  4. Fanttik V8 Mate Vacuum Filter Replacement: 步骤 4 中的图像 1,1
    • After removing the filter, clean and wash out the dust cup.

  5. Fanttik V8 Mate Vacuum Filter Replacement: 步骤 5 中的图像 1,3 Fanttik V8 Mate Vacuum Filter Replacement: 步骤 5 中的图像 2,3 Fanttik V8 Mate Vacuum Filter Replacement: 步骤 5 中的图像 3,3
    • Place the new filter in the vacuum face down.

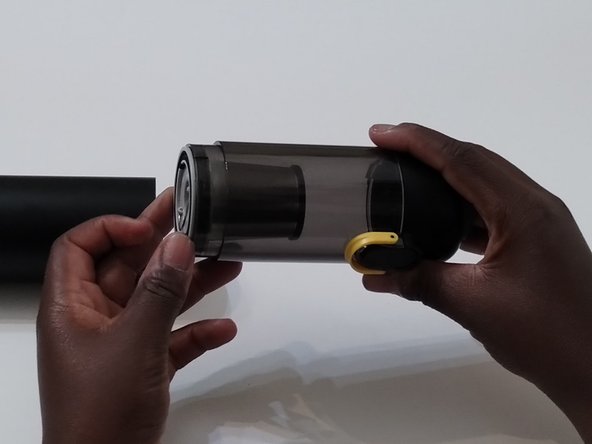
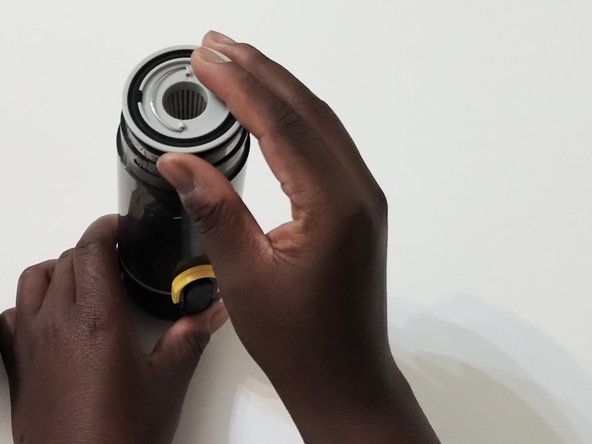
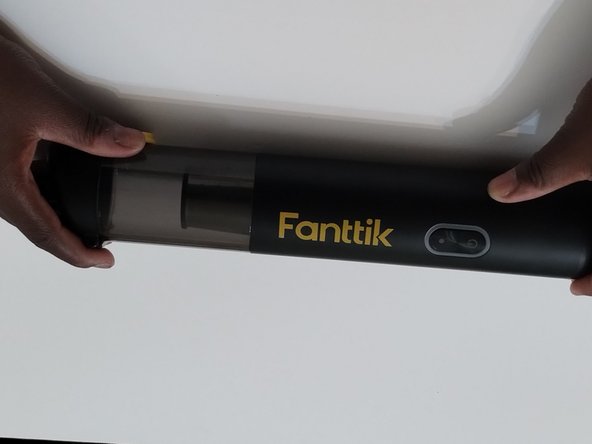
  6. Fanttik V8 Mate Vacuum Filter Replacement: 步骤 6 中的图像 1,3 Fanttik V8 Mate Vacuum Filter Replacement: 步骤 6 中的图像 2,3 Fanttik V8 Mate Vacuum Filter Replacement: 步骤 6 中的图像 3,3
    • Lock the vacuum by connecting the dust cup back to the base. Do this by twisting them clockwise this time.

终点

FTR10176

于08/29/23注册

133 声望

撰写一个指南

0条评论

添加评论

浏览统计数据:

过去 24 小时: 0

过去 7 天: 0

过去 30 天: 13

总计 114